Sunfish to Gunning Boat Conversion

J.P. Ward

Member
I hunt puddlers in the early season, then switch over to divers when they show up in late December. Diving ducks are relatively new here. Maybe it is the proliferation of Zebra Mussels in the lakes . Very few hunters here target divers. We don't have the lovely boats, decoys, and traditions you find on the East Coast.

I normally hunt by myself. I have a Lund I use for access and catfish. I hunt off points, but want the ability to hunt open water. I want a boat I can grass up and use along the shoreline, but it has to double as a layout for open water in the late season. It has to be light enough for me to manhandle. I don't need power as I'll tow or haul it to my hunting spot then use oars to get around.

After seeing S. Sanford's Gilgo Gunboat I decided to give a Sunfish a try. I picked one up off Craig's List, hauled it into the back yard, and started cutting. I decided to cut the hull down to lower the profile and to add a bit more crown to the deck.

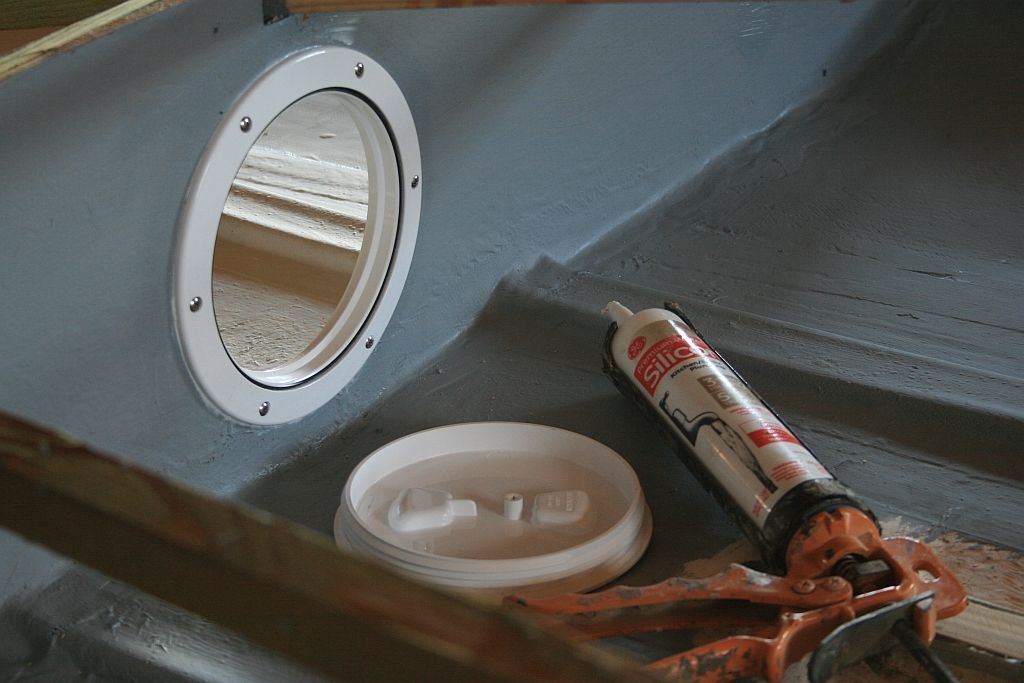
I used a skil saw, set just deep enough, to cut down to the hull. Snugging the guide on the saw up to the bottom side of the flange on the deck allowed me to take off the deck, along with about 1 1/2" of hull The cut came out surprisingly smooth and took less than 5 minutes. After pulling out the flotation foam. I filled the keel and centerboard slot with foam, fiberglass tape, and epoxy.

Here it sets with more to come.

25059344009_3d9944273b_z.jpg
[/url]
 
Good morning, J. P. ~

Great start! I applaud your cutting the hull down below the stock gunwale. With some nice crown in her decks, she'll hide really well.

You may want to look through my White-Wing build to see how I did the framing and flotation tanks for ideas. For your longitudinals - like the inwales - I would recommend some Philippine Mahogany (aka Lauan). It is commonly sold for decking and comes in long, clear lengths. Just check the grain so it's mostly straight with little runout.

http://stevenjaysanford.com/white-wing-2-man-scooter/

I look forward to your progress.

All the best,

SJS
 
I have done two of the Sunfish conversions in the past with great success.
Great start to your project, looking forward to your updates.
 
Looks really great, I'd love to do this but for some reason I can't find the deals some of you guys find on these neat little hulls. Keep us updated... we love projects!!


paul
 
So this week I worked on getting the structural stuff done inside the hull. I used some 1/2" ply I had around the shop to cut out the bulkheads and quarter knees. The stations are set at 18" plus or minus whatever it takes to make it work.

25549769086_0abd4870b0_z.jpg
[/url]

I used cardboard to make templates before I cut the plywood. I patterned the #2 and #5 bulkheads after the ones S. Sanford built into his Gilgo Gunboat. The front compartment should have some dry storage. The rear compartment will be wet with the runoff from cockpit. The oars will stow in the cutouts.

25335743181_97debb22b9_z.jpg
[/url]

The port side quarter knees were cut out to allow a shotgun to rest.

25549778046_a6840f8514_z.jpg


I put about 4" of crown on the deck. I struck a line along the top of the gunwales, added 4" at the center line, then used a batten, to get the arch. I used some 1" x 4" cedar for the strongbacks and notched them into the bulkheads.

25549769086_0abd4870b0_z.jpg
[/url]

Everything was glued up with Raka epoxy. I used hardwood filler on the fillets then covered them with 1 thickness of 4" fiberglass tape. All wood got a coat of epoxy.

On the outside of the hull I cut down a 2" X 12'' I salvaged out of the lake during a hunting trip this winter. In my past projects, I've used white oak for the outwales, but the price was right on this one and I wanted to save a bit of weight. As it was only 10' long I had to scarf 2 lengths to get the 13' or so I needed. I fastened the outwales with 3M 5200 and some 1/2' galvanized screws.

25280286480_2bf6da4bf9_z.jpg
[/url]

How to tie the deck into the transom took me a few days to muddle through. In the end I just cut the crown into a scrap of the 2" x 12" and glued it on.

img]https://farm2.staticflickr.com/1625/25549778046_a6840f8514_z.jpg[/img][/url]

I ended the week's work by flipping it over and doing some work on the hull. I filled the centerboard slot and laid a piece of tape over the keel. I'll rip and scarf some scrap red oak for a rub strip over the keel. The hull was in pretty good shape with no cracks. I used some epoxy with micro balloon filler to make it easier to sand.

And there she sits.

To be decided:

I bought some 2 part foam for the flotation chambers but I really don't want to use it. The alternative would be to make them air chambers. If I do that I would need some access to inspect them.

Comments and suggestions appreciated.
 
soda bottles with caps glued shut its a cheap air bladder, my grand dad used old bleach bottles, two bottles with cloths line holding them together would support 70 lbs about that was my swimming vest as akid. the soda bottles could be glued and duct taped together then put in storage compartment. red neck but works ha ha rick
 
Good morning, J. P.

Gorgeous work! You are moving right along - I can't wait to see that sweet crowned deck.

I would opt for air chambers in both ends. Use 6" Beckson Deck Plates. If you want a belt-and-suspenders approach, you could fill the chambers with the soda bottles as Rick suggested. You could remove 2-liter bottles if needed in the future. On the other hand, you may need to get under there once decked over - to back up deck hardware like fairleads and such.

In any event, be sure decks are set in a generous bead of 3M 5200 so the chambers will, in fact, be air tight.

2-Becksondeckplatessealthechambers_zps6dcb07d1.jpg


One more recommendation: Use bronze boat nails for attaching the decks. Countersinking for screws removes too much wood in 1/4-inch ply.

....and, when fitting the deck pieces, cut them about 3 inches "generous" at the gunwales. Begin fastening down the centerline then figure out - through trial-and-error and some gentle persuasion, where the plywood wants to lay without buckling or bulging. I sometimes tack the plywood down with deck screws or self-tapping panheads for a dry fit, then go to town with the 5200 and boatnails.

All the best,

SJS
 
JP, I would suggest you re-visit the Red Oak for your runners. Red oak will soak up water and rot quickly. I would suggest Ipe, white oak, or composite wood products. Azek makes a hard deck material that is a good choice, and I am sure there are others that are all plastic and dense.
 
Hello all. First post, long time lurker this is the post that finally got me.

Anxiously waiting to see this boat decked and how you join hull and deck. Have a sunfish waiting and was hoping to make a loaner boat to compliment my refuge runner. This looks way better than how I was planning to attack it...

Sorry James. Not much of an update this week. Rain has kept me in the house. Next week should show some progress though
 
No rush J.P. Your light years ahead of me. To date I have gotten my sunfish home. I'm hoping this weekend to remove the deck and foam and prep the mast and daggerboard openings for glass.

One question- did you tape and glass these openings inside and out before foaming the keel or just the exterior?
 
Every time I see any of these projects whether they be decoys or boats I get mad at myself for selling my bandsaw, drill press, air form sander and my Arthur Armstrong Blackjack. What was I thinking?
 
The last 2 weeks have seen limited progress due to rain, cold weather, and my work schedule. I didn't do an update but I was able to do some sanding on the hull and to get the the first coat of fairing compound.

25483214021_b0eb2d1ac7_z.jpg
[/url]

I used thickened epoxy to glue the rub strip to the keel. Some scrap wood, and string, held it down while the epoxy hardened.

25345872223_112e3695f1_z.jpg
[/url]

After the epoxy cured, I sanded, and sealed everything up with a second coat of epoxy.

25974592335_72ecea1ae4_z.jpg
[/url]

I had plans to finish fairing and paint the outside of the hull, but with the cool weather it takes a 3 or 4 days for the epoxy to get hard enough to sand. After another coating of fairing compound I flipped the hull over an worked on the topsides.

I originally planned to fill the flotation chambers with foam and seal them up. After thinking on it for a while i decided to make them air chambers and install inspection ports. Cutting these out would have certainly been easier before the bulkheads were installed.

25853801912_f5fa053dd1_z.jpg
[/url]

I salvaged a couple of deck plates from the original Sunfish deck and put them back to work.

25853805712_af94eac440_z.jpg
[/url]

I ended the week sanding, then putting the first coat of paint on the interior. It always amazing how all the rough spots jump out at you after the first coat so I'll do some more sanding and finish the paint job after the decks are installed.
25879658411_be43194f87_z.jpg
[/url]

And there she sits.
 
Good morning, J. P. ~

Everything looks great! Isn't it amazing how that first coat of paint pulls everything together? She'll be one sweet rig!

All the best,

SJS
 
Looking real good. I thought fairing the hull was going the extra mile, but sanding and resanding the interior?! You are changing my idea of a sunfish conversion from a quick and dirty job to a work of art. Keep up the good work and great updates.
 
Last edited:
Looking good. I have an old sunfish hull sitting behind my shop. Thanks for posting your build. Giving me some inspiration to pull mine out and get to work.
 
Looks like you made great progress. I can't wait to see your finished version. I had a ton of fun building mine last summer, and I hope you are enjoying the process as much as we are.
 
Back
Top