Working decoy November

William Reinicke

Active member
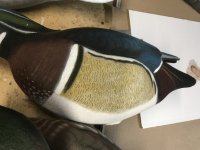
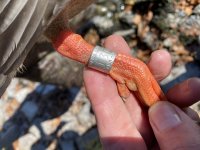
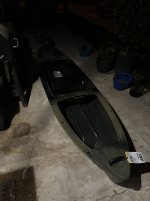
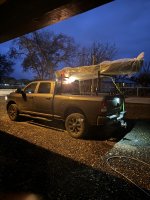
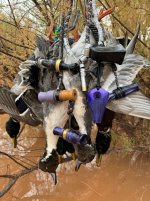
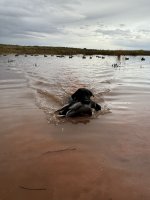
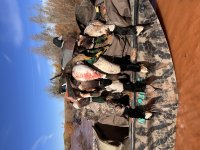
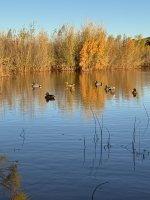
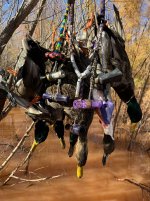
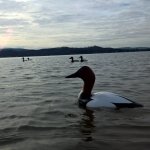
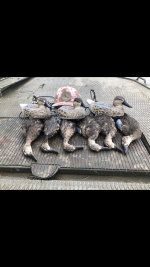
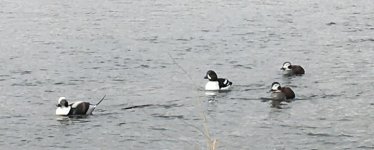
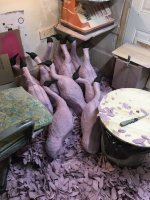
Those that hunt your decoys, please post up pics, let’s show off them working decoys. Finally found some birds, was able to get a good hunt in. 30-40 mph winds back to the ramp made for a sketchy boat ride. At one point was just running with the bilge running. Probably the worst boat ride I’ve been involved in. The things we do for ducks sometimes….

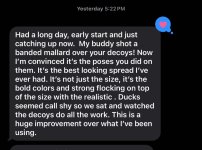
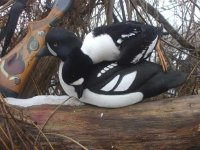
Sent 6 decoys to a friend who is sending me proto duck calls. Pretty neat to hear about success being had over decoys made in my own shop. These are just beginner decoys…. Can only improve and get better over time hopefully.
 

Attachments

  • IMG_2404.jpeg
    IMG_2404.jpeg
    137.1 KB · Views: 31
  • IMG_2407.jpeg
    IMG_2407.jpeg
    3.4 MB · Views: 31
  • IMG_5637.jpeg
    IMG_5637.jpeg
    2 MB · Views: 31
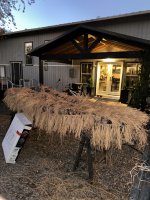
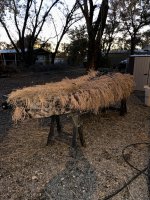
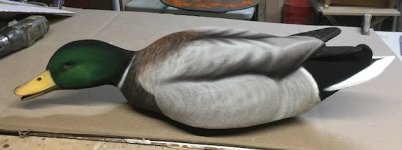
Great job! I for one would be very interested in how you flocked the decoy. Especially the blending on the side pockets. Very nice.
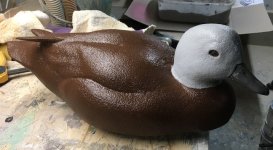
These are my first generation decoys. Basically just wanted to see if this was a passion I wanted to chase. Ive kind of fallen in love. Likely will redo all my mallards for the 25/26 season with custom master carves that I make molds of.

The side pocket comes from the mold. I use 2 part urethane 4lb density to cast my decoys. This decoy unlimited mold has a side pocket when casted and so it makes for a nice reference line when laying down the airbrushing. Blending is easy with an airbrush, just keep spraying colors over each other once you find desired look. I start with a dark thinner black line on the cast line, I then go back over it with a dark brown but I hold the air brush at a 45 degree angle pointed up. This keeps spray away from the flank area, and thats how I achieve that blending up into the gray but maintaining a sharp line between flank and side pocket.

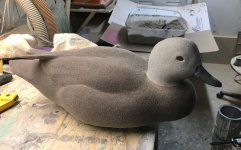
As far as flocking, Don Mintz is the one who showed me this technique. Its double coated flocking. The adhesive for the flocking is just rustoleum gloss paint. Gray and black are the two colors I use to lay down the flocking. I will use 3 different flocking colors depending on species of bird, but generally gray and black are paint colors to achieve my flocking adhesive. Paint first coat, apply flocking with a sieve (dollar store ones are the best), let dry over night, come back and apply a second coat of rustoleum paint over the first flocking and then apply the second coat. Let dry for 2 days and then air brush right onto that second coat of flocking. Magic is in the second coat, feels almost like a soft sandpaper. So far very durable and I am abusing these decoys.

If you have any other questions, do not hesitate to reach out. Don can come in right behind me and probably explain better. He also has some birds that he leaves out all season in his yard with this same exact flocking concept and they hold up very well. Im a believer so far.
 
William gave a good description of how we do it. He's working with molded foamers, I'm working with carved and burlapped foamers. Molded foamers have somewhat of a shell, carved foamers do not, thus the addition of the burlap layers.

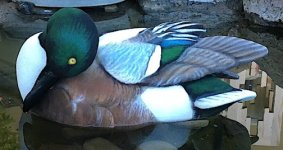
While transitions in color is primarily a product of airbrushing, there are parts of the flocking process that makes it work even better.

For the most part I flock the first coat on every decoy with goose grey flocking over smoke grey rustoleum. The reason we use gloss rustoleum is that it stays wet longer and makes it easier to get good adhesion. I've used water based flocking glue and solvent based flocking glue and none of them came close to rustoleum.

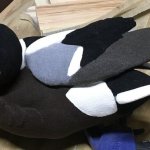
After I've done the first coat of flocking I'll go back with the second coat in sections of color like on this shoveler, then go on to airbrush with thinned rustoleum mixed colors.
441369137_991036892722907_7321703560160101617_n.jpg443840910_995302385629691_2384724035427767096_n.jpg
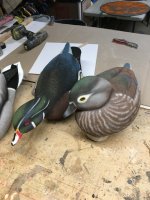
On occasion when you are using the same color of flocking like goose grey flocking on this wigeon I can use rustoleum gloss brown on the body and smoke grey on the head and flock it all at the same time giving the transition between head and body a seamless look.332384769_732152821752439_830557882131051039_n.jpg332359464_921182695975277_2739988511125909120_n.jpg

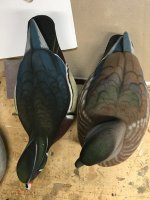
I left these wood ducks out on my water feature since March, they've been frozen, snowed and rained on, and sun and heat up to 110 last summer. Sun is hard on paint, but these still look great. The flank of the wood duck was done with oil based paint pens and that held up as well.IMG_4351.JPGIMG_4352.JPGIMG_4353.JPG

I flock and paint all of my decoys, not just because they are more effective, but the painted surface is stronger than just paint. This is not the same process that factories flock with.

This mallard was flocked grey body twice, head and rump black on a second coat and brown on the small patch of chest. All the transitions of color are airbrushed with rustoleum.
465379272_1107858261040769_1093806704221004183_n.jpg
 
Back
Top