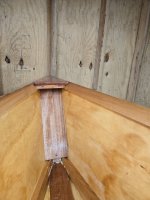
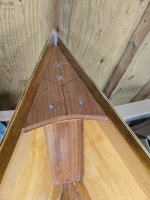
More progress...
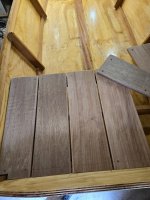
Scarfed and glued the 3/8" for the sides on Tuesday. The scarf joint is 4", so a roughly 10/1 scarf. The 1/2" is also 4" so 8/1. Note the high tech custom clamping system, complete with about 50 pounds of sand and lead in each bucket. Scarfing is the most tedious part of boat building for me, and the one I'm least proficient at. The power planer did help, with a sander and hand planer you wonder if you'll ever get done. With a power planer you have to be careful not to let it become too aggressive. It worked best at the minimum cut setting. Finished off the scarf with the belt sander. I give this one a grade of B, and that might be generous. I'll be glueing the 1/2" floor tonight. The painters plastic works well to prevent unwanted adhesion, it doesn't stick to the epoxy (or vice versa) at all.
View attachment 66956
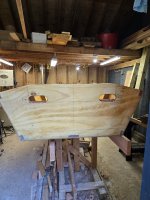
I usually make a pattern to cut the sides, rather than wrestle with a half sheet of plywood. This Builders Board is good stuff. My one caution is to make a good pattern, but leave the plywood a bit proud until after final fitting on the boat. I did this at lunch today, half an hour and done.
View attachment 66957View attachment 66958
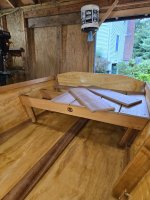
The same pattern fit both sides (mirror image). I left a solid 1-1/2" all around when cutting to avoid a major oh shit. I cut the two sides last night, clamped, drilled and temporarily fastened them for final scribing. In some builds, I've had luck using a router with a panel cutting bit to clean up the edges, tried it on here and epic fail. It doesn't like the angle of the side. I'll take them off later today, use the jigsaw to
carefully cut along the scribe lines. I'm also going to run the sander across the scarf a little, it's got a very minor bulge that I think will come right out.
View attachment 66959
That all looks like a Kindergarten class worked on it.

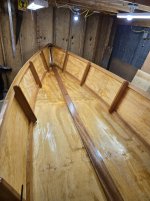
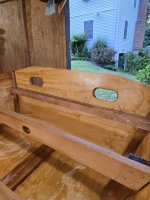
The sides will be affixed with 1-1/4", #8 wood screws and a liberal slather of epoxy. This last view from above gives the sense of the lines. Narrow and pointy.
View attachment 66960

