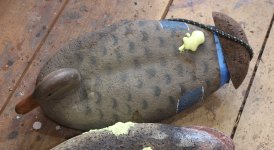
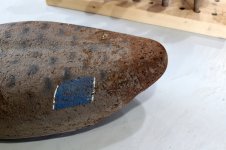
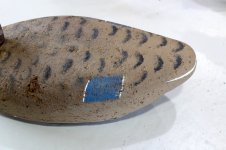
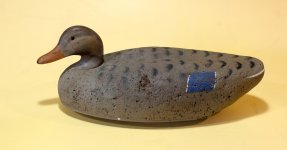
Harold Haman Mallard & Black Duck Decoys - rehabbing just 3 of a dozen

Steve Sanford

Well-known member
All~


As I mentioned in the Workbench post, I am helping a friend "de-accessioning" a dozen decoys he had purchased from Orvis circa 1975. He and his wife are downsizing as they move to western PA.


Harold Haman was a Delaware maker of gunning decoys. This YouTube is a nice tribute:


https://www.youtube.com/watch?v=eKLQfQTpQ9A


Please let me know if you have contact info for Ken Reynolds of Smyrna, Delaware.


Here is the dozen as they came to me:


A - Harold Haman - dozen.JPG


They are a nice big decoy - with dense "black cork" bodies.


B - Harold Haman v Herters Model 72 - size comparison.JPG


They are earlier birds, with wooden heads and brass hardware.
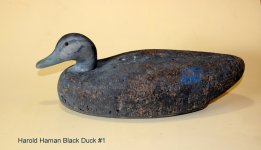

C - Black Duck 1.JPG


The paint is simple.


D - Black Duck 2 - head closeup.JPG


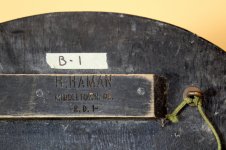
All keels have nice clear brands.


E - Brand on Black Duck 1.JPG


Nine of the birds are ready-to-hunt - or display in their original paint. If I were going to hunt them, though, I would probably re-paint them all. But, 3 needed serious repairs in any event. This Drake Mallard had a fissure almost through its body - and beetles or carpenter bees had excavated a bunch of cork inside the body.


F - Mallard Drake 3 - body crack closeup.JPG


This Hen concealed an enormous insect cavity.


G - Mallard Hen 4 - insect boring - needs filling.JPG


This lost lower mandible looks very - suspiciously? - fresh.


H - Mallard Hen - bill broken detail.JPG


This tail had been broken off a while ago.


I - Mallard Hen 5 - broken tail detail.JPG


On to the ICU.....


SJS

 
Good morning, Steve. I for one,will look forward to the day when you show us your finished project.
Al
 
Part 2 - The work begins....


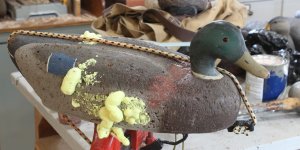
The body crack has been injected with straight epoxy - but the surface got filled with thickened epoxy. The body borings were filled with spray foam made for doors and windows. It remains flexible and is less likely than the standard foam to bust open the body. A tight shock cord is enough to clamp the body repair.


J - Haman - Drake Mallard body fill and clamp.JPG


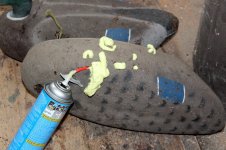
The cavity in this Hen took lots - and lots - of foam.


K - Haman - Hen Mallard body fill.JPG


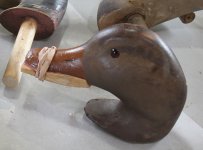
The heads are Red Cedar - but I used White Pine - and thickened epoxy - for the repair.


Ka - Hen Mallard bill repair.JPG


My Japanese pull saw cut the tail cleanly - to accept a new piece of dense cork. Straight epoxy - and 2 galvanized finishing nails to align the new cork - did the job. The foam filled a shallow crater on her back.


L - Haman - Hen Mallard tail repair and divot fill.JPG


I shaped the new tail with medium rasp and 80-grit paper.


M - Haman - Hen Mallard tail reshape.JPG


I got a good match of the body paint - but was a tad too dark with the markings. I do not own an air brush, so used Old School brushes to come "close enough".


N - Haman - Hen Mallard tail repaint.JPG


Here she is ready to rejoin her rig mates.


O - Haman - Hen Mallard DONE.JPG


Next - the "full restoration" Mallard pair.....


SJS


Part 3 - The Mallard Pair


I shaped the repaired bill and decided to put "Sanford paint" on this pair - because most of the original paint was disturbed during the repairs - and I wanted to see how they would look with a different approach.


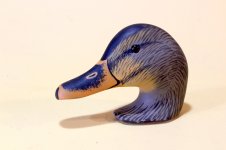
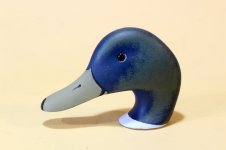
P - Haman - Hen Mallard bill and head.JPG


As with the Hen - and most factory decoys I rehab - I re-drew the bill-face line on this Drake more in keeping with the live bird.


Q - Haman Mallard Drake head.JPG


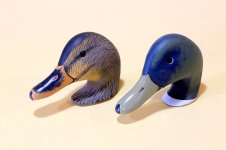
Finally - as I do with most gunners - I coated the bills with Satin Spar Varnish for both added protection and a bit of "pop".


R - Haman - heads with satin spar varnish on bills.JPG


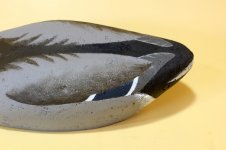
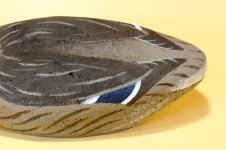
Here is the back detail on Mister Mallard. I departed from my usual style in 2 ways: I painted in the speculum - which I usually forego with Drakes - and did not stipple on the paler grey to get the silvery effect. Both were done in an homage to Mr. Haman - who clearly preferred simpler paint.


S - Haman - Drake Mallard back detail.JPG


Mrs. Mallard gets a new overcoat as well.


U - Haman - Hen Mallard back details.JPG


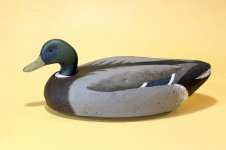
He sits for his portrait.


T - Haman - Drake Mallard full repair and repaint.JPG


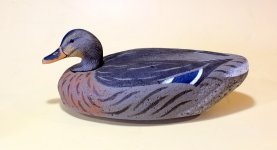
As does she.


V - Haman - Hen Mallard full repair and repaint.JPG


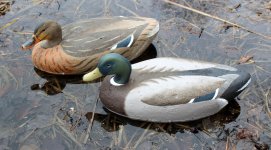
Finally - sea trials.


W - Haman - Mallard Pair - Sea Trials.JPG


All the best,


SJS
 
like the restoration Steve, big blocks bold paint and personal touches. A compliment to the original.
 
What a great looking pair of mallards. I really like the way that hen looks. Excellent work on that beak of hers.
Al
 
Steve, those look like carpenter bee holes. Had soe do that to a push pole ages ago--When i leaned on it on a fateful opener, it broke. Interestingly enough, the part with the holes didmake a nice flute. The other ind is still used as a walking pole. If i can remember the name of a gent who made heads for him, i will let you know. Ptoblem with that cork and picking up stool by the head will produce fissures in THAT spot.
Noce rehabs, so far.
 
George~


I need to consult one of my bee expert friends. The carpenter bees I know make a perfectly round 3/8-inch hole. And powder post beetle hole are an 1/8-inch or so. The work of a decoy fixer is never done.....


All the best,


SJS

 
Back
Top