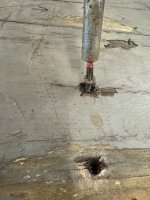
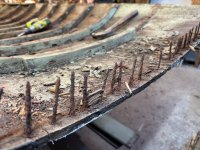
Steve, I have been able so far just to find the areas of putty over top of the screws. Scrape the putty away with the painters five and one tool and try to remove the screw. Most of the screws just spin.
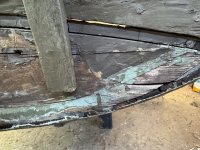
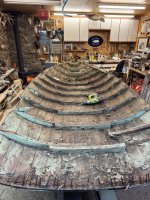
The planking is tongue and groove, so I had to start at the port side and work my way to starboard.
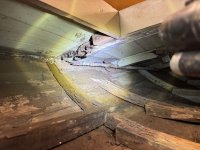
Once I started removing the planking, you can see there is much more significant dry rot and termite damage than I had anticipated.
She is quite literally coming apart in my hands.
I'm going to continue to remove the planking and see if I want to proceed with the restoration or just send her to the boat graveyard.
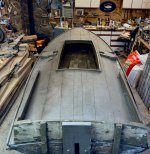
As far as I can tell, this is a very old sneak box that has already gone through two refits in its lifetime.
In my estimation, the oarlocks and the Decoy boards were replaced during her last refit, perhaps in the 1980s.
Quite literally, the fiberglass is the only thing holding this boat together.