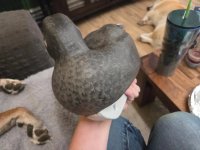
August workbench.

William Reinicke

Well-known member
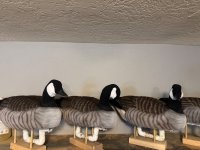
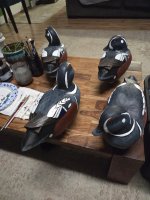
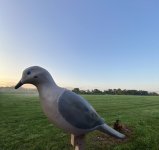
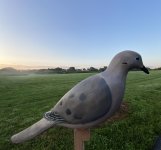
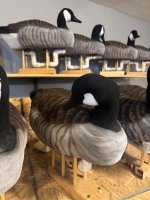
Guess I’ll get this month started. Finished up next batch of geese. Got 4 more to make. The last ones will be much more custom. Slowly working through the creation of a full body as well. Stay tuned!

May go back and a few more bars in the flanks on these birds. Played with the idea of contrast and less bars might be more. Not sure I’m in love with that thought.

I’m not as talented getting pics of my work like Don. These just go in bags and tossed through mud anyways.
 

Attachments

  • IMG_6912.jpeg
    IMG_6912.jpeg
    333.6 KB · Views: 22
  • IMG_6908.jpeg
    IMG_6908.jpeg
    414.5 KB · Views: 22
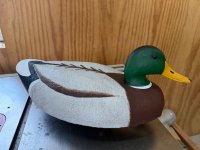
Cut out 4 more wood duck heads yesterday. Guy I grew up with asked me to make him some cork gunners. First couple I made years back I swore I'd never make anymore.... I think this will make about a dozen this year! 🤦‍♂️
 
Cut out 4 more wood duck heads yesterday. Guy I grew up with asked me to make him some cork gunners. First couple I made years back I swore I'd never make anymore.... I think this will make about a dozen this year! 🤦‍♂️
Looking forward to seeing them.
 
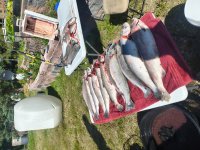
Busy with the salmon run here in AK. Trying to fill the freezer. (Is this a workbench? Sure seems like work). My decoy shop is filled with unfinished projects. Duck season starts 1 September. So no carving until things freeze up and snow flies. Such is carving in Central Alaska.
2206.jpg
 
the only place we ever ate salmon when we lived there was at the Alaska Salmon Bake and usually we opted for halibut. I caught a lot of fall silvers down at Delta jct, but we didn't eat them, pretty fun on an ultra light with 6 lb line.
 
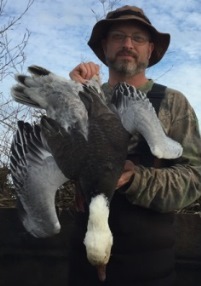
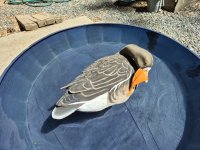
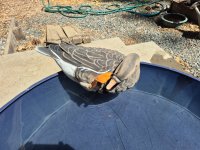
Finally finished this guy. I know he's gonna turn some heads. Hopefully, SPECKLEBELLY goose heads and NOT the heads of my huntin' buddies thinkin' I'm crazy.
This one was tough, figuring out the proportions. Very fortunately, Don and William came to my rescue and got me on the right track. Don's got a great recipe for these head scratchers (and a million other unique poses) and he is very kind to share his knowledge. William's got the mind of a structural engineer. He knows exactly where those I beams and steel should go.
 

Attachments

  • 20260806_143246.jpg
    20260806_143246.jpg
    330.7 KB · Views: 12
  • 20260806_143517.jpg
    20260806_143517.jpg
    332.7 KB · Views: 12
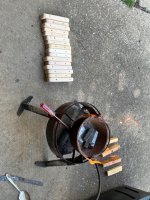
No every part of decoy making is my favorite. I really find making the weighted keels tedious and put it off as long as I can.

The weighted keel serves several purposes. It helps the decoy track in line in rough water and keeps it from flipping over. It makes the decoy self right when deploying. When the weights are set correctly they make the decoy float level. With wood heads and light materials for a body, they tend to tip forward. It is also the connector to the anchor line.

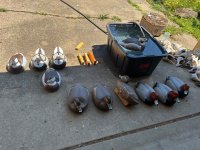
It starts with sea trials. I have six keels that I test each decoy with individually. I use a piece of shock cord to hold the keel on and drop the decoy in the tub of water head down. The decoy needs to self right and then float level. Once a keel is selected I mark the decoy with the pattern I will use.

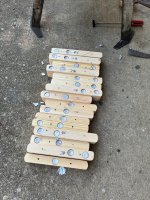
I cut out the keels from 2x4’s and then sand to shape and drill screw holes, attachment point holes and the lead holes based on which of the six patterns are selected.

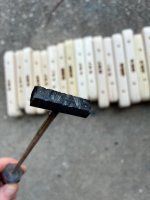
I brand them KWP with a brand I made with a piece of bar stock and a file. Some time with the melting pot and some very careful ladling of molten lead and the keel is nearly complete.

Three coats of spar urethane and then they will be ready to attach to the decoys.

I made about half as many as I needed for the decoys I made this year. I ran short of materials and patience. Yes they can be purchased commercially but after everything that I put into the decoy I can’t imagine cutting that last corner.
 

Attachments

  • IMG_0350.jpeg
    IMG_0350.jpeg
    647 KB · Views: 18
  • IMG_0358.jpeg
    IMG_0358.jpeg
    196.6 KB · Views: 18
  • IMG_0356.jpeg
    IMG_0356.jpeg
    716 KB · Views: 17
  • IMG_0359.jpeg
    IMG_0359.jpeg
    721.5 KB · Views: 18
@Kevin Puls

Your "experimentation first" approach no doubt yields the bet possible results. I like the thought you put into it and process.
Thanks Eric. I’m pretty sure I learned that here. Since I do internal weighted keels it was a lot of screw holes in the bottom of the decoy by the time I got done. Since shifting to cork this year I find the balance point to be more predictable, and I noticed that the all wood decoys my father made ride level in their own.
 
Ron, you and your daughter do amazing work.

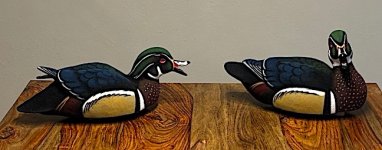
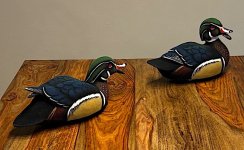
I sculpted these a few weeks ago and got them back from my son's flocking and paint shop a couple days ago. Ron, it sure is nice to have our kids painting for us. I still paint a little, but 90% of the time it's Caleb behind the airbrush. I see his improvement with each group he does.

I've always got some behavior in mind when I'm creating a decoy or group of decoys. Kind of a body language kind of thing. This pair is reflecting the aggressive nature of a pair of wood duck drakes fighting, you've got the chase bird and the skedaddle bird trying to beat a hasty retreat. In my estimation there are lots of variables and triggers that get ducks landing in the decoys, one is the color of black flocking, and another is motion. I don't like the tin soldier look of chinese decoys, much less wanting to buy decoys from overseas. Those of us who make hunting decoys keep trying to figure out not only what makes ducks drop the landing gear, but also doing it in a creative way.

This pair is designed for use in current or on a jerk line, the skedaddle bird will have one of the reinikeels attached to get it to swim, the chase bird will be attached by a cord. That way the skedaddle bird will never get away. I hunt rivers and creeks almost exclusively and having the swim motion is pretty handy and I don't like lugging around heavy chinese electronic decoys. IMG_6139.jpgIMG_6140.jpg
 
Back
Top