Tom Barb
Active member
Well I am officially the slowest boat builder ever but I finally made some progress on my Sneakbox. I decided not to keep posting little updates as to not keep anyone waiting lol. But here is my old heinrichs box that I am restoring. I had it all stripped down and replaced the boards on the top of the boat. Then i flipped it over and ripped off the bad planks.
When I did this I decided to replace as much stuff as I could. I re did all the gussets with 1/2 inch fir plywood. (Thanks Tod and others who stopped me from using okoume on this traditional build). I then replaced the small plywood pieces on the hull that held the framing members together with 1/2 cedar.
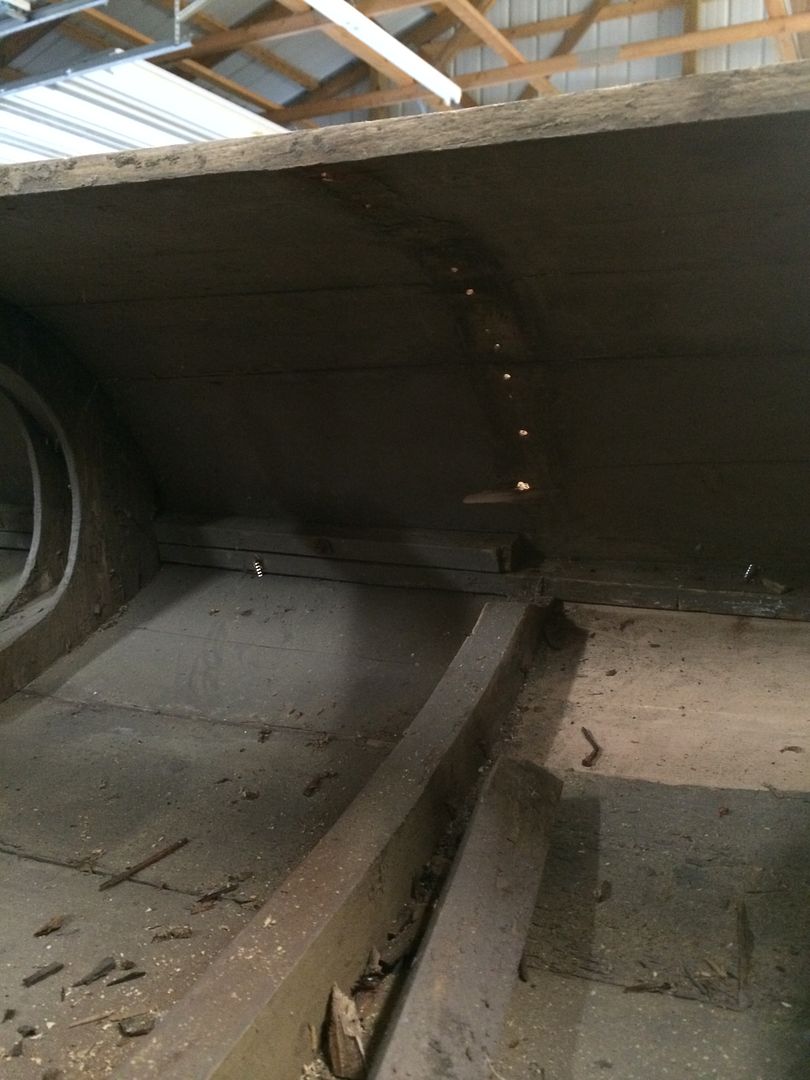
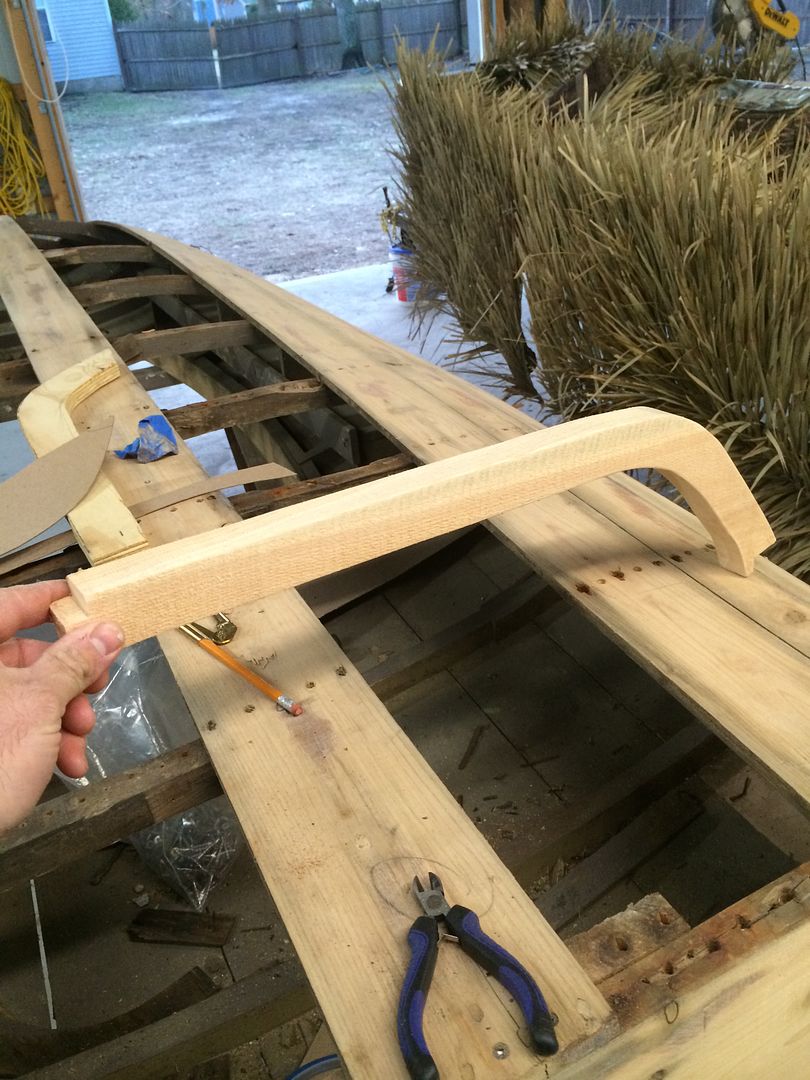
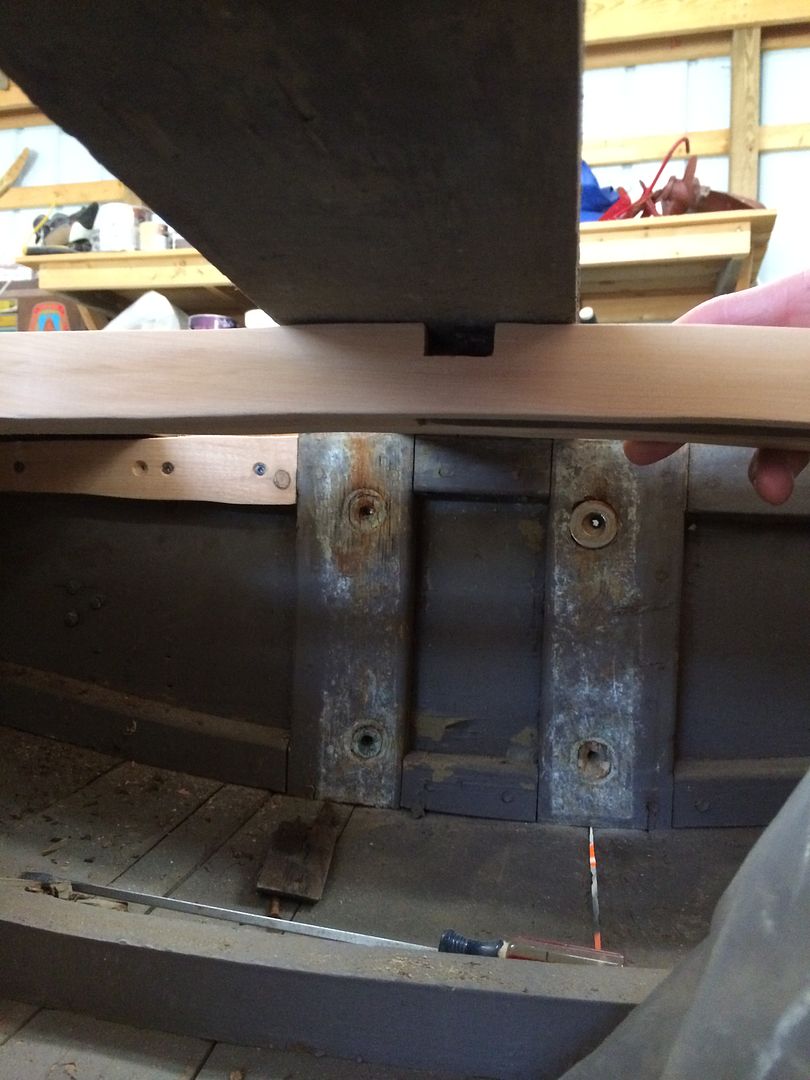
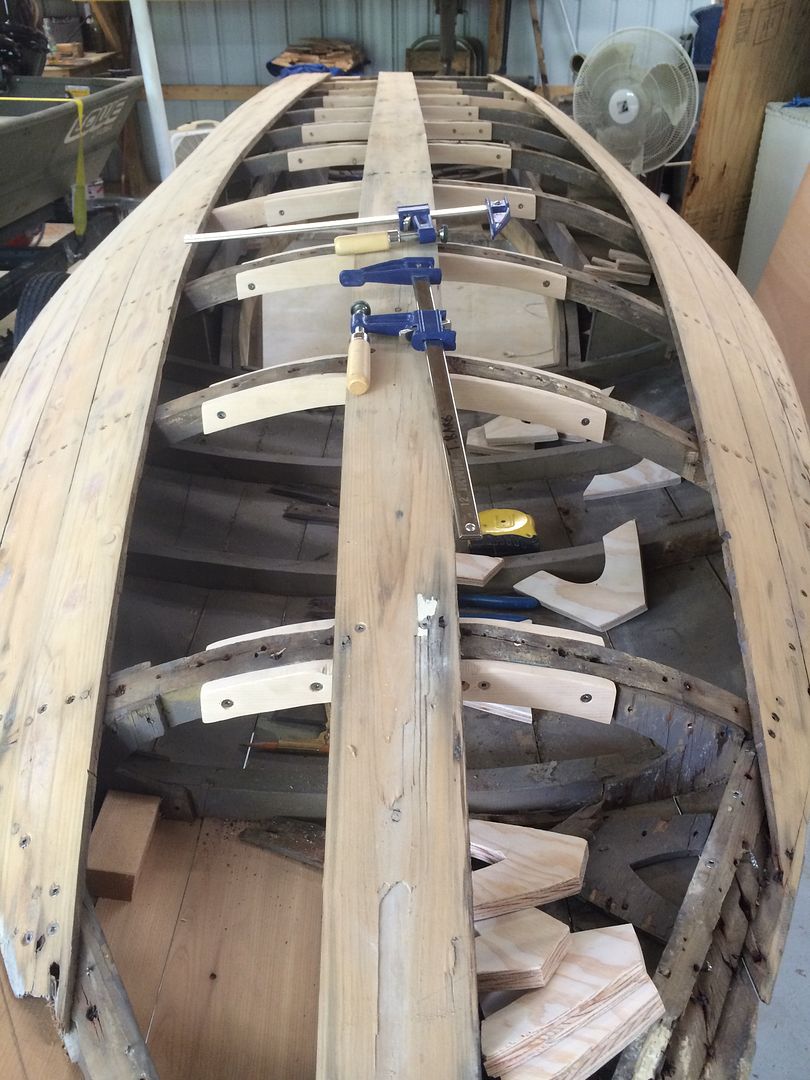
I had to replace 3 ribs which was an interesting task. I tried numerous methods to replicate the rib and finally landed on one that worked. I cut some cardboard and put it in the boat, traced, scribed, and cut and fit some more until I got something that worked. I then cut it out on some scrap ply to fit before using my 1 inch cedar.
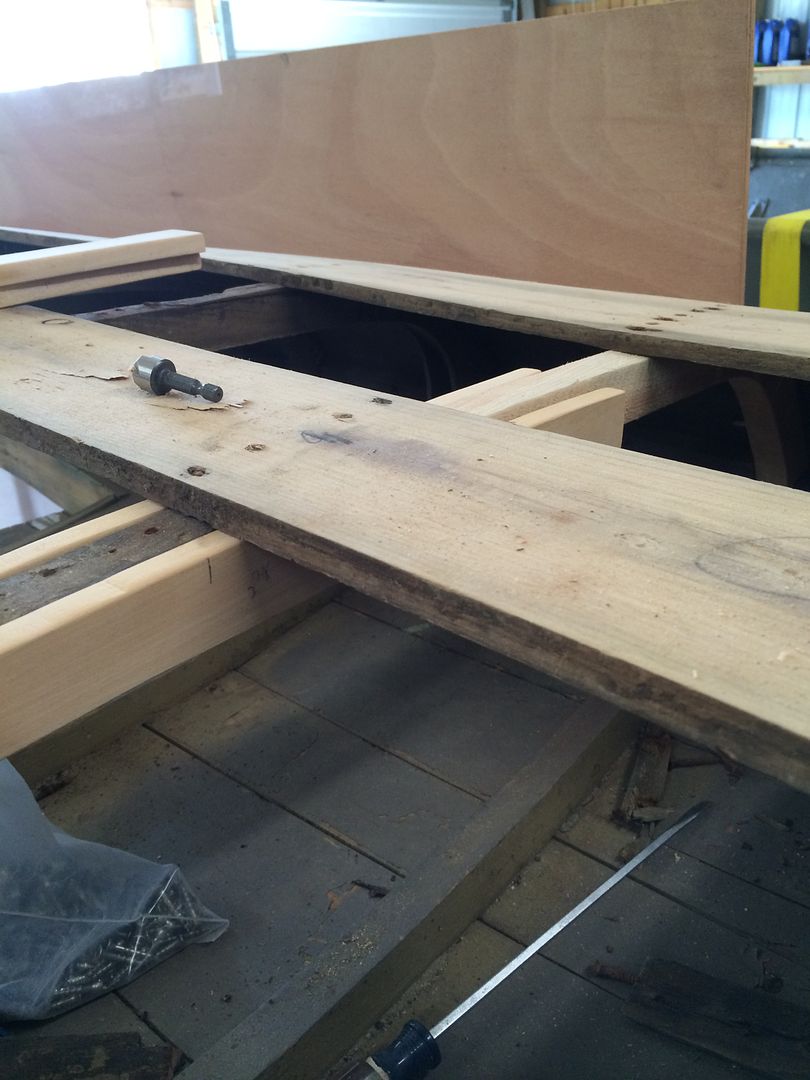
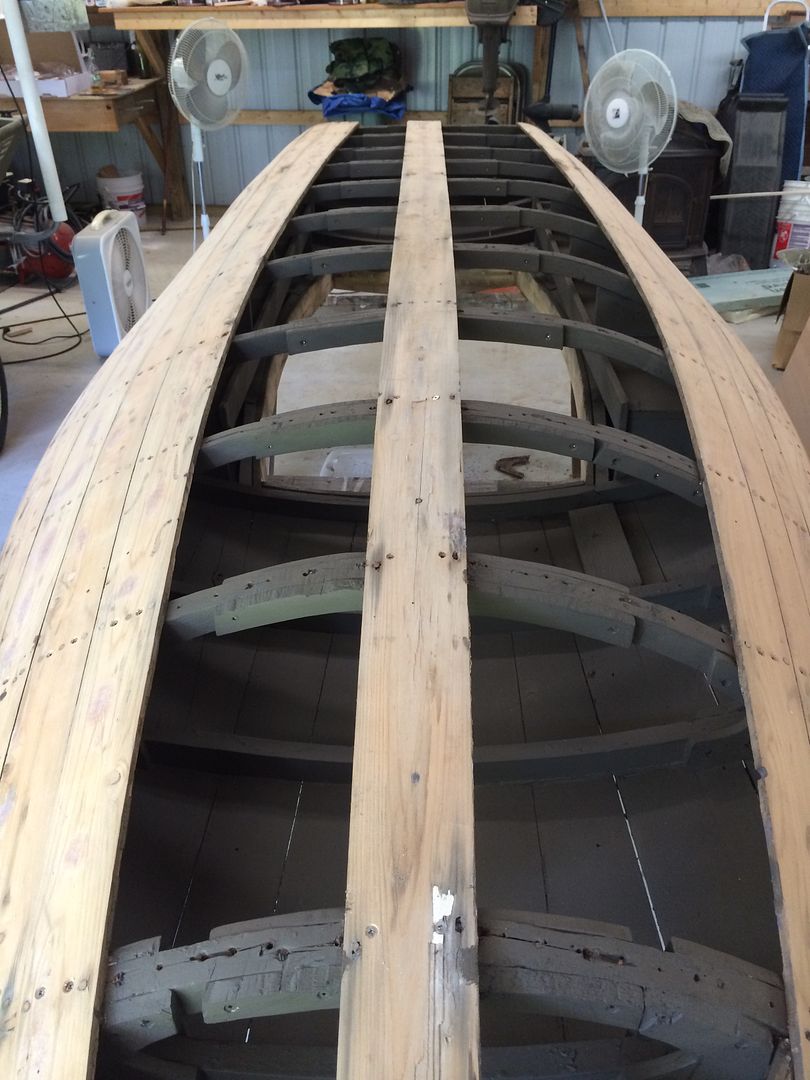
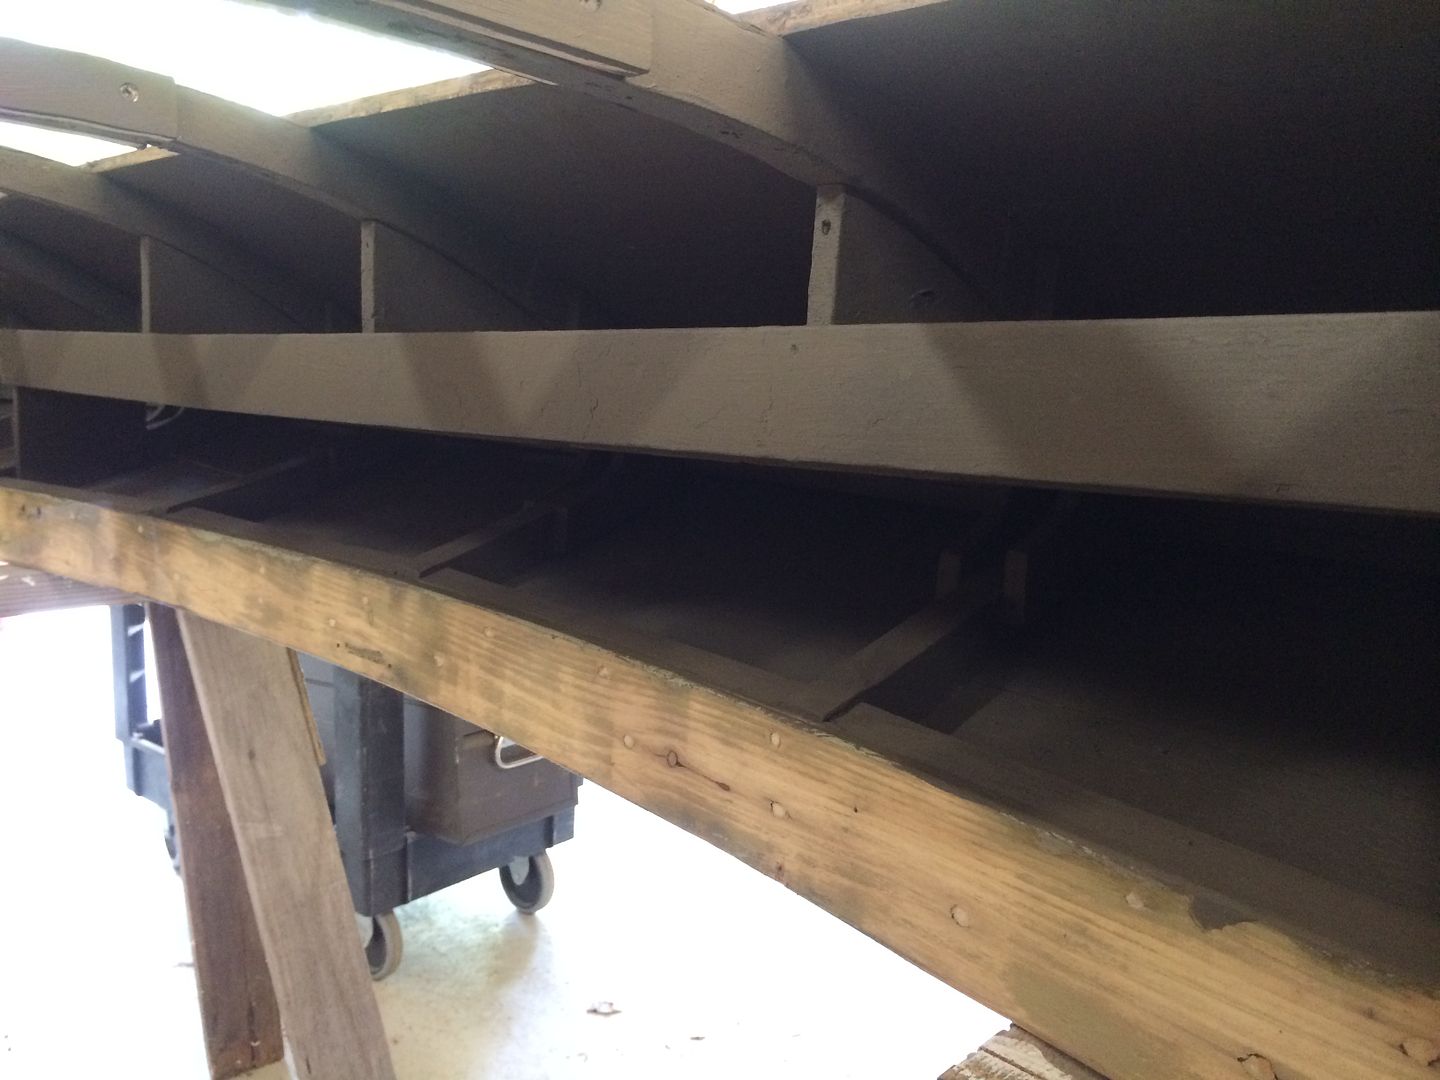
After finishing all the framing, I painted everything I could with FME. Now onto replacing the planks on the hull and then glass. Enough rambling here are the pics.


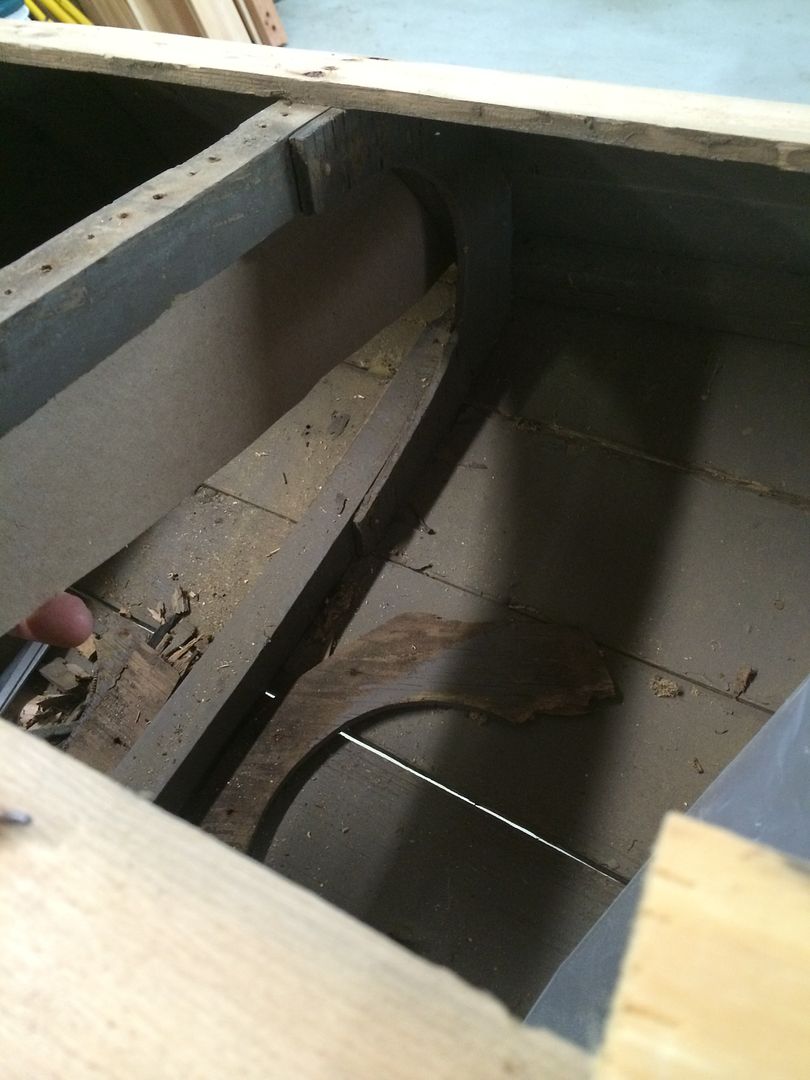


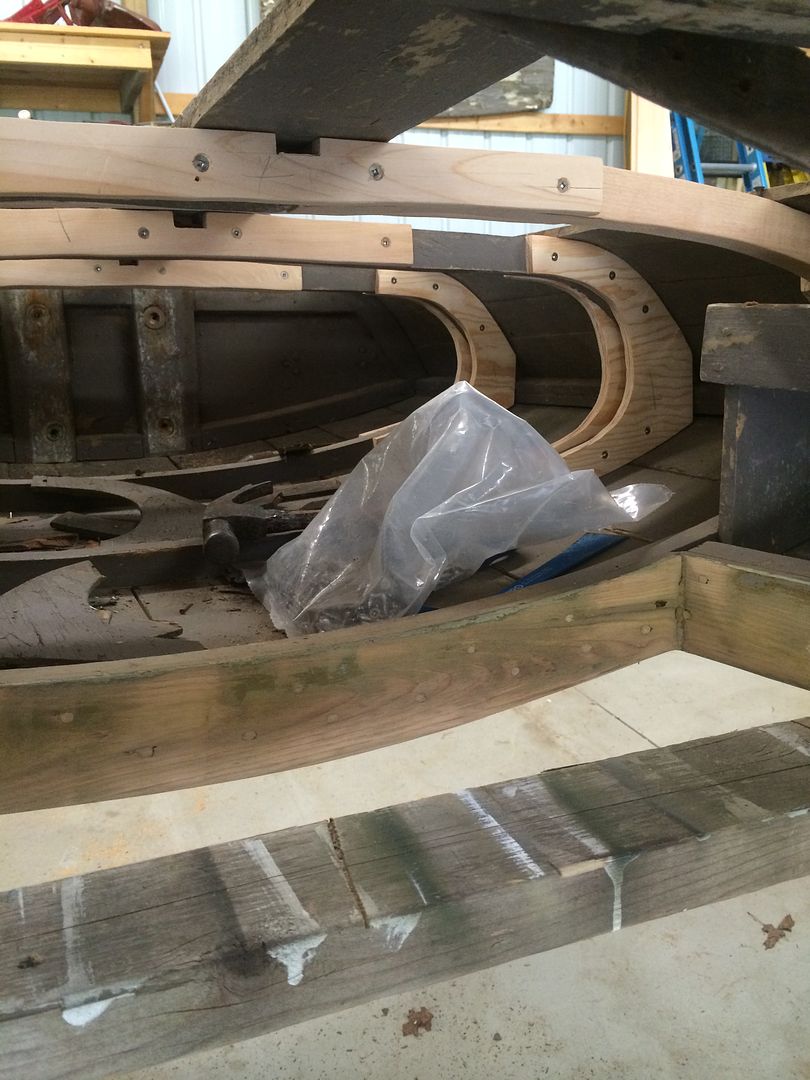


When I did this I decided to replace as much stuff as I could. I re did all the gussets with 1/2 inch fir plywood. (Thanks Tod and others who stopped me from using okoume on this traditional build). I then replaced the small plywood pieces on the hull that held the framing members together with 1/2 cedar.
I had to replace 3 ribs which was an interesting task. I tried numerous methods to replicate the rib and finally landed on one that worked. I cut some cardboard and put it in the boat, traced, scribed, and cut and fit some more until I got something that worked. I then cut it out on some scrap ply to fit before using my 1 inch cedar.
After finishing all the framing, I painted everything I could with FME. Now onto replacing the planks on the hull and then glass. Enough rambling here are the pics.


