Mark Spolarich
Well-known member
After many months of planning and procrastinating I actually started my first boat build the end of July / first of August. I started with the basic Kara Hummer plans and modified them to accept my 9 HP Go-Devil. during construction this plan was nixed and I swapped that motor out for a 5hp air-cooled Briggs. I used 5200 on all joints for added strength. The boat's overall measurements are 12' in length and 44" in width.
Here is the framing started
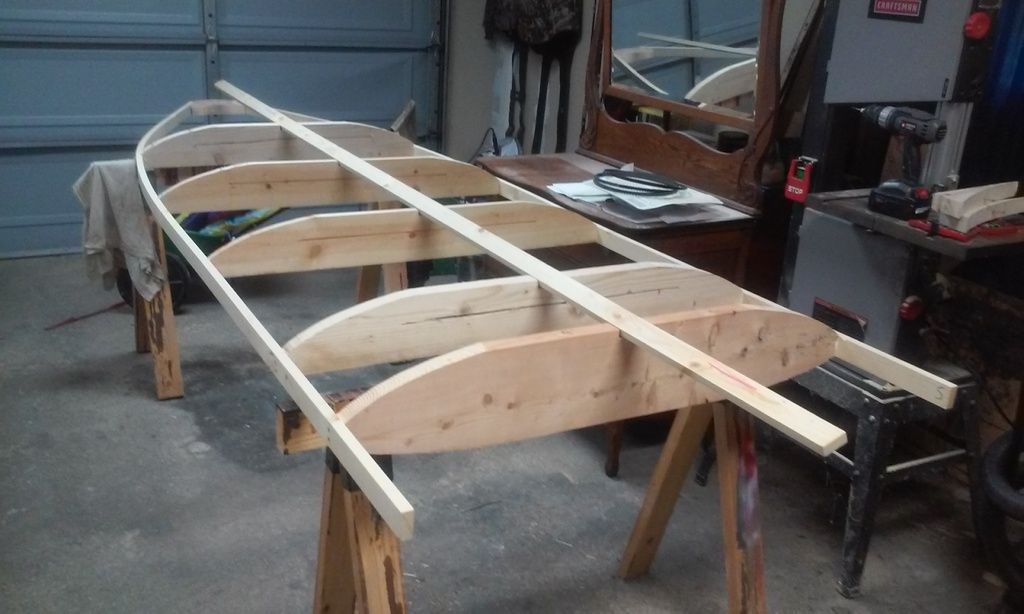
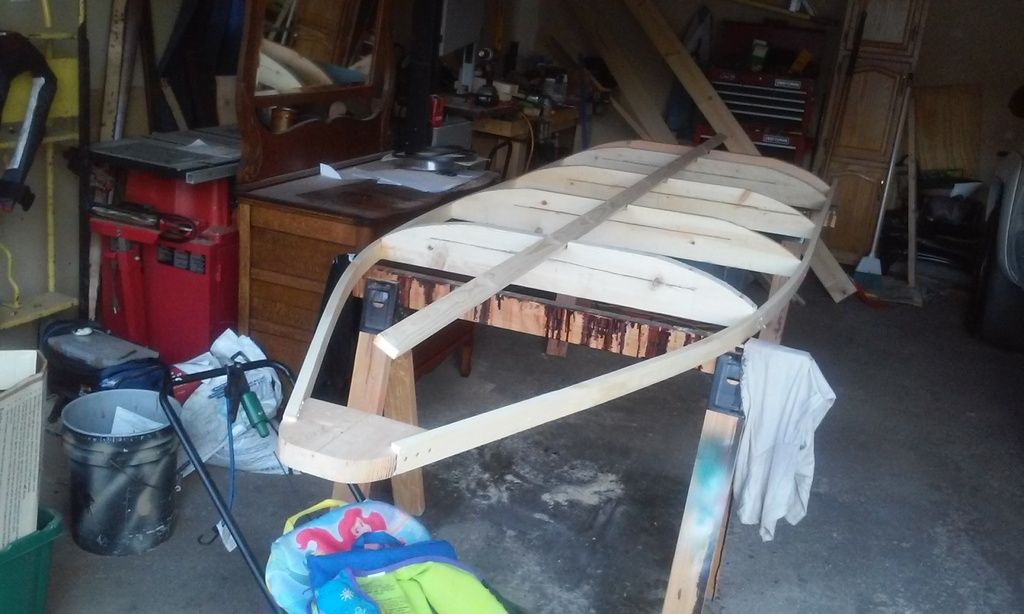
I added a 2" board to the plans and made the transom out of laminated 3/4" plywood. I also added bracing between the transom and the first rib for additional strength in the transom.
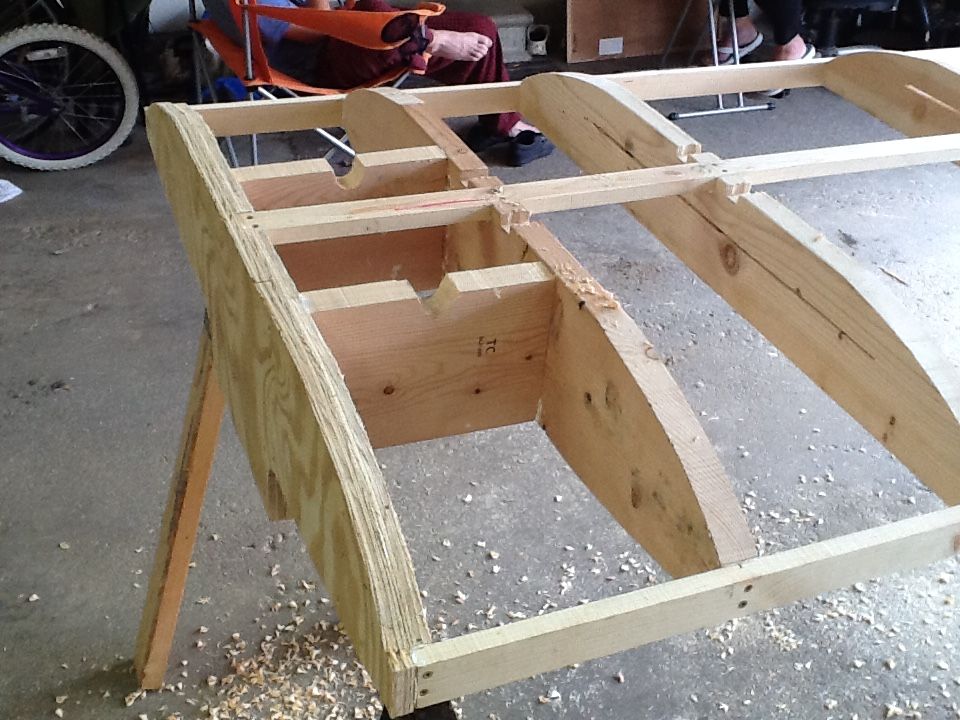
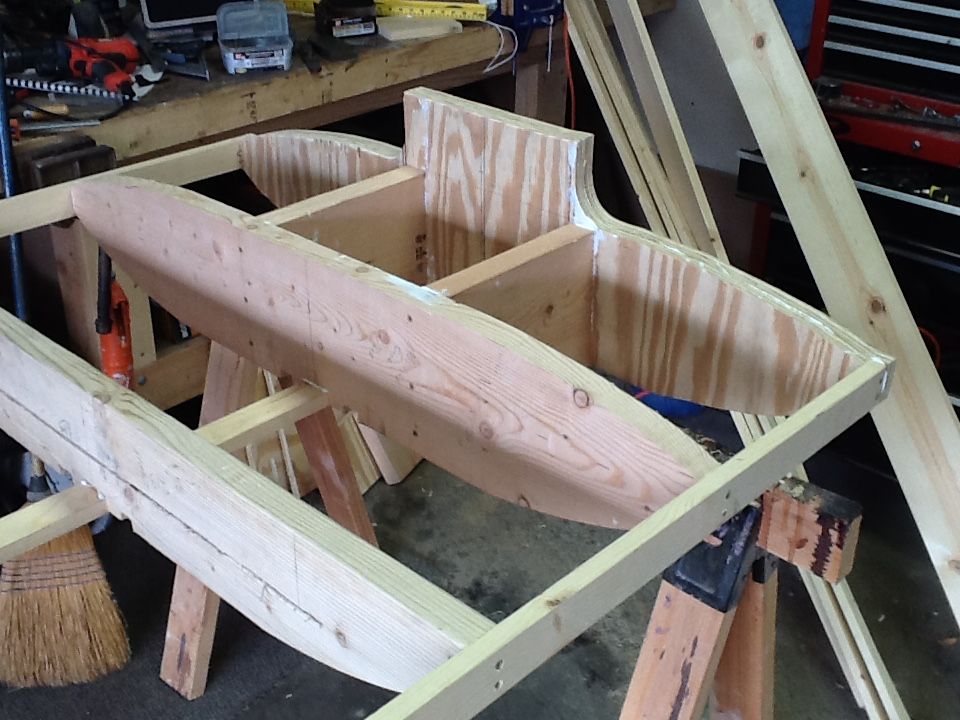
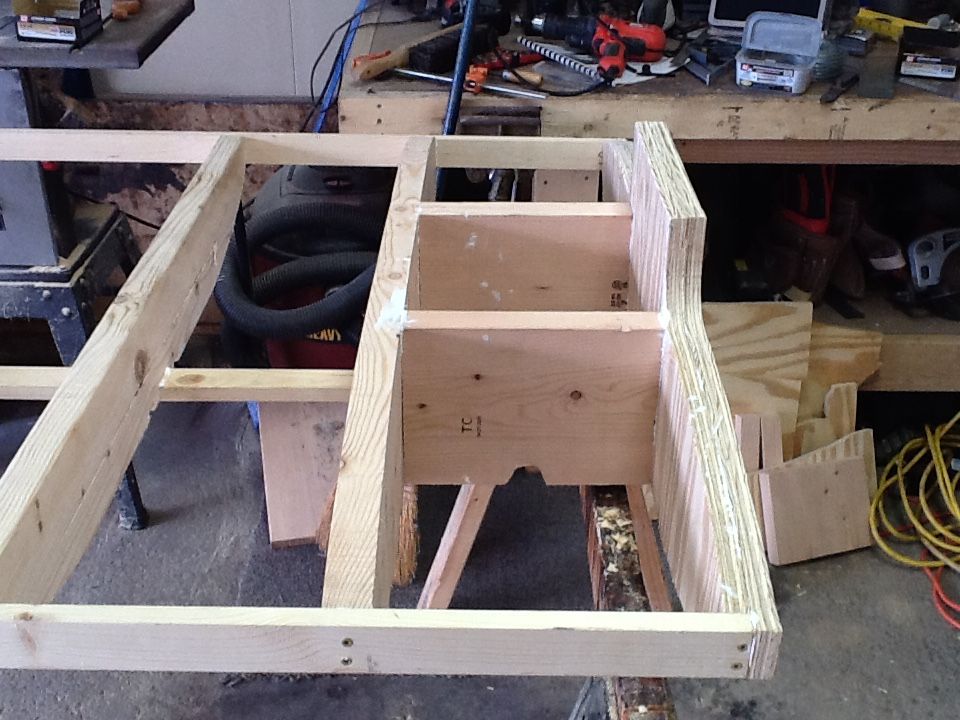
I forgot to take pictures when I added the cockpit boards and deck ribs; so here I am laying the hull plywood
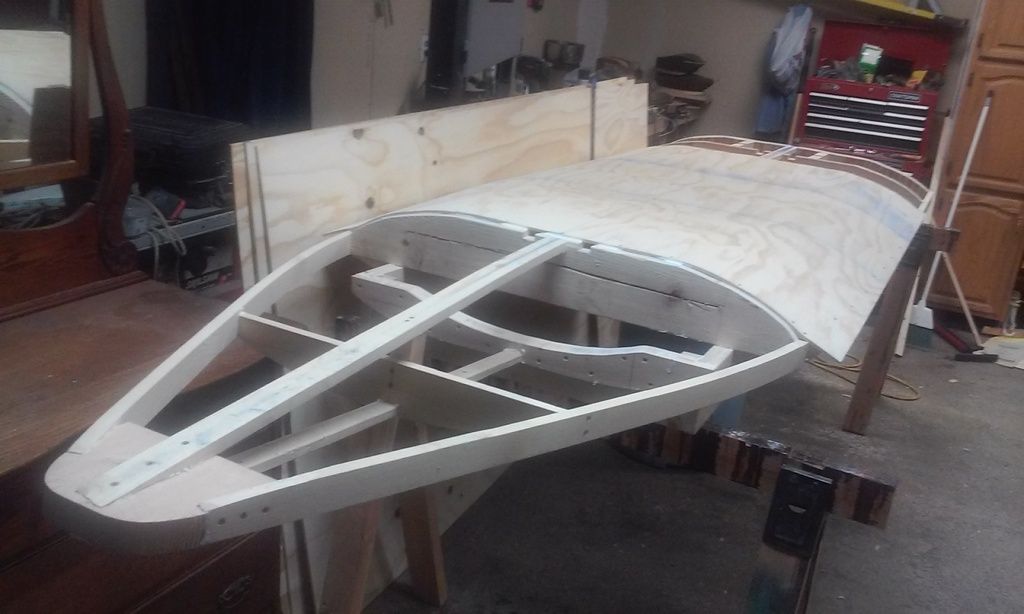
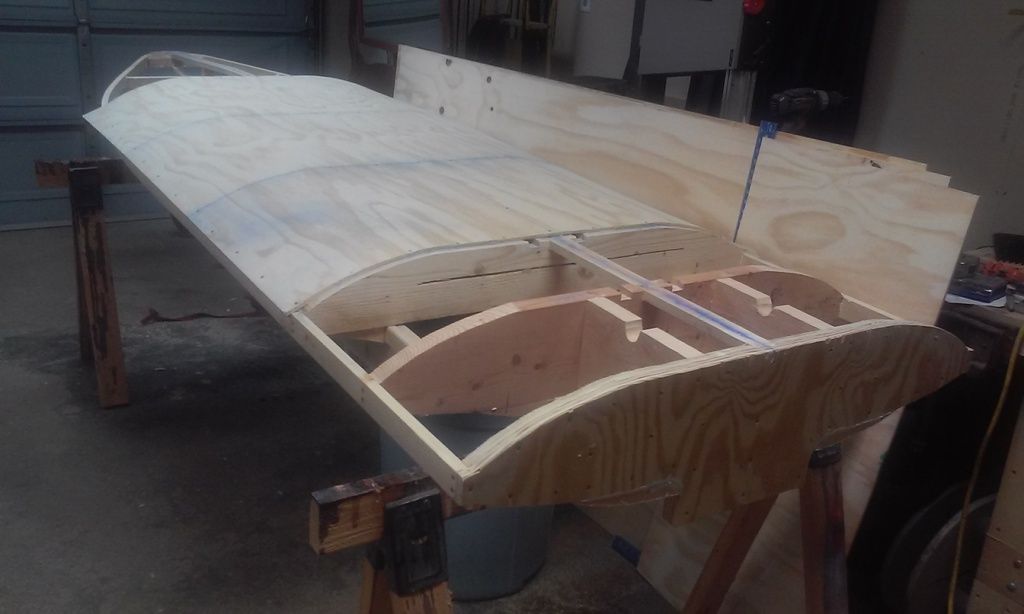
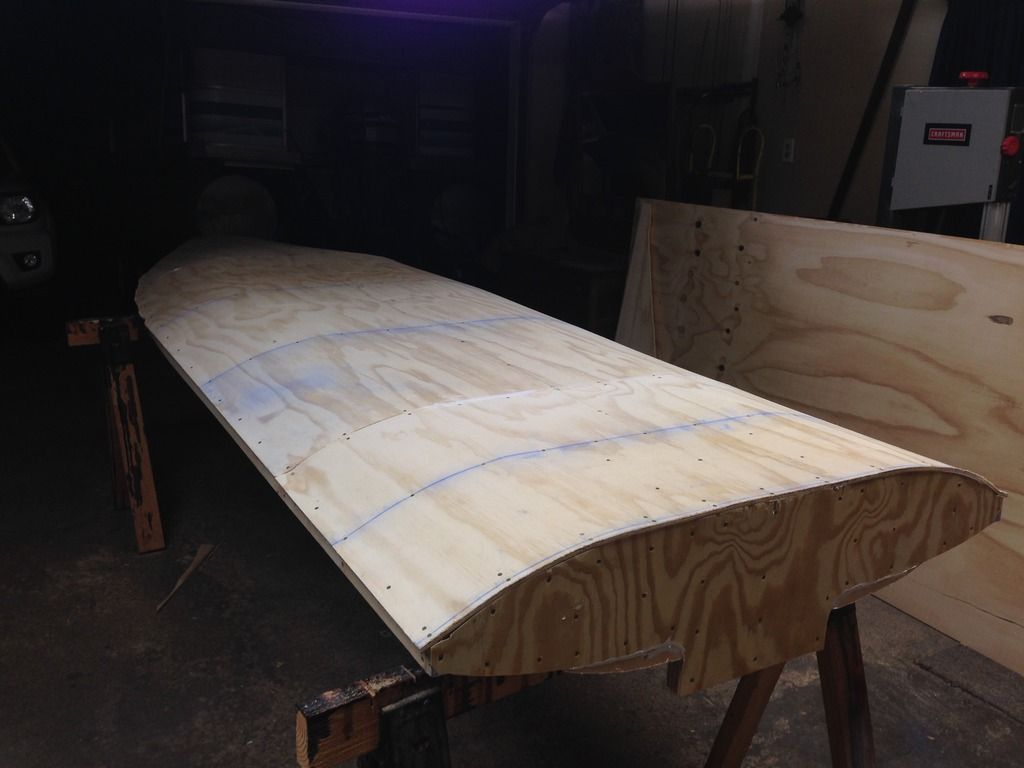
Here it is flipped and ready for decking
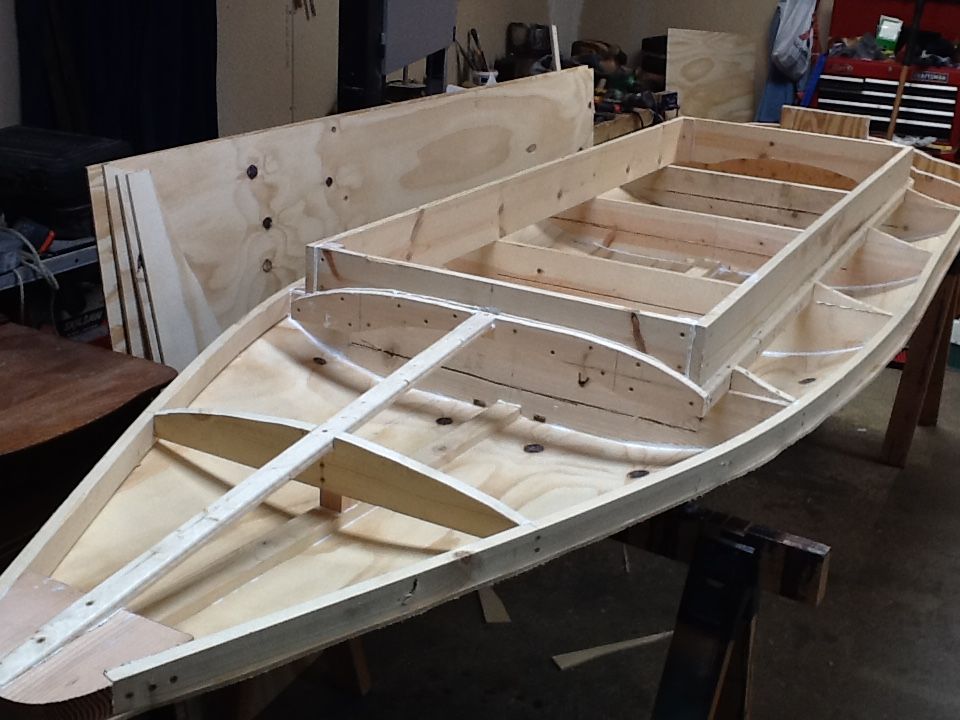
This is where i discovered I made an error in calculating my rear deck ribs; they were not in-line with the rear deck support ribs installed according to plans. I had to add some wood to make the deck level and so it would meet the transom properly.
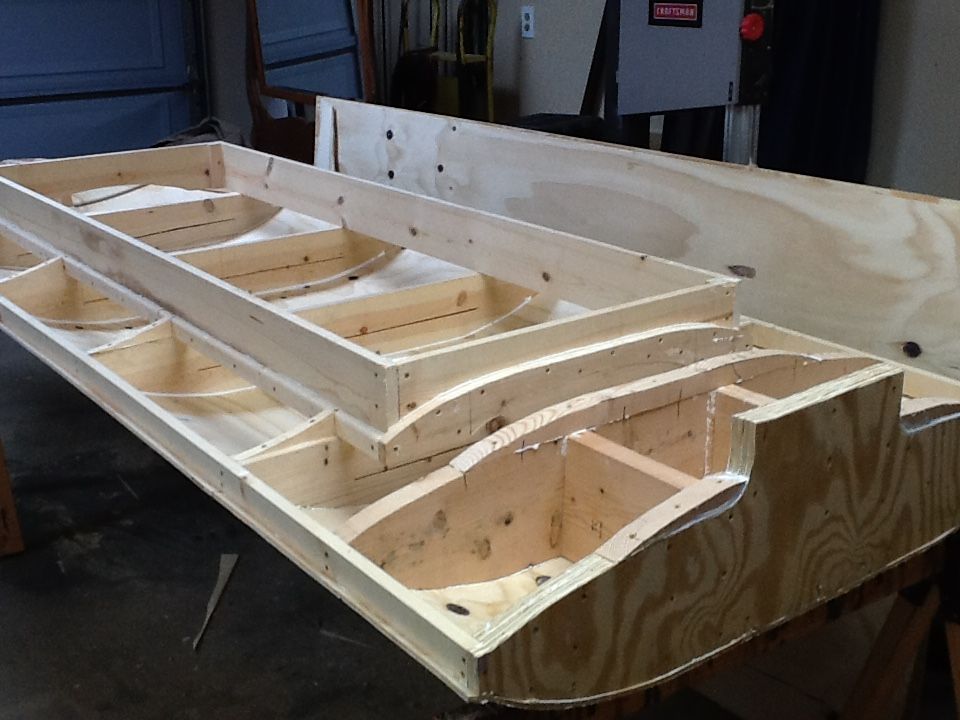
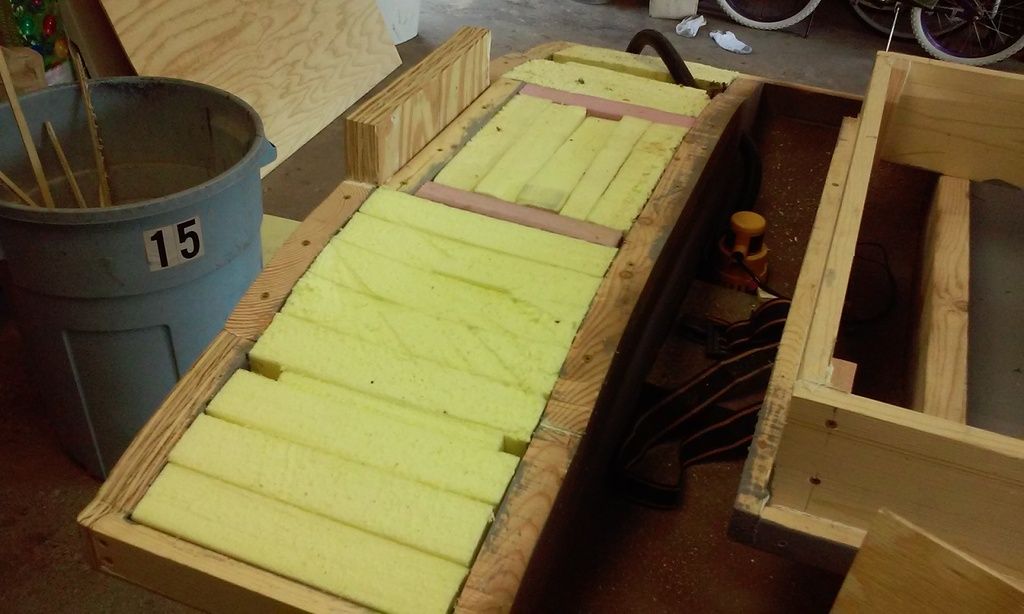
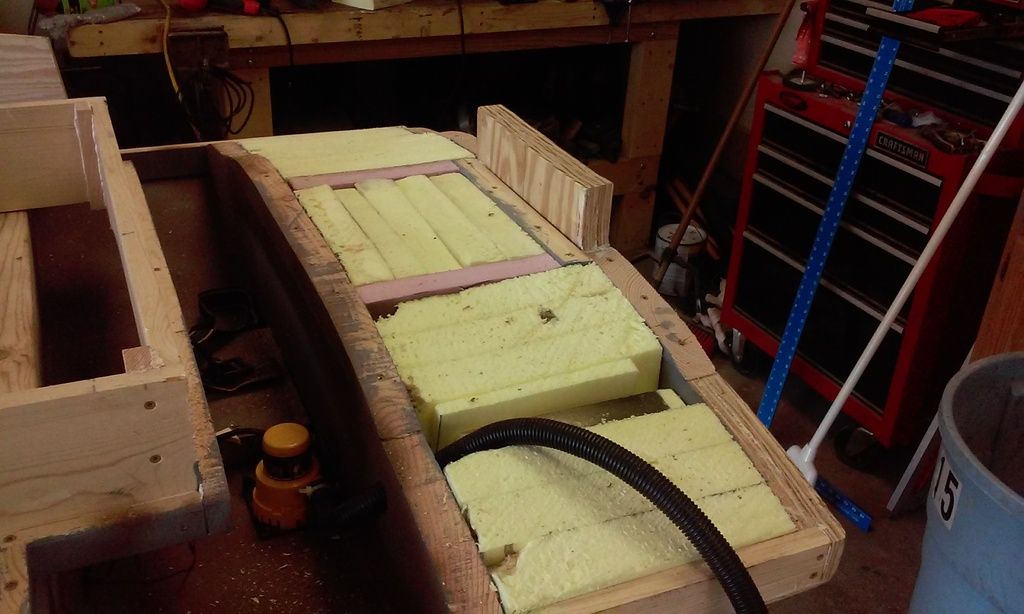
After painting the interior with epoxy paint and adding a bilge pump I started inserting foam for floatation
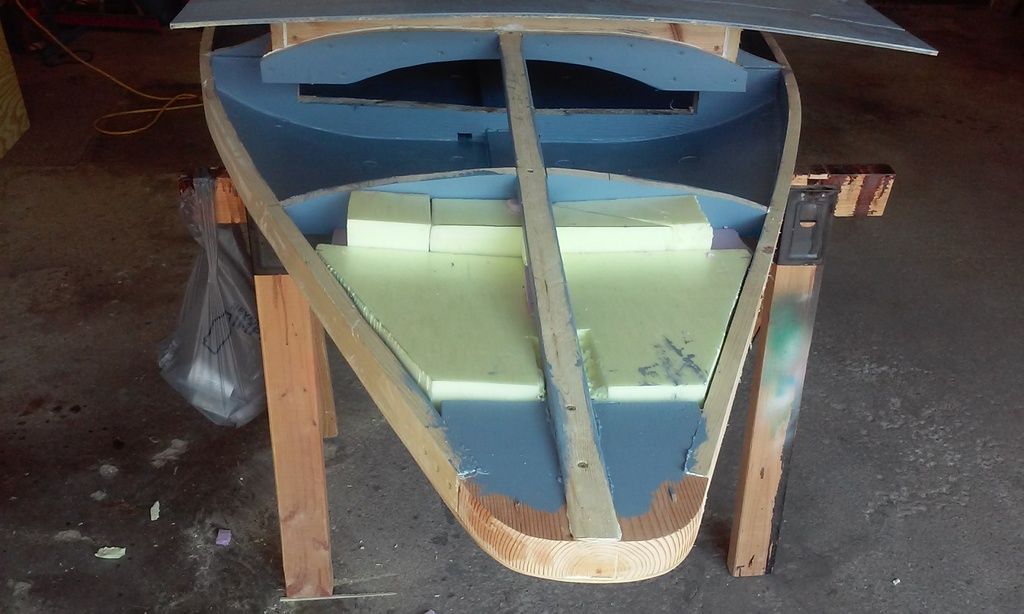
Decking on, ready for trimming
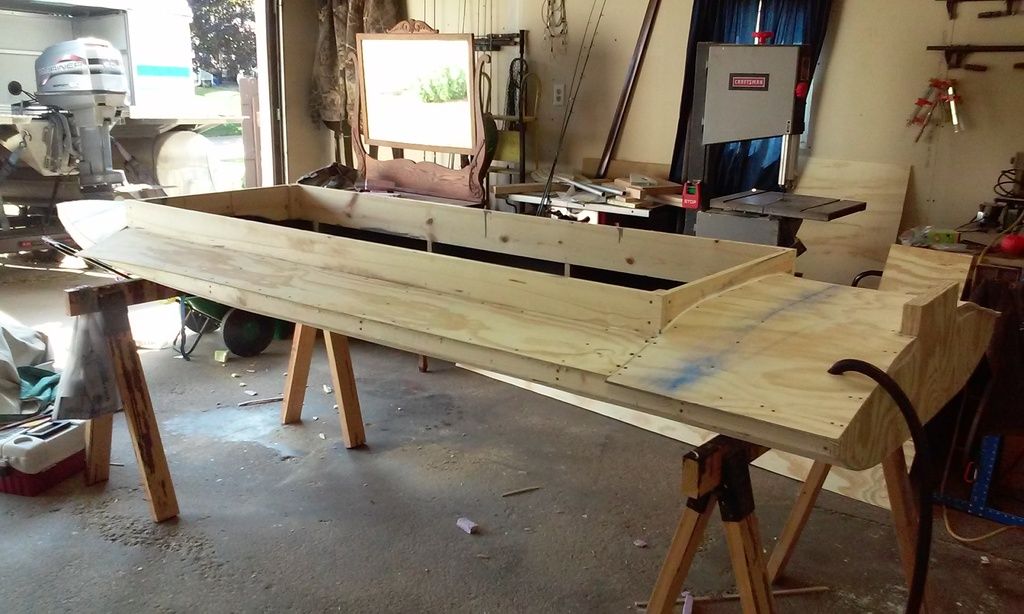
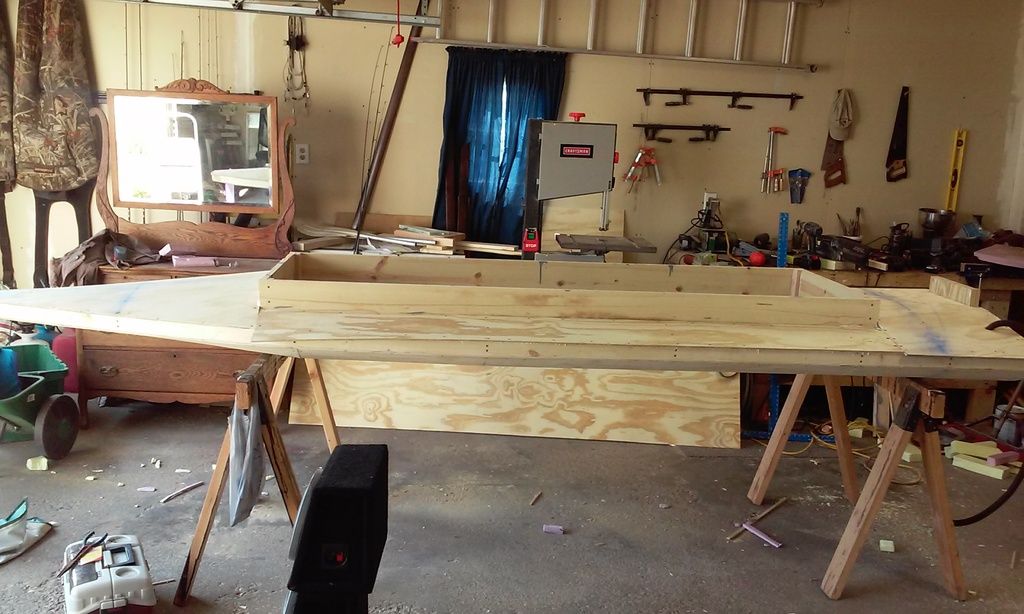
This is where I discovered that my mudmotor wouldn't work as planned and that I needed to go with Plan B (developed on the fly). I added height to the transom and laminated it with 1/4" plywood glued with 5200 and attached with screws.
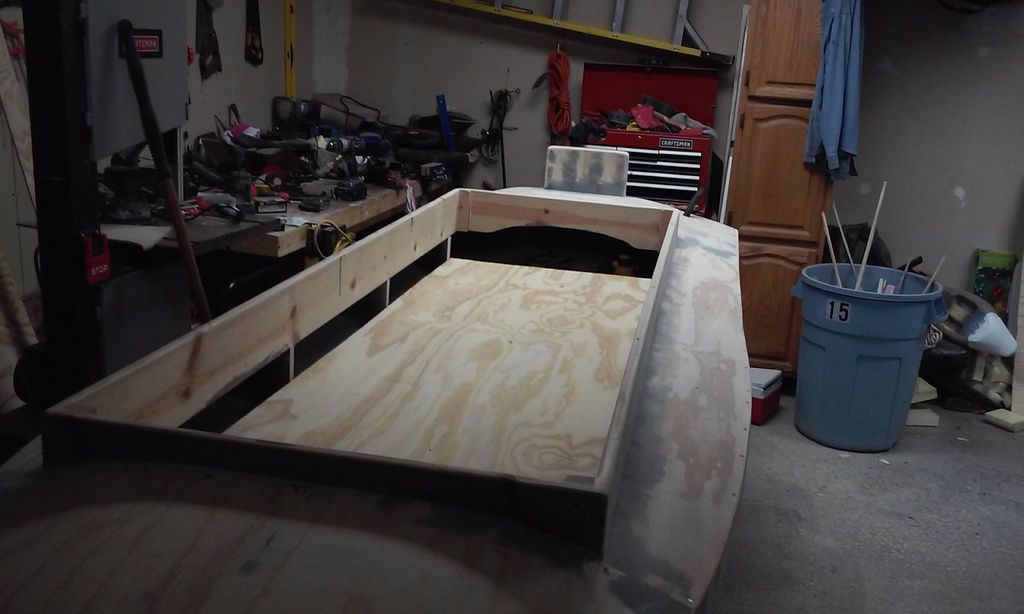
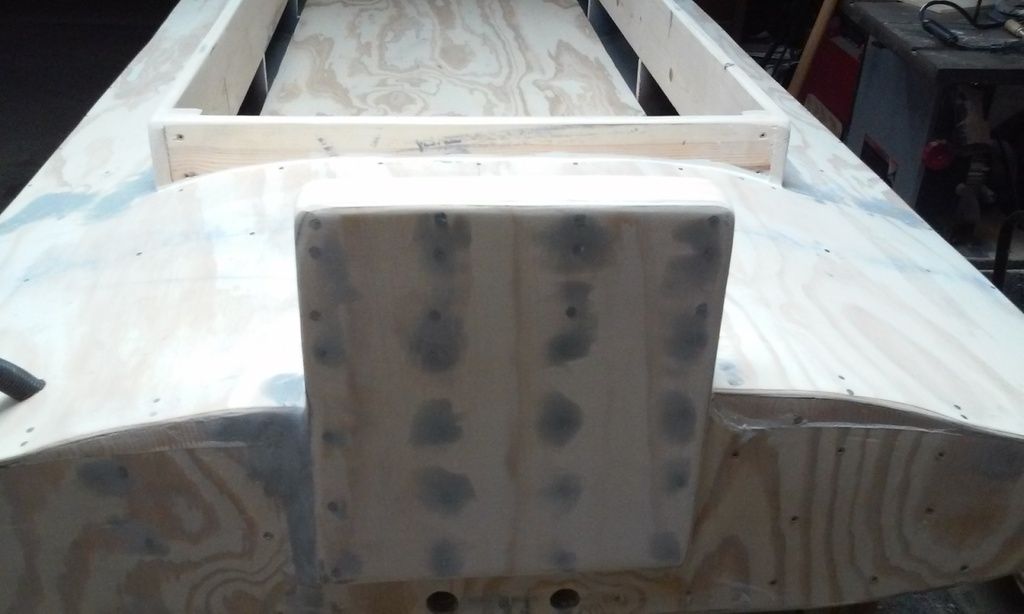
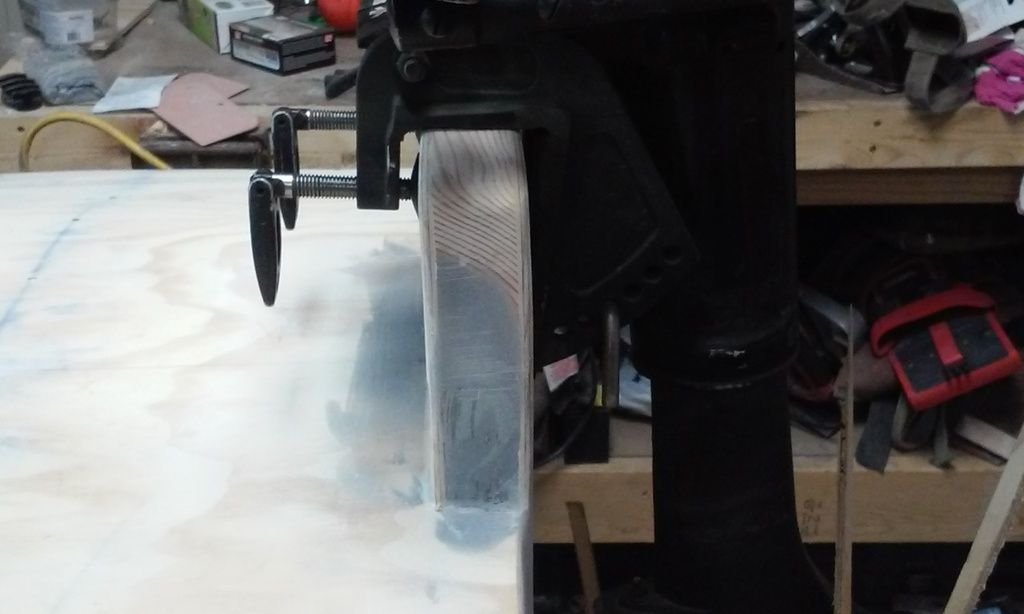
Holes filled and everything sanded on the hull, ready for glassing
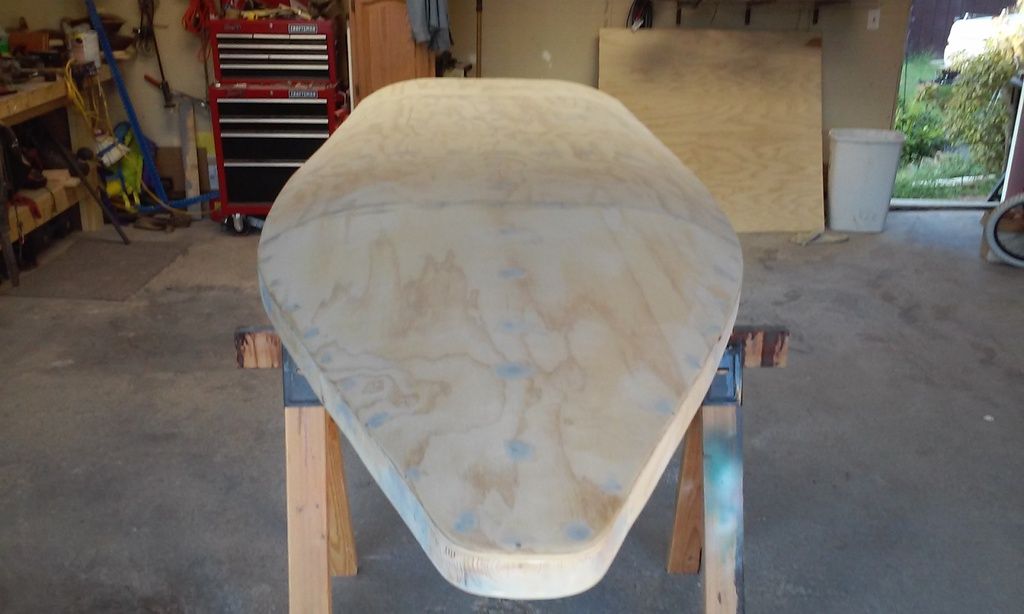
Glassing complete, easier than I expected since it was my first time
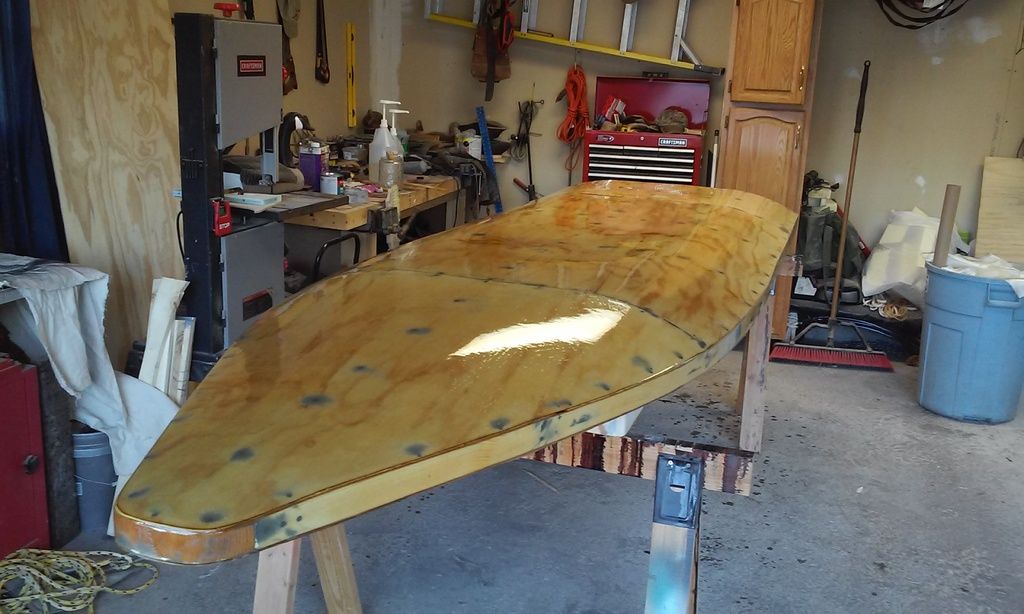
Keelsons layed out and ready to mount
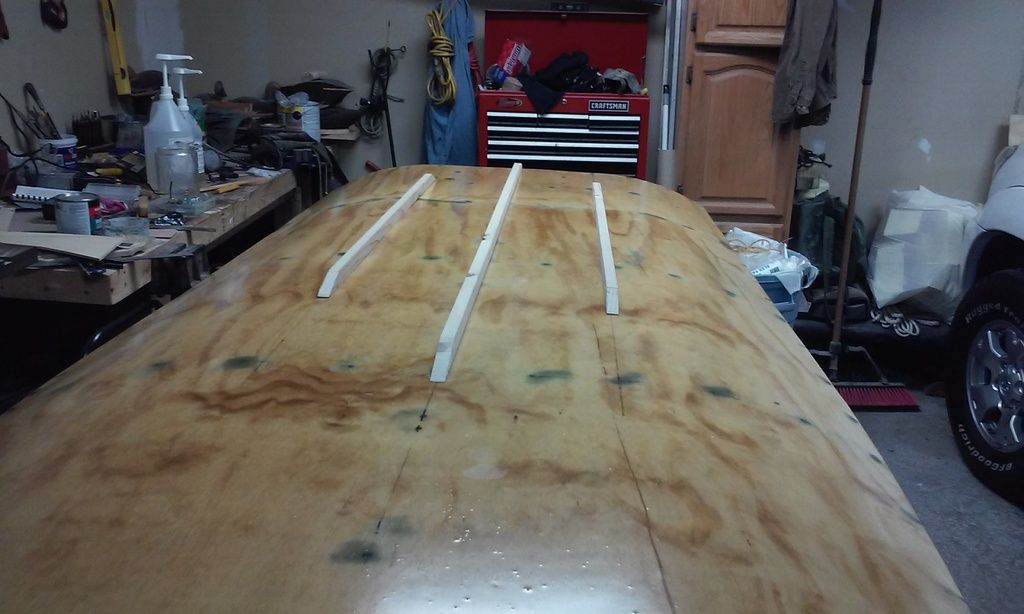
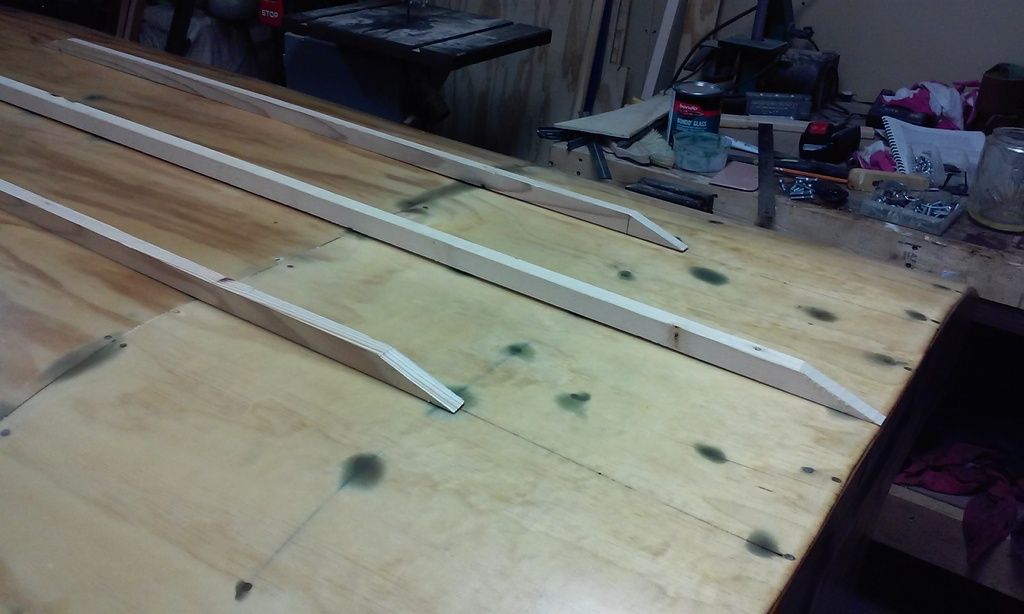
Had to finish in a hurry so I didn't take any pictures of how I mounted the keelsons or of glassing the deck. Here are photos after applying epoxy paint to the boat
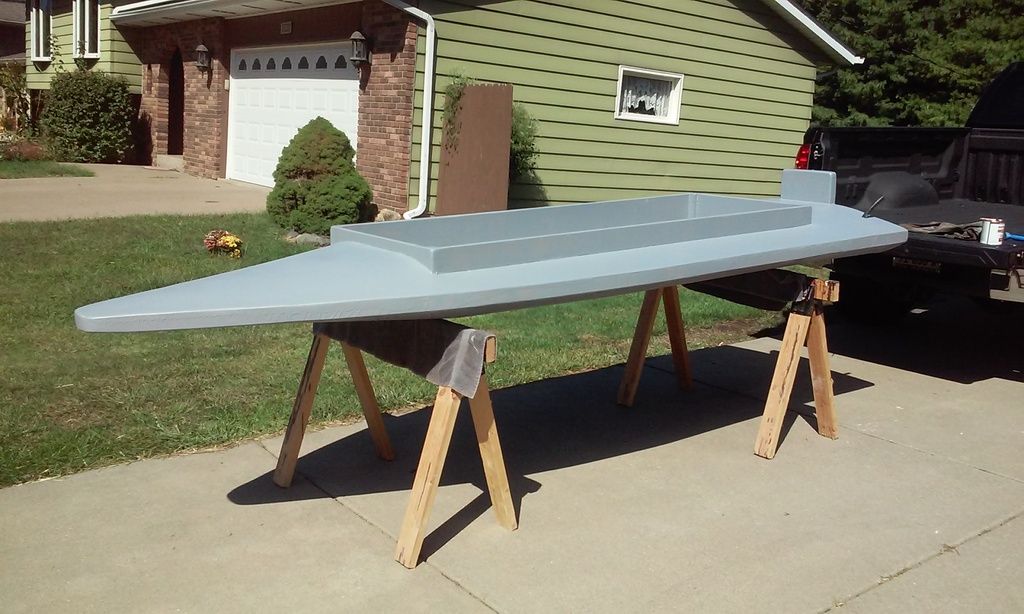
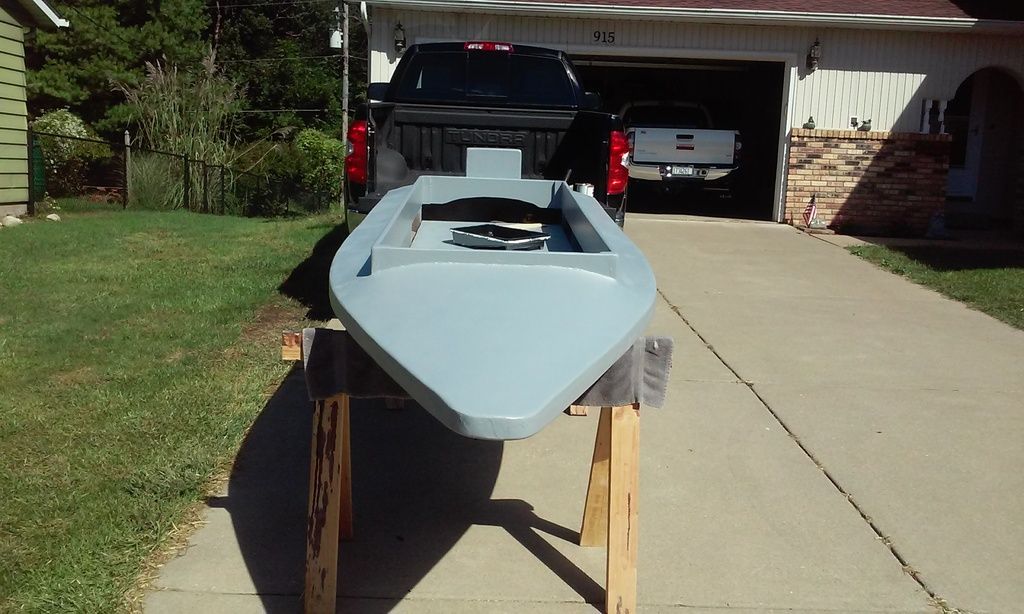
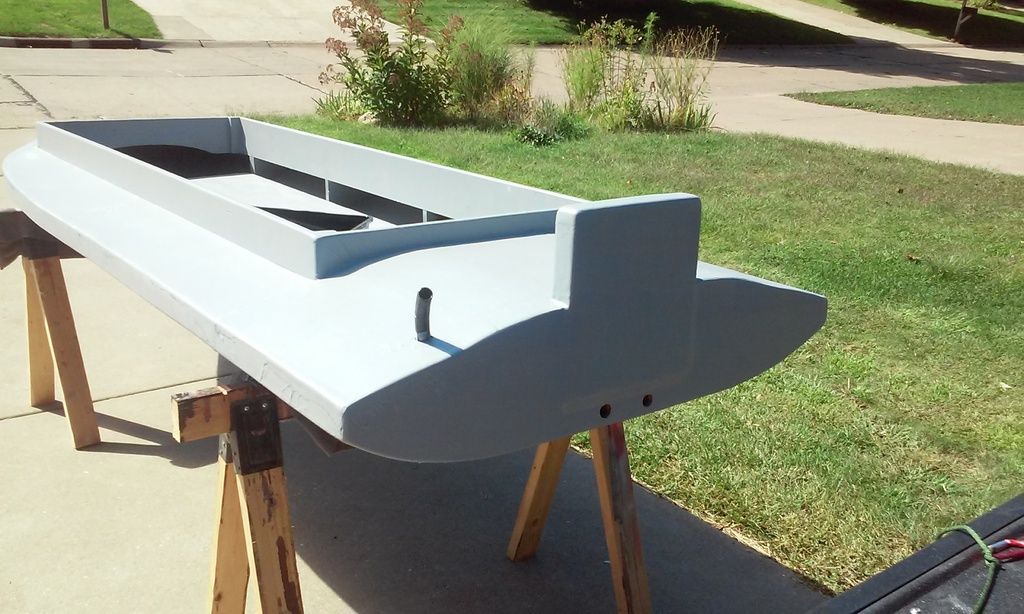
I had to go with two drain holes because of how the keel separates sides.
Here is a picture Ed took as I visited him on the maiden voyage. I don't like how the paint color turned out so its getting re-painted in flat dark brown.
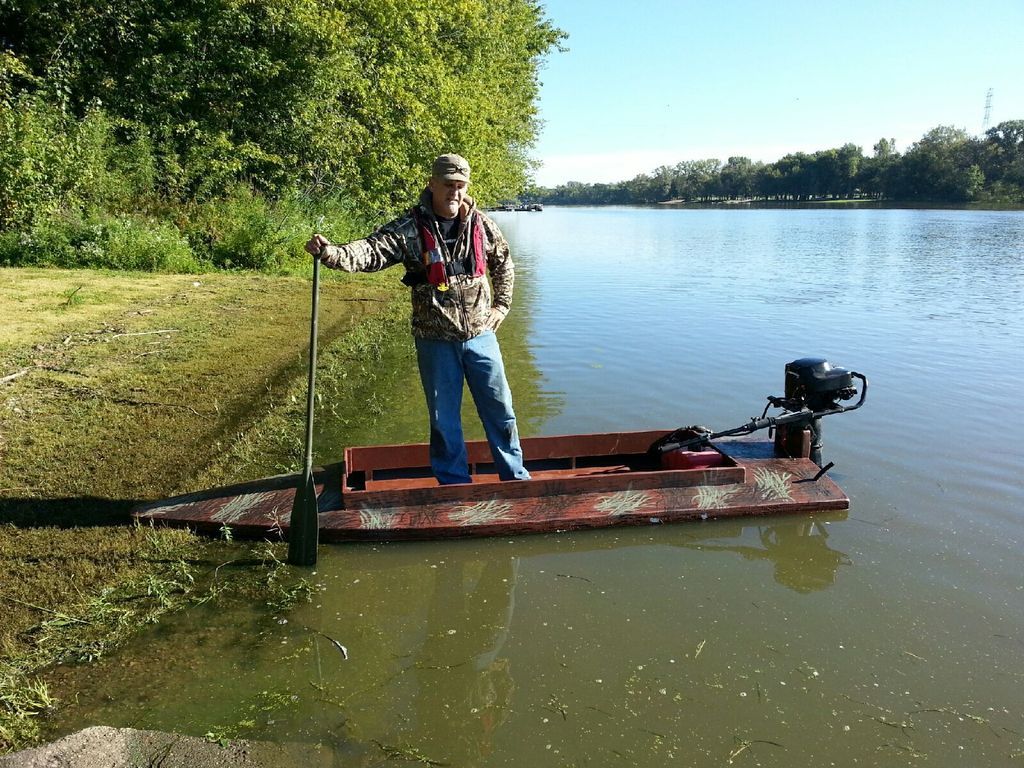
My 17-year old son took a video of the initial launch before I added the 5hp. I may need some paddling practice!
http://vid1123.photobucket.com/albums/l543/qcduckhntr/boat%20build/20150920_090501_zpswewfwzia.mp4
I do want to thank Ed L for his help with my many questions and for putting up with my sometimes hair-brained ideas (he would get me back on track) for design changes!
Here is the framing started


I added a 2" board to the plans and made the transom out of laminated 3/4" plywood. I also added bracing between the transom and the first rib for additional strength in the transom.


I forgot to take pictures when I added the cockpit boards and deck ribs; so here I am laying the hull plywood


Here it is flipped and ready for decking

This is where i discovered I made an error in calculating my rear deck ribs; they were not in-line with the rear deck support ribs installed according to plans. I had to add some wood to make the deck level and so it would meet the transom properly.

After painting the interior with epoxy paint and adding a bilge pump I started inserting foam for floatation


Decking on, ready for trimming


This is where I discovered that my mudmotor wouldn't work as planned and that I needed to go with Plan B (developed on the fly). I added height to the transom and laminated it with 1/4" plywood glued with 5200 and attached with screws.


Holes filled and everything sanded on the hull, ready for glassing

Glassing complete, easier than I expected since it was my first time

Keelsons layed out and ready to mount


Had to finish in a hurry so I didn't take any pictures of how I mounted the keelsons or of glassing the deck. Here are photos after applying epoxy paint to the boat


I had to go with two drain holes because of how the keel separates sides.
Here is a picture Ed took as I visited him on the maiden voyage. I don't like how the paint color turned out so its getting re-painted in flat dark brown.

My 17-year old son took a video of the initial launch before I added the 5hp. I may need some paddling practice!
http://vid1123.photobucket.com/albums/l543/qcduckhntr/boat%20build/20150920_090501_zpswewfwzia.mp4
I do want to thank Ed L for his help with my many questions and for putting up with my sometimes hair-brained ideas (he would get me back on track) for design changes!
