Steve Sanford
Well-known member
Good morning, All~
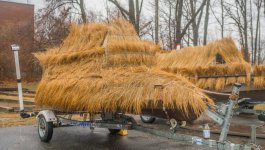
I'm dashing around trying to complete two gunning boats. And, I need to make some White Pine Roping and hang our Christmas lights this morning - before we pick up my daughter's family - who are flying in from Berlin for the holidays.
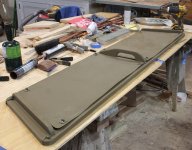
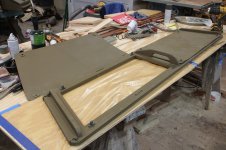
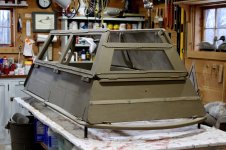
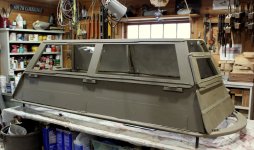
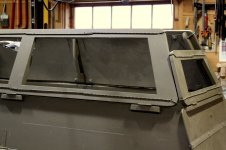
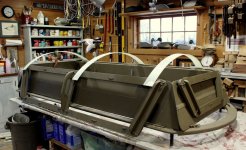
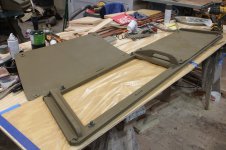
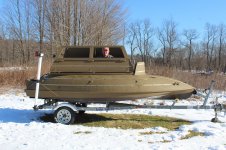
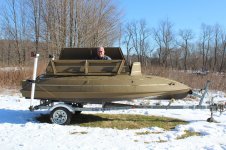
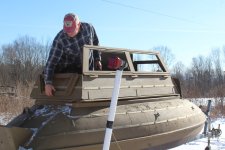
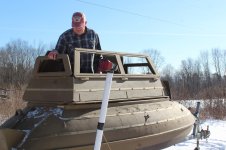
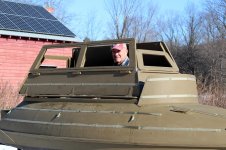
This Duck Wrangler is getting a general rehab plus a wooden "superstructure" to hide two gunners sitting on buckets. Part 1 is done; Part 2 is still on the bench - all built but needing assembly and final touches.

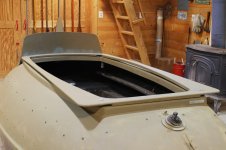
I've added one of my XL Spray Shields - the same as I use on South Bays (and a Duck Invader last year).
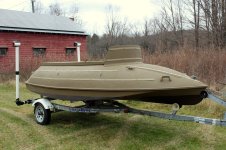
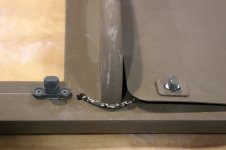
The blind will have 2 levels, each folding down. The lower level is opaque (plywood) and the upper tier is open framework (White Pine lumber).
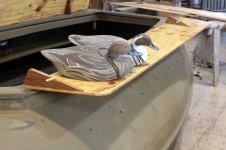
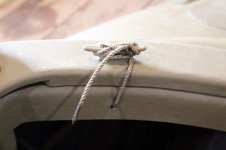
Notice that we're trying webbing (polypropylene) instead of traditional wooden thatch rails. I got the idea from Ken Deckman on Long Island. They should save weight, cost and Salt Hay. The stock heavy grab rails do not work well with Salt Hay as the spacing is very large - and have been removed.
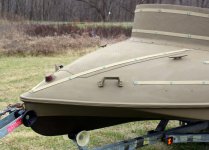
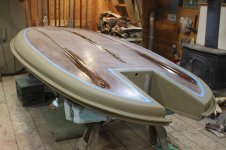
The South Bay is getting my usual "spa treatment" - all new wood throughout, plus a larger (XL) Spray shield, a transom drain, Beckson deck plates in the flotation chambers, and some new hardware. The bottom was generally good. I just filled and faired several dings and divots.

The bottom itself was not painted. I sealed some worn spots with straight epoxy and painted the "topsides" up to the rubrail.
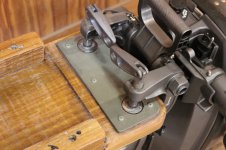
I fitted the outboard's clamping pads to a 'glass "keeper" on the new motor board. Instead of boring shallow sockets as I have for years, this approach allows for the replacement of just the keeper if a different motor is used. The keeper is bedded in window caulk and NOT 3M 5200 - so it can be easily replaced if needed.
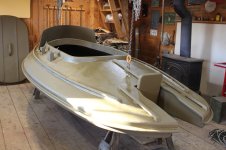
Here's the first coat of topside paint - Parker's Marsh Grass. The new thatch rails, spray shield, motor board and hardware have been installed. New floorboards are done - but the flap boards still need finishing and installation.
I almost advised the owner that a new motor board was unnecessary - but closer inspection revealed this "spacer board" between the motor board and the 'glass hull. I am wondering if the date had been recorded where the rotted plywood is missing. In any event, this installation failed because silicon was applied only near the bolts - but NOT over the entire mating surface - allowing moisture to seep in and stay there, supporting decay. It is one reason why I make my motor boards with a pair of standoffs: much less surface area in contact with the 'glass hull. And, I am careful to spread 3M 5200 over the entire mating surface (as well as along the entire shaft of each bolt) during installation.

Stay tuned!
SJS
I'm dashing around trying to complete two gunning boats. And, I need to make some White Pine Roping and hang our Christmas lights this morning - before we pick up my daughter's family - who are flying in from Berlin for the holidays.
This Duck Wrangler is getting a general rehab plus a wooden "superstructure" to hide two gunners sitting on buckets. Part 1 is done; Part 2 is still on the bench - all built but needing assembly and final touches.

I've added one of my XL Spray Shields - the same as I use on South Bays (and a Duck Invader last year).

The blind will have 2 levels, each folding down. The lower level is opaque (plywood) and the upper tier is open framework (White Pine lumber).

Notice that we're trying webbing (polypropylene) instead of traditional wooden thatch rails. I got the idea from Ken Deckman on Long Island. They should save weight, cost and Salt Hay. The stock heavy grab rails do not work well with Salt Hay as the spacing is very large - and have been removed.

The South Bay is getting my usual "spa treatment" - all new wood throughout, plus a larger (XL) Spray shield, a transom drain, Beckson deck plates in the flotation chambers, and some new hardware. The bottom was generally good. I just filled and faired several dings and divots.

The bottom itself was not painted. I sealed some worn spots with straight epoxy and painted the "topsides" up to the rubrail.

I fitted the outboard's clamping pads to a 'glass "keeper" on the new motor board. Instead of boring shallow sockets as I have for years, this approach allows for the replacement of just the keeper if a different motor is used. The keeper is bedded in window caulk and NOT 3M 5200 - so it can be easily replaced if needed.

Here's the first coat of topside paint - Parker's Marsh Grass. The new thatch rails, spray shield, motor board and hardware have been installed. New floorboards are done - but the flap boards still need finishing and installation.

I almost advised the owner that a new motor board was unnecessary - but closer inspection revealed this "spacer board" between the motor board and the 'glass hull. I am wondering if the date had been recorded where the rotted plywood is missing. In any event, this installation failed because silicon was applied only near the bolts - but NOT over the entire mating surface - allowing moisture to seep in and stay there, supporting decay. It is one reason why I make my motor boards with a pair of standoffs: much less surface area in contact with the 'glass hull. And, I am careful to spread 3M 5200 over the entire mating surface (as well as along the entire shaft of each bolt) during installation.

Stay tuned!
SJS


