Bill~
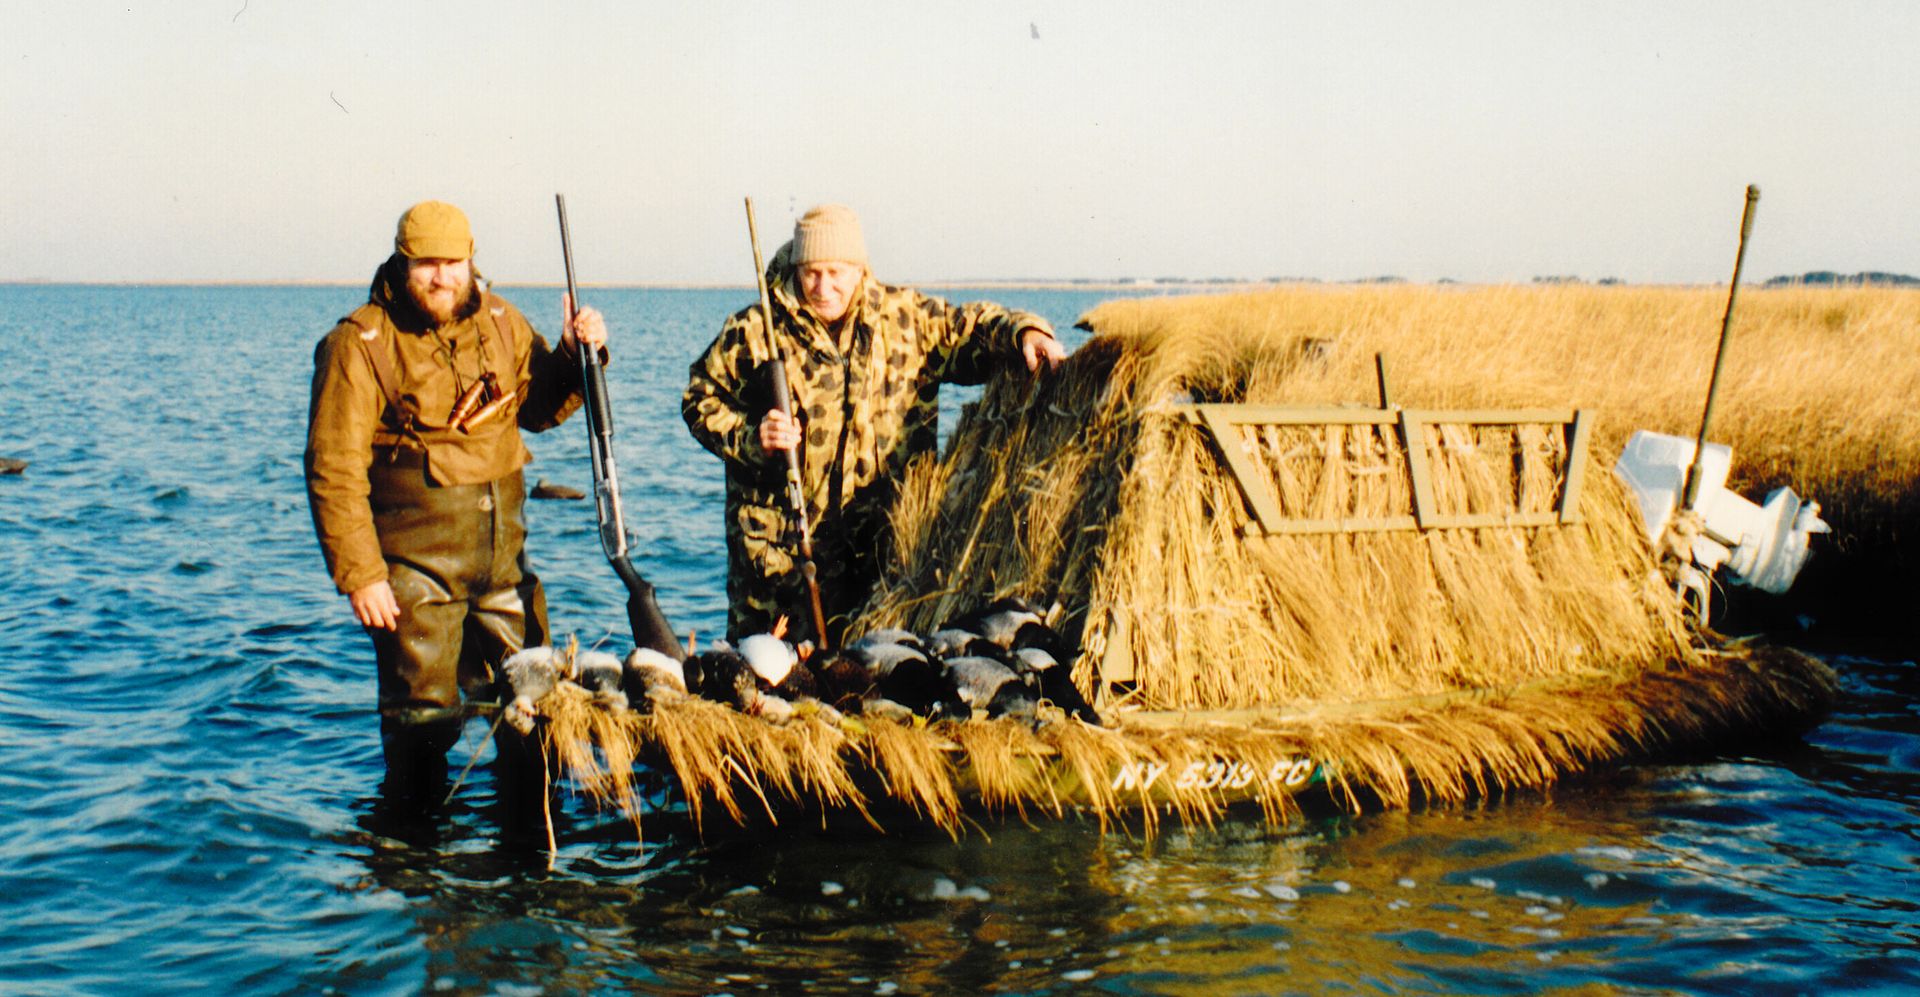
Almost in the clubhouse! She's all thatched (almost....) and ready to hunt - or at least be hauled back to salt water. I still want to trim the belly strap to size - first thing tomorrow morning.
Here are some odds and ends, a "creative" storage experiment, the hay, and then the new trailer lights.
Not long after I mounted the stern light on the high point of the Merc I realized there was a much more protected spot just a bit aft. So, now the threaded post is down, out of the way, by the handle. I filled the first hole with a brass machine screw and a washer.
Both of the nav light posts get protected with lanolin beneath their rubber boots.
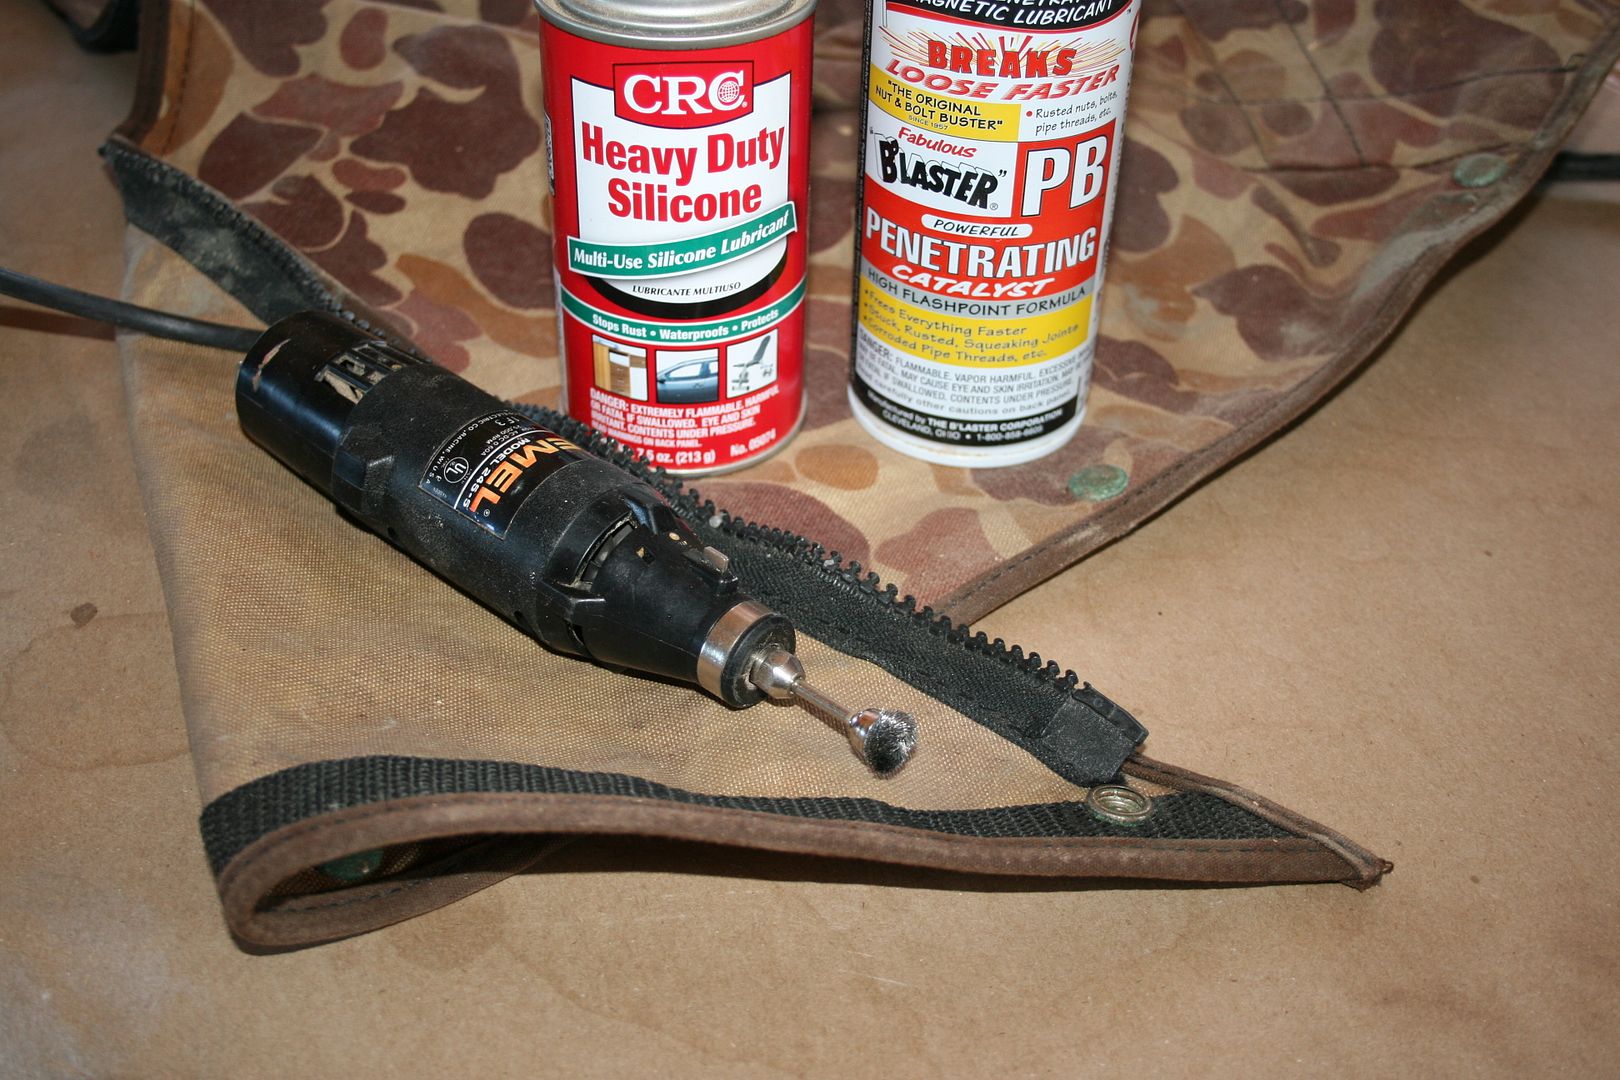
We will probably make a taller spray dodger next year. In the meantime, I cleaned up all the snaps on the factory dodger - and all the snaps on the coaming. The little wire wheel on the Dremel did a nice job, BUT....the canvas had shrunk and I could not get it to fit on the coaming snap studs. I may try soaking it in warm water and see if I can stretch it back to its original length. In any event, the dodger is very low and cannot be gunned out of - nor leaned on for support when under way.

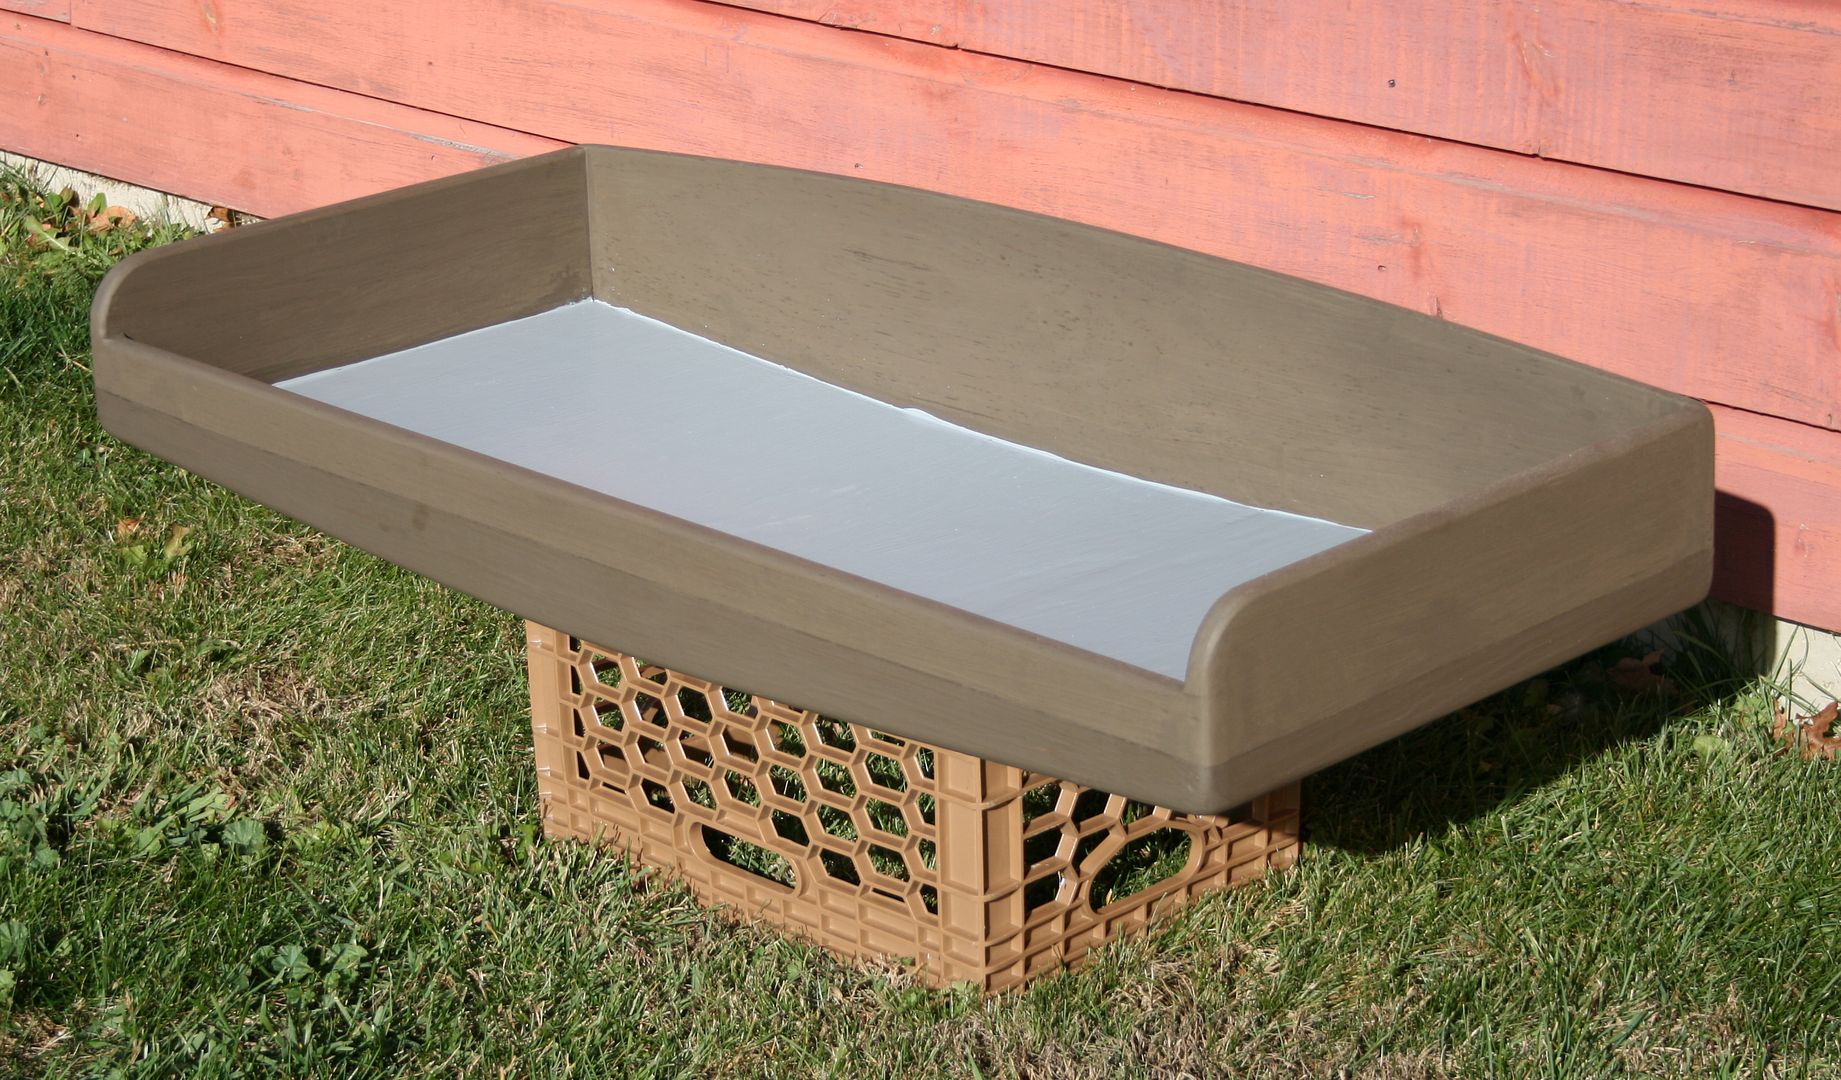
I got the idea for this "storage bin" when crawling around inside the cockpit, installing the fuel line. Since the gas tank is now up forward, the area beneath the stern deck offers lots of storage space. But, it can be less than handy when everything bounces aft and piles up against the bulkhead - along with a bunch of bilge water. So, I made this bin to fill most of the space - but can be pulled forward like a drawer for access. It is not attached to the boat. It just wedges in against some hardware - and will tend to stay there (I hope!) from the motion of the boat. It is set back a few inches behind the aft coaming and its bottom is sealed and waterproofed - so its contents should have a good chance of staying dry. I will look forward to the after-season reports.....

I thatched the boat inside the shop - being careful not to have the stove going with the hay inside where it would dry out. Most of it gets wedged beneath the thatch rails and is held by tension. I used the baling twine to lash bundles to the flap-boards and the motor cover. I like the natural twine because it can be cut off and discarded along with the hay after the season.
The chain hoist allowed me to get this big 4-cycle onto the boat single-handed. No way otherwise.....
Here it is all thatched - ready for just a haircut. ALSO, though, I did not have enough hay (mostly Smooth Cordgrass -
Spartina alterniflora, actually) to complete the job as envisioned. Bill with have to enlist some Youthful Sidekick (and duckboats.net member) to cut another armful of grass and double the number of bundles on the flap-boards.
When I had similar flap-boards on my Sneakbox blind, we always shot over the port side. So, the starboard flap was solid plywood and only the port flap could be peered through. The solid flap was on the upwind side - for warmth - and also gave a better background to hide our silhouettes. Both flap-boards on this South Bay are of the "porous/peek-a-boo" type - so either side could be gunned.
Most Cordgrass is long. Good for hiding the boat but not as durable as true Salt Hay (
Spartina patens). Since this vessel will travel the NYS Thruway long before it gets to salt marsh, I gave it a haircut.
I think Robert Ruark would advise me to "Use enough gun!" for this task.
Still plenty long, but less susceptible to being pulled out by highway forces.
All done - but it still needs more "hide" on those flap-boards.
The bundles are slid in behind the tarred decoy line and then lashed to it - with a square knot in the baling twine.
On the motor cover, the bundles are lashed to nylon webbing.
I could not repair the existing tiller extension - so bought a new one and painted it with Rustoleum Camo spray paint - 3 or 4 coats.
Note that the new painter cannot reach the prop - and can be secured to either stern cleat when not in use. I am trusting that the too-white color will soon be bathed with that rich mudflat "potion" so readily available on the low tide.
Three of the 4 lights did not work when I tested the trailer on my car. Rather than fool with bulbs, wires, etc, we opted for a new set - and went to LEDs. I also upgraded the mounting hardware to stainless and the electrical connectors to shrink-tube type.
The LED kit did not include side markers - neither of which worked - so I replaced those with conventional bulbs.
I am now looking forward to photos of her back on the Bay.
SJS


