Herters use to make super magnums, 81's I believe they were called. They were a goose body with a duck head. The only thing i didn't like about them was they just put a 72 head on a goose body. If they would've put heads proportional to the bodies they would've been sweet.

You are using an out of date browser. It may not display this or other websites correctly.
You should upgrade or use an alternative browser.
You should upgrade or use an alternative browser.
First Decoy
- Thread starter Zachary
- Start date
I don’t think it matters. I think we give the ducks entirely too much credit for their cognitive abilities.
Believe I'd rather give them too much credit than too little. Rather have a chance at 'em all than just those stepping off the bus.
So a few more questions:
What tooling do you have or plan to use?
Bandsaw big enough to cut body profiles?
Hand tools like knives, draw knife, spoke shave, hatchet or rasps?
Power tools like a foredom or dremel?
Are you creating your own patterns or going by a produced pattern?
I love making wood ducks, it looks intimidating but I found it's not bad, the worse is any puddle hen. If doing hens I find that @Steve Sanford method of painting works well for creating the illusion of feathers and patterns without the tediousness that is ideal for gunning birds. He has a website with paint tutorials and layout that you can visit.
 stevenjaysanford.com
As far as paint, you will see that Steve uses Behr paint. Rustoleum is fine paint as well, I would just use a low sheen for decoys that are smooth surfaced, and even for cork.
Like William, said if you would like to do flocking then the glossier paint works well on that.
If you want to learn more about the flocking and processes to that then Don and William have done a fine job detailing it here.
Thread 'All Things Flocking'
https://duckboats.net/community/threads/all-things-flocking.355931/
Some members use oils and some use house paint and others, like myself, use acrylics like Golden brand. Each has its nuances and are all great ways to go.
You can see some oil paint and nice carving work from @jode hillman at this workbench.
Thread 'Late......June workbench'
https://duckboats.net/community/threads/late-june-workbench.355724/
When dealing with size of birds: I don't think it's that critical depending on species. For puddle ducks I personally think going 2x on the size does no harm. So having teal the size of a mallard or maybe even a magnum size mallard won't be an issue unless you have very large over sized mixed with life size IMO.
For divers and sea ducks, the bigger the better. You want them to show up on big water and mixing of sizes does no harm in my experience. Blacks and whites are a big deal as they are very visible so it's okay to make those areas more dramatic in size compared to life.
Few this to see @Troy Fields massive eider.
https://duckboats.net/community/threads/big-eiders-on-the-way-edited-with-the-final-6.351453/
Dealing with style or patterns, I personally like doing realistic and making it look like a real bird but it's tedious and the perfectionist in me can cause me to get hung up on non important details. The are styles to areas that I also like and have made that as well such as the Core sound and Currituck sound style of birds. I have also made wire and canvas which are pretty simple and a joy to make.
If drawing your own patterns you can really make it how you want, one of our members @patrick mccarthy has a very unique and wonderful looking birds that can be viewed here.
https://duckboats.net/community/threads/march-work-bench.355544/post-365544
And there are a lot of other great examples of where you can go with this throughout the forum. If you need help working on a decoy pattern or paint schemes then don't hesitate to ask.
What tooling do you have or plan to use?
Bandsaw big enough to cut body profiles?
Hand tools like knives, draw knife, spoke shave, hatchet or rasps?
Power tools like a foredom or dremel?
Are you creating your own patterns or going by a produced pattern?
I love making wood ducks, it looks intimidating but I found it's not bad, the worse is any puddle hen. If doing hens I find that @Steve Sanford method of painting works well for creating the illusion of feathers and patterns without the tediousness that is ideal for gunning birds. He has a website with paint tutorials and layout that you can visit.
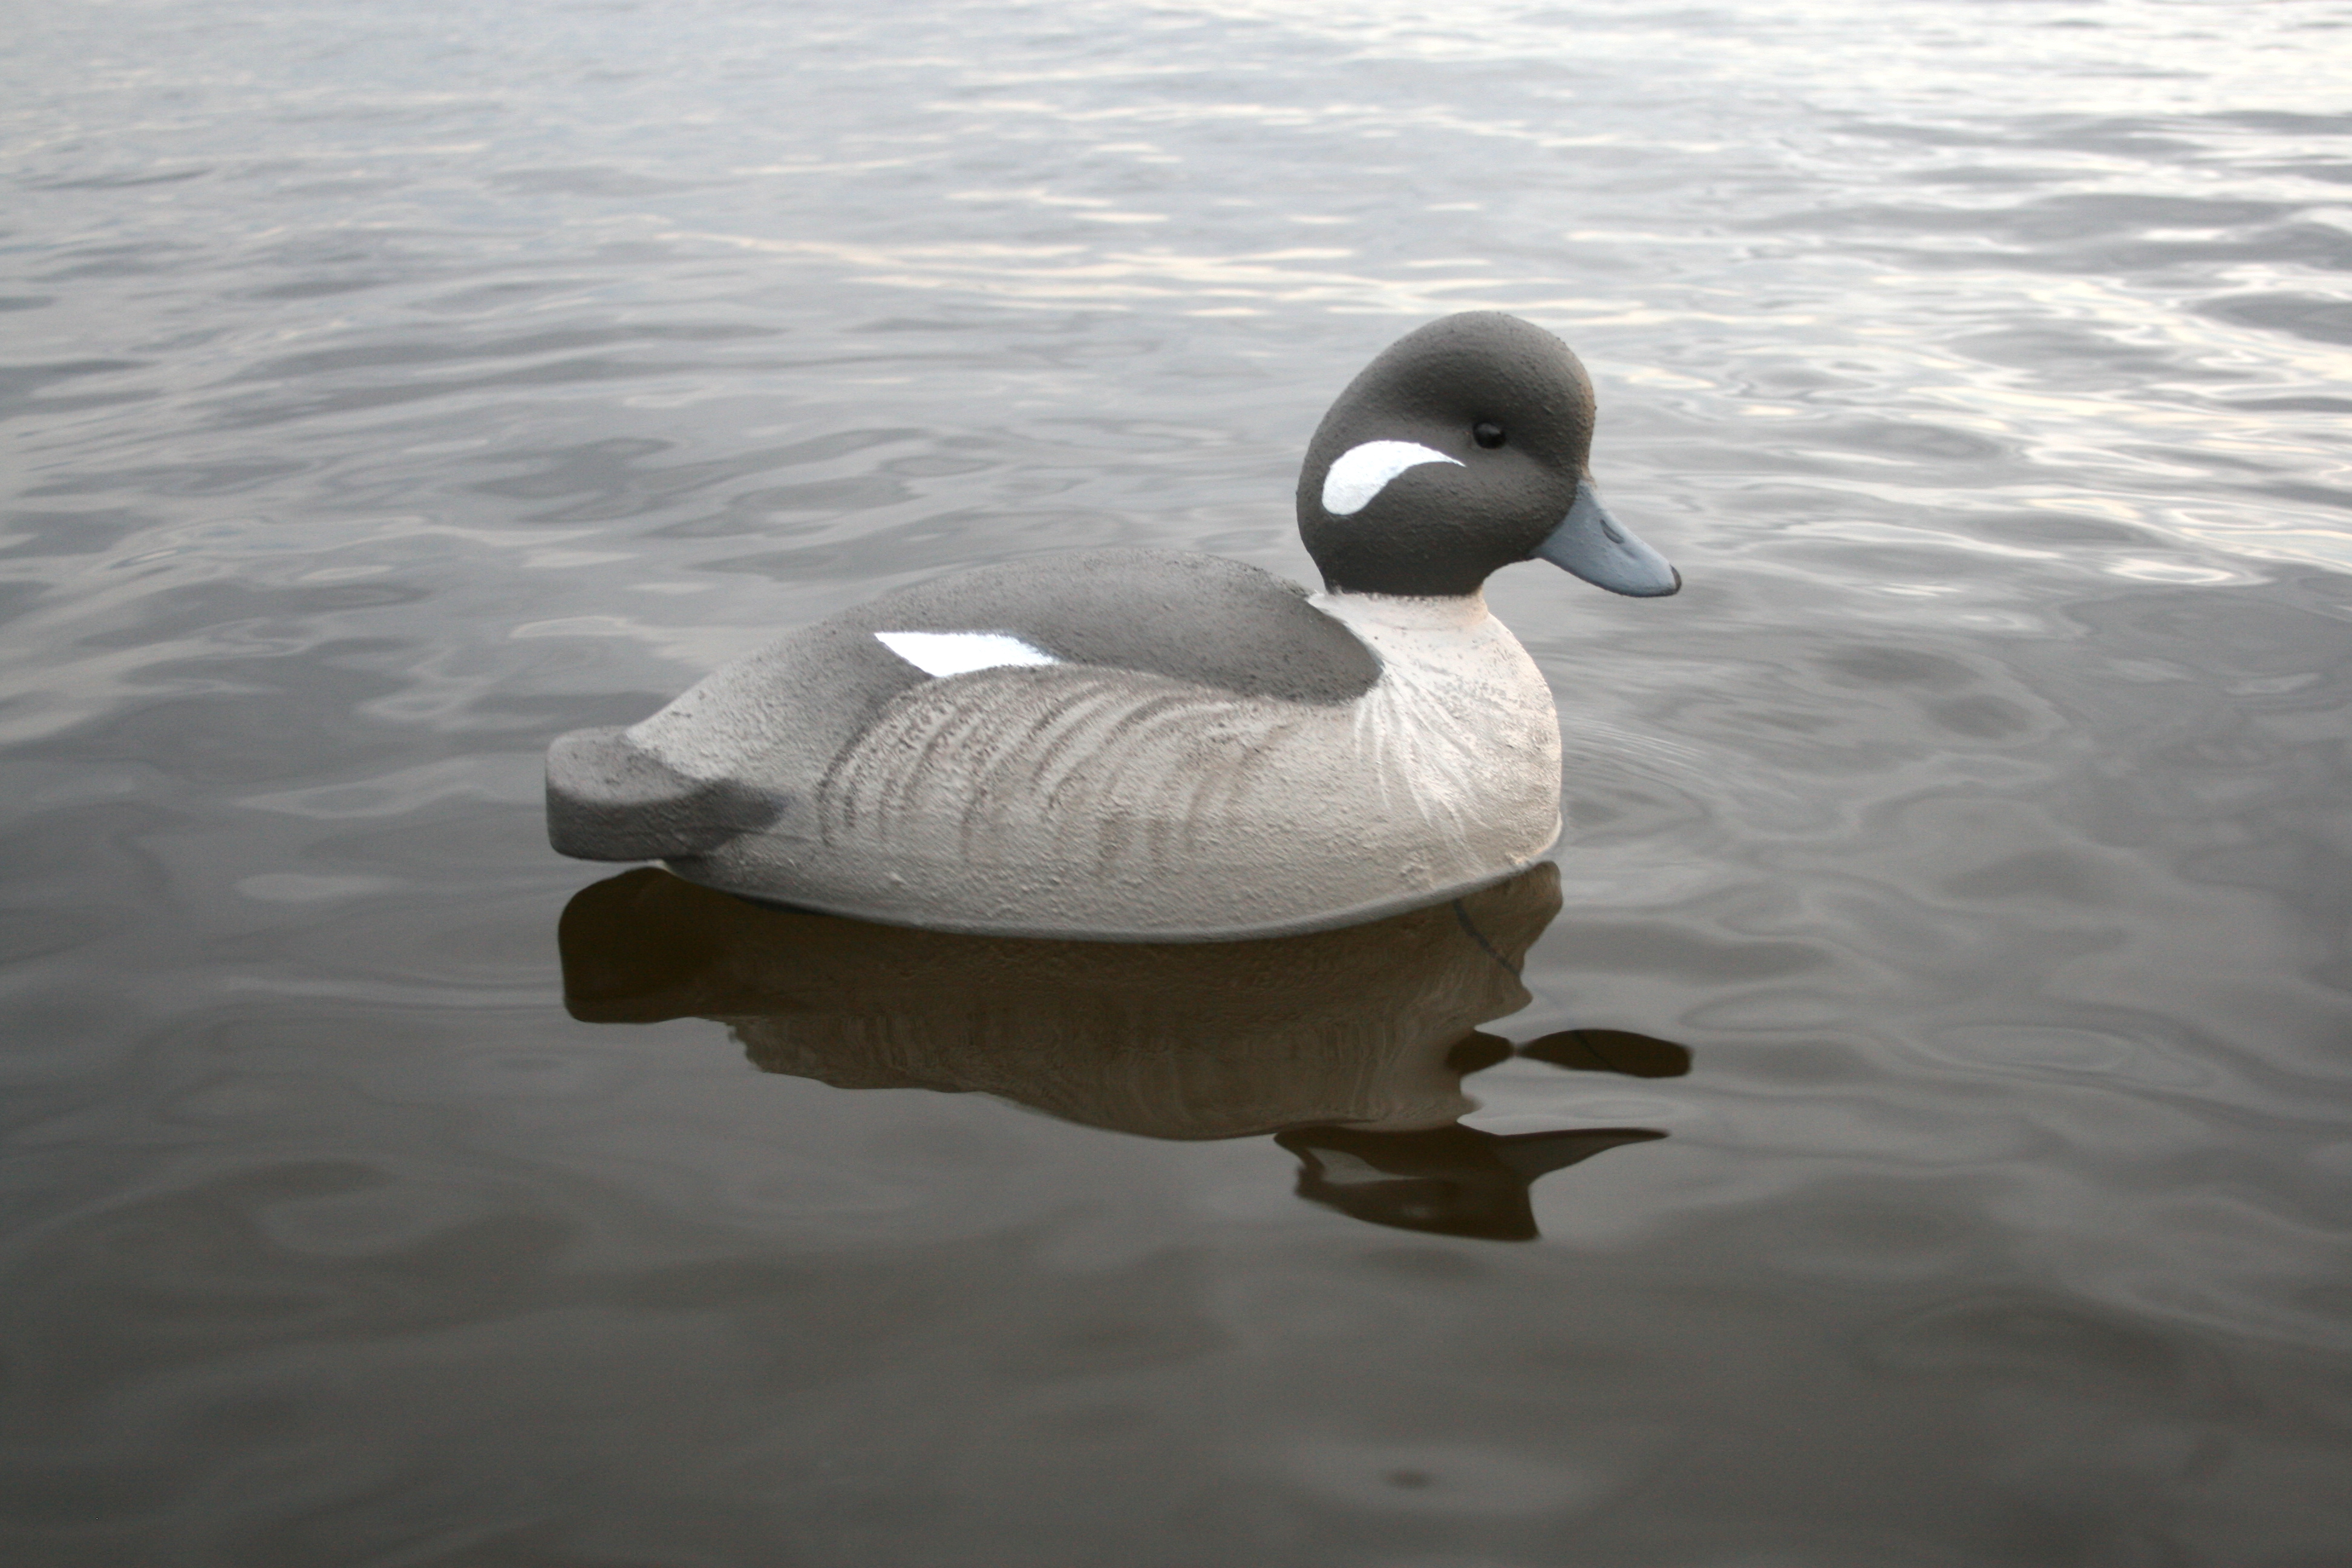
Painting Bufflehead Gunners
A Butterball painting tutorial The Bufflehead – what I learned as Butterball on Great South Bay – is a beautiful bird. I have carved several “mantel piece” drakes over the …
stevenjaysanford.com
As far as paint, you will see that Steve uses Behr paint. Rustoleum is fine paint as well, I would just use a low sheen for decoys that are smooth surfaced, and even for cork.
Like William, said if you would like to do flocking then the glossier paint works well on that.
If you want to learn more about the flocking and processes to that then Don and William have done a fine job detailing it here.
Thread 'All Things Flocking'
https://duckboats.net/community/threads/all-things-flocking.355931/
Some members use oils and some use house paint and others, like myself, use acrylics like Golden brand. Each has its nuances and are all great ways to go.
You can see some oil paint and nice carving work from @jode hillman at this workbench.
Thread 'Late......June workbench'
https://duckboats.net/community/threads/late-june-workbench.355724/
When dealing with size of birds: I don't think it's that critical depending on species. For puddle ducks I personally think going 2x on the size does no harm. So having teal the size of a mallard or maybe even a magnum size mallard won't be an issue unless you have very large over sized mixed with life size IMO.
For divers and sea ducks, the bigger the better. You want them to show up on big water and mixing of sizes does no harm in my experience. Blacks and whites are a big deal as they are very visible so it's okay to make those areas more dramatic in size compared to life.
Few this to see @Troy Fields massive eider.
https://duckboats.net/community/threads/big-eiders-on-the-way-edited-with-the-final-6.351453/
Dealing with style or patterns, I personally like doing realistic and making it look like a real bird but it's tedious and the perfectionist in me can cause me to get hung up on non important details. The are styles to areas that I also like and have made that as well such as the Core sound and Currituck sound style of birds. I have also made wire and canvas which are pretty simple and a joy to make.
If drawing your own patterns you can really make it how you want, one of our members @patrick mccarthy has a very unique and wonderful looking birds that can be viewed here.
https://duckboats.net/community/threads/march-work-bench.355544/post-365544
And there are a lot of other great examples of where you can go with this throughout the forum. If you need help working on a decoy pattern or paint schemes then don't hesitate to ask.
Thank you for the links! I really appreciate you going out of your way to help.So a few more questions:
What tooling do you have or plan to use?
Bandsaw big enough to cut body profiles?
Hand tools like knives, draw knife, spoke shave, hatchet or rasps?
Power tools like a foredom or dremel?
Are you creating your own patterns or going by a produced pattern?
I love making wood ducks, it looks intimidating but I found it's not bad, the worse is any puddle hen. If doing hens I find that @Steve Sanford method of painting works well for creating the illusion of feathers and patterns without the tediousness that is ideal for gunning birds. He has a website with paint tutorials and layout that you can visit.
Painting Bufflehead Gunners
A Butterball painting tutorial The Bufflehead – what I learned as Butterball on Great South Bay – is a beautiful bird. I have carved several “mantel piece” drakes over the …
As far as paint, you will see that Steve uses Behr paint. Rustoleum is fine paint as well, I would just use a low sheen for decoys that are smooth surfaced, and even for cork.
Like William, said if you would like to do flocking then the glossier paint works well on that.
If you want to learn more about the flocking and processes to that then Don and William have done a fine job detailing it here.
Thread 'All Things Flocking'
https://duckboats.net/community/threads/all-things-flocking.355931/
Some members use oils and some use house paint and others, like myself, use acrylics like Golden brand. Each has its nuances and are all great ways to go.
You can see some oil paint and nice carving work from @jode hillman at this workbench.
Thread 'Late......June workbench'
https://duckboats.net/community/threads/late-june-workbench.355724/
When dealing with size of birds: I don't think it's that critical depending on species. For puddle ducks I personally think going 2x on the size does no harm. So having teal the size of a mallard or maybe even a magnum size mallard won't be an issue unless you have very large over sized mixed with life size IMO.
For divers and sea ducks, the bigger the better. You want them to show up on big water and mixing of sizes does no harm in my experience. Blacks and whites are a big deal as they are very visible so it's okay to make those areas more dramatic in size compared to life.
Few this to see @Troy Fields massive eider.
https://duckboats.net/community/threads/big-eiders-on-the-way-edited-with-the-final-6.351453/
Dealing with style or patterns, I personally like doing realistic and making it look like a real bird but it's tedious and the perfectionist in me can cause me to get hung up on non important details. The are styles to areas that I also like and have made that as well such as the Core sound and Currituck sound style of birds. I have also made wire and canvas which are pretty simple and a joy to make.
If drawing your own patterns you can really make it how you want, one of our members @patrick mccarthy has a very unique and wonderful looking birds that can be viewed here.
https://duckboats.net/community/threads/march-work-bench.355544/post-365544
And there are a lot of other great examples of where you can go with this throughout the forum. If you need help working on a decoy pattern or paint schemes then don't hesitate to ask.
Right now all I have are rasps, knives, a draw knife, power drill, and a dremel. I have a bandsaw but it’s not big enough for cutting bodies. I only used hand tools for the decoy I made. Right now I am just eyeballing it based on pictures from the internet and a few antique decoys I’ve seen. I used a plastic decoy as a basic model for body shape and size. However I would like to get my hands on some proven patterns to use until I get to be halfway decent.
For my paints I used the flat rustoleum, I had read on a different forum that I should avoid using glossy paints as it would spook the birds. Is flocking something that makes a big difference?
The buddy who got me into duck hunting repaints his plastic decoys solid black to make them stick out once they get too beat up, which is why I went with my color scheme. I figured even if it came out looking catawampus a black duck like shape would still somewhat work. However, I want to make my decoys actually look like real ducks as much as possible. At the moment there’s no particular style that I’m looking to specifically imitate. For patterns, are there printable patterns online that you would recommend?

William Reinicke
Well-known member
YES! YES! YES!!! Don likes to say, if all he could hunt was black jugs, he would still flock them and Im in the same camp and belief at this point. The problem with flocking, that you buy from companies off the shelf, is they use static flocking and after 1 season they are as good as a plastic decoy because its all fallen off and beat up. They charge a premium too for the flocking, which is dumb. I had many flocked decoys that held up worse than plastics. Then I found Don and his claim was he had a system that flocking wouldnt fall off on. So when my buddy moved away and took the decoy trailer with him, I just didnt feel like buying and starting over. It made me explore new possibilities and I had to try Don's method of flocking. All I had was metal molds to cast foam out of, and it gave me a baseline to making my own decoys. Nothing fancy or carved and it was a quick way to try the flocking idea out. I beat the absolute heck out of those first decoys. I had my doubts based on previous flocked decoys, despite Don telling me he had decoys that were 10 years old with the same flocking. I just live by the saying "believe half of what your hear and only what you see", so I had to see it for myself. So I purposely didnt bag any of them that first year, except for transport reasons and when we got to the spot, I would pull them all out and drag them through the mud, dirt, sand, water, and yank them through trees...... and that flocking still holds true on those first decoys.For my paints I used the flat rustoleum, I had read on a different forum that I should avoid using glossy paints as it would spook the birds. Is flocking something that makes a big difference?
Funny story, I had a young kid ive been mentoring with me that first season and he saw me drag those decoys through thick brush and ripped them through a tree line. He said "man guess you dont have to be nice when you know the guy making them", and all I said was, im really trying to see if this flocking is going to fall off. The last hunt of the season, he picked up one of the decoys, kind of looked it over, and said "doesnt look like you did a very good job making it fall off".
Since then we have got a lot more custom, working with different materials now to achieve much lighter decoys that are just as durable. I created a specialized removable keel design that swims well in current and with a slight breeze if on a pond or lake. But one thing has stayed constant... Everything gets flocked. Whats funny is it is probably my least favorite step when making a decoy, but its probably the most important step imho.
Just realize, you probably are not going to hand paint flocked decoys very well. Its very forgiving surface for airbrushing and I love sitting down and airbrushing. I can get lost for hours playing in my little airbrush booth I built. So its perfect for that. You could probably paint your blocked colors in and always go back and detail with gloss paint pens I suppose, but airbrushing is the best for painting flocked decoys. If you never plan to learn to airbrush (and I only started playing with an airbrush when I started making these decoys, but I fell in love quick), then im not sure flocking would be the right canvas for you. Not trying to scare you away from it, just have to be honest and dont want you going down a rabbit hole investing a ton into a way of making decoys and be disappointed with the inability to achieve a level of detail you might desire.
Last edited:
To be honest I had never even heard of flocking until this forum and I have never used an airbrush before. But there’s a first time for everything! I may end up trying it but at the moment I don’t actually have a workspace. The barn I was using as a workshop for my other hobbies got destroyed by a hurricane and I haven’t had the ability to replace it yet. However, once I get a shop built I’ll definitely at least try flocking. While I would like to try to do things as traditionally as possible, I’m not too terribly attached to painting by hand.YES! YES! YES!!! Don likes to say, if all he could hunt was black jugs, he would still flock them and Im in the same camp and belief at this point. The problem with flocking, that you buy from companies off the shelf, is they use static flocking and after 1 season they are as good as a plastic decoy because its all fallen off and beat up. They charge a premium too for the flocking, which is dumb. I had many flocked decoys that held up worse than plastics. Then I found Don and his claim was he had a system that flocking wouldnt fall off on. So when my buddy moved away and took the decoy trailer with him, I just didnt feel like buying and starting over. It made me explore new possibilities and I had to try Don's method of flocking. All I had was metal molds to cast foam out of, and it gave me a baseline to making my own decoys. Nothing fancy or carved and it was a quick way to try the flocking idea out. I beat the absolute heck out of those first decoys. I had my doubts based on previous flocked decoys, despite Don telling me he had decoys that were 10 years old with the same flocking. I just live by the saying "believe half of what your hear and only what you see", so I had to see it for myself. So I purposely didnt bag any of them that first year, except for transport reasons and when we got to the spot, I would pull them all out and drag them through the mud, dirt, sand, water, and yank them through trees...... and that flocking still holds true on those first decoys.
Funny story, I had a young kid ive been mentoring with me that first season and he saw me drag those decoys through thick brush and ripped them through a tree line. He said "man guess you dont have to be nice when you know the guy making them", and all I said was, im really trying to see if this flocking is going to fall off. The last hunt of the season, he picked up one of the decoys, kind of looked it over, and said "doesnt look like you did a very good job making it fall off".
Since then we have got a lot more custom, working with different materials now to achieve much lighter decoys that are just as durable. I created a specialized removable keel design that swims well in current and with a slight breeze if on a pond or lake. But one thing has stayed constant... Everything gets flocked. Whats funny is it is probably my least favorite step when making a decoy, but its probably the most important step imho.
Just realize, you probably are not going to hand paint flocked decoys very well. It’s very forgiving surface for airbrushing and I love sitting down and airbrushing. I can get lost for hours playing in my little airbrush booth I built. So it’s perfect for that. You could probably paint your blocked colors in and always go back and detail with gloss paint pens I suppose, but airbrushing is the best for painting flocked decoys. If you never plan to learn to airbrush (and I only started playing with an airbrush when I started making these decoys, but I fell in love quick), then im not sure flocking would be the right canvas for you. Not trying to scare you away from it, just have to be honest and dont want you going down a rabbit hole investing a ton into a way of making decoys and be disappointed with the inability to achieve a level of detail you might desire.
William Reinicke
Well-known member
You could do it all off a work bench in a garage. I would think the carving of the cork and the tools for assembly of the decoy would take up more room than the flocking and airbrush.To be honest I had never even heard of flocking until this forum and I have never used an airbrush before. But there’s a first time for everything! I may end up trying it but at the moment I don’t actually have a workspace. The barn I was using as a workshop for my other hobbies got destroyed by a hurricane and I haven’t had the ability to replace it yet. However, once I get a shop built I’ll definitely at least try flocking. While I would like to try to do things as traditionally as possible, I’m not too terribly attached to painting by hand.
The flocking is very simple, just a plastic bin to keep flocking colors separated and a kitchen sieve from the dollar store. The cheaper the sieve, the better they work. I find the ones from a dollar store to be the absolute best. you dont want a double wire sieve as it doesnt sift out the best. Flocking is fairly cheap.
Keep it traditional with carving cork like you did with your first and then spread the rustoleum like you did on this decoy and then while the paint dries, sift your flocking over the paint. Let dry, repeat the process one more time and you have a double flocked cork decoy that you hand carved traditionally. Would be a neat thing for you to do and have your own twist on traditional carving with a newer way to doll up a cork decoy.
My airbrush booth is not very big, and when I bought my current house, it had a vent out fan built into a downstairs shop area. So I just made the booth and plumbed an evacuation vent to that fan and turn it on so fumes are being expelled out of the shop when im airbrushing. I would think if you did it in a garage with the door open, you would have plenty of airflow to keep fumes down. As you can smell, the rustoleum is kind of powerful stuff.
If you want to dive into this world, get a decent compressor, the airbrush (double action, we all love the paasche vl5 brushes) and just start playing. Theres a bit of a learning curve but the more you do, the better you will get. We are here to help.
Flocking really cuts down on sheen of any decoy and the double flocking method is bulletproof imo.
Zachary, not having a large bandsaw is no problem, I still don't have one; only a table top 9". For me buying and using a small bandsaw for the heads is more beneficial than having one large enough for the bodies. Plus with cork it's very easy to carve down to what you need.
For patterns I would like to make a tutorial one day for how I do it, some one years ago had made one but I couldn't find it searching so it might have been on a different forum that is now dead such as working decoys .net
Or the decoycarvingforum, either way an outstanding pattern maker was George Wickham, that created wings gate patterns. He was generous to me and sent me a few patterns for free when I was a newbie to the carving world, unfortunately he has passed away. I have found a website that has what looks to be all of his patterns for sale including song birds, birds of prey, and the other animal realms he drew. He has instructions on the patterns for if you use power tools but you do not have to follow that.

 mapleandbass.com
I have never dealt with this website or company so I don't know how well the shipping or stuff like that is. Just use the search function and type in "wings gate ring neck" or "wings gate teal" and you'll see those options.
For the flocking, William and Don are the experts on that so I'll let them explain all that if you want to go that route. Whenever I have more time to carve again I plan to add flocking to the process, especially if I make the dekes out of foam. For cork I feel it would be sacrilegious to flock over it.
For patterns I would like to make a tutorial one day for how I do it, some one years ago had made one but I couldn't find it searching so it might have been on a different forum that is now dead such as working decoys .net
Or the decoycarvingforum, either way an outstanding pattern maker was George Wickham, that created wings gate patterns. He was generous to me and sent me a few patterns for free when I was a newbie to the carving world, unfortunately he has passed away. I have found a website that has what looks to be all of his patterns for sale including song birds, birds of prey, and the other animal realms he drew. He has instructions on the patterns for if you use power tools but you do not have to follow that.
Working Decoy Collection Wings Gate Pattern 11x17 #WG150
One 11x17" sheet with 2 body profiles and 4 head profiles that can be used to make real working decoys. Includes keel templates. Works well with #WG151 Head profile sheet for even more options. Wings Gate Patterns, drawn by George Wickham, are well-researched and accurate drawings of a wide...
mapleandbass.com
I have never dealt with this website or company so I don't know how well the shipping or stuff like that is. Just use the search function and type in "wings gate ring neck" or "wings gate teal" and you'll see those options.
For the flocking, William and Don are the experts on that so I'll let them explain all that if you want to go that route. Whenever I have more time to carve again I plan to add flocking to the process, especially if I make the dekes out of foam. For cork I feel it would be sacrilegious to flock over it.


Dani
Well-known member
Congratulations on your first decoy!
For patterns as well as technique, here are a few books that I have found useful
Making Decoys the Century Old Way
Old School Decoys
Pat Godin pattern books there are multiple volumes of these
Wildfowl Carving Magazine can be very useful, though it is geared towards all birds not just waterfowl. They also tend to be high quality, high detail carvings but you can learn a lot from them. I liked the Grayson Chesser book as a newbie decoy carver and would recommend it to anyone wanting to start into carving.
For patterns as well as technique, here are a few books that I have found useful
Making Decoys the Century Old Way
Old School Decoys
Pat Godin pattern books there are multiple volumes of these
Wildfowl Carving Magazine can be very useful, though it is geared towards all birds not just waterfowl. They also tend to be high quality, high detail carvings but you can learn a lot from them. I liked the Grayson Chesser book as a newbie decoy carver and would recommend it to anyone wanting to start into carving.