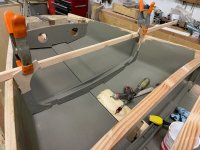
I gave the interior of the Widgeon 2 coats of epoxy to fill the fiberglass tape and seal the interior. After the epoxy dried I painted the interior 2 coats of Dead Marsh Grass.
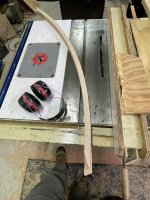
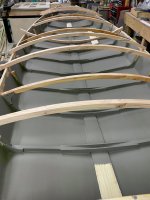
Using a master curve as a pattern I planned and using a bandsaw rough cut the top ribs from 1 inch stock. Initially I used double sided tape to attach the master curve to the blank but found it shifted. I switched to using wire nails to attach the curve to the blank. It was quicker and faster. The top ribs where then final shaped using a router table and a 1/2 bit fitted with a top bearing to follow the template.
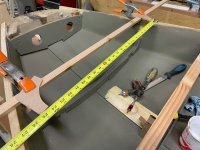
I used 2 of the gussets and a length of wood to create a gauge to measure the distance between the side planks. The ribs were then cut, set and attached to the ribs using the gussets with glue and screws.
Next steps will be to finish the interior and prepare for putting on the top deck.
Using a master curve as a pattern I planned and using a bandsaw rough cut the top ribs from 1 inch stock. Initially I used double sided tape to attach the master curve to the blank but found it shifted. I switched to using wire nails to attach the curve to the blank. It was quicker and faster. The top ribs where then final shaped using a router table and a 1/2 bit fitted with a top bearing to follow the template.
I used 2 of the gussets and a length of wood to create a gauge to measure the distance between the side planks. The ribs were then cut, set and attached to the ribs using the gussets with glue and screws.
Next steps will be to finish the interior and prepare for putting on the top deck.