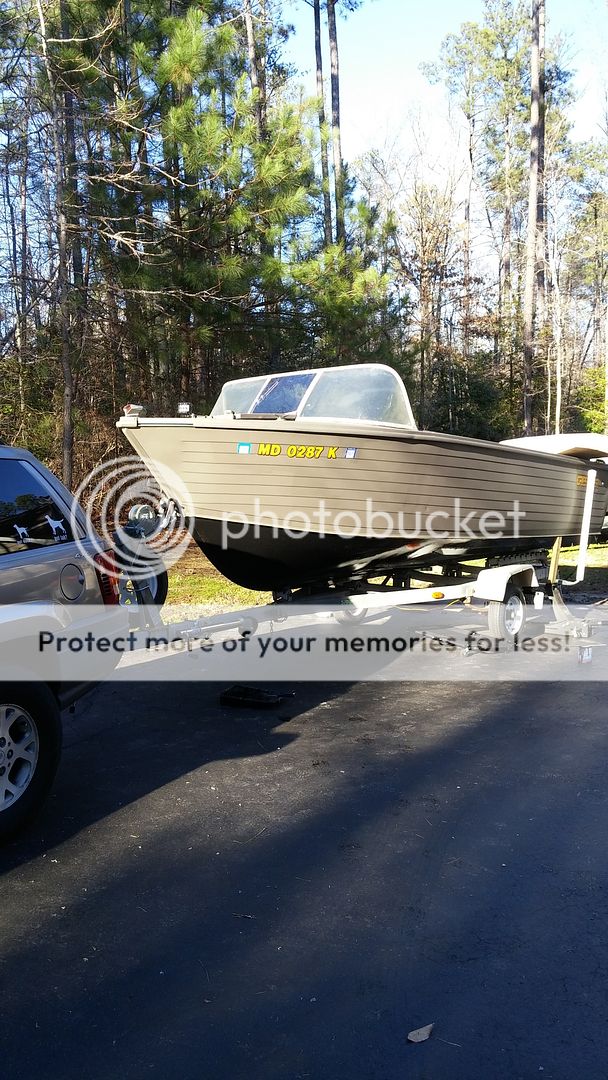
1966 Crestliner North Star project

I've used both in boats that I've built or re-built. I don't like poured in as you can't inspect the areas under the foam once it is poured. I'm guessing your going to screw or glue some 3/4" ply over the top of the foam so your probably not going to be inspecting until that plywood goes bad.

In the case where I used blocks I purchased urethane flotation foam from a supplier and cut the blocks to shape. I'm not sure about the foams used for home insulation. It needs to be resistant to oil, gasoline, and whatever else may end up in the bilge. It needs to not absorb water over the life of the boat. I think you can probable buy the foam for less than you can buy the 2 part but I haven't bought any in a while. I think the blocks also allow some space to let water run through the bilges.

If your going to pour you just have too be careful to allow the foam room to expand. I don't think that will be an issue since you have the deck off.

Here is a link that has some good information.

[/url]https://www.glen-l.com/weblettr/webletters-7/wl55-flotation.html
 
Last edited:
Dave,
Thanks for providing the off-season entertainment! Although that boat might be kind of difficult to hide back here in MO!

RE: flotation ideas. I can't remember if it was here or some other site where someone suggested using plastic soda bottles as flotation. I thought that was a pretty good idea. Different sizes would allow you to pack them very tightly together yet still allow water (and air!) to move freely through the compartment. Additionally, if a puncture were to occur, perhaps a few might be damaged, but most would remain intact and still provide full flotation.

Scott
 
Good morning, Dave~

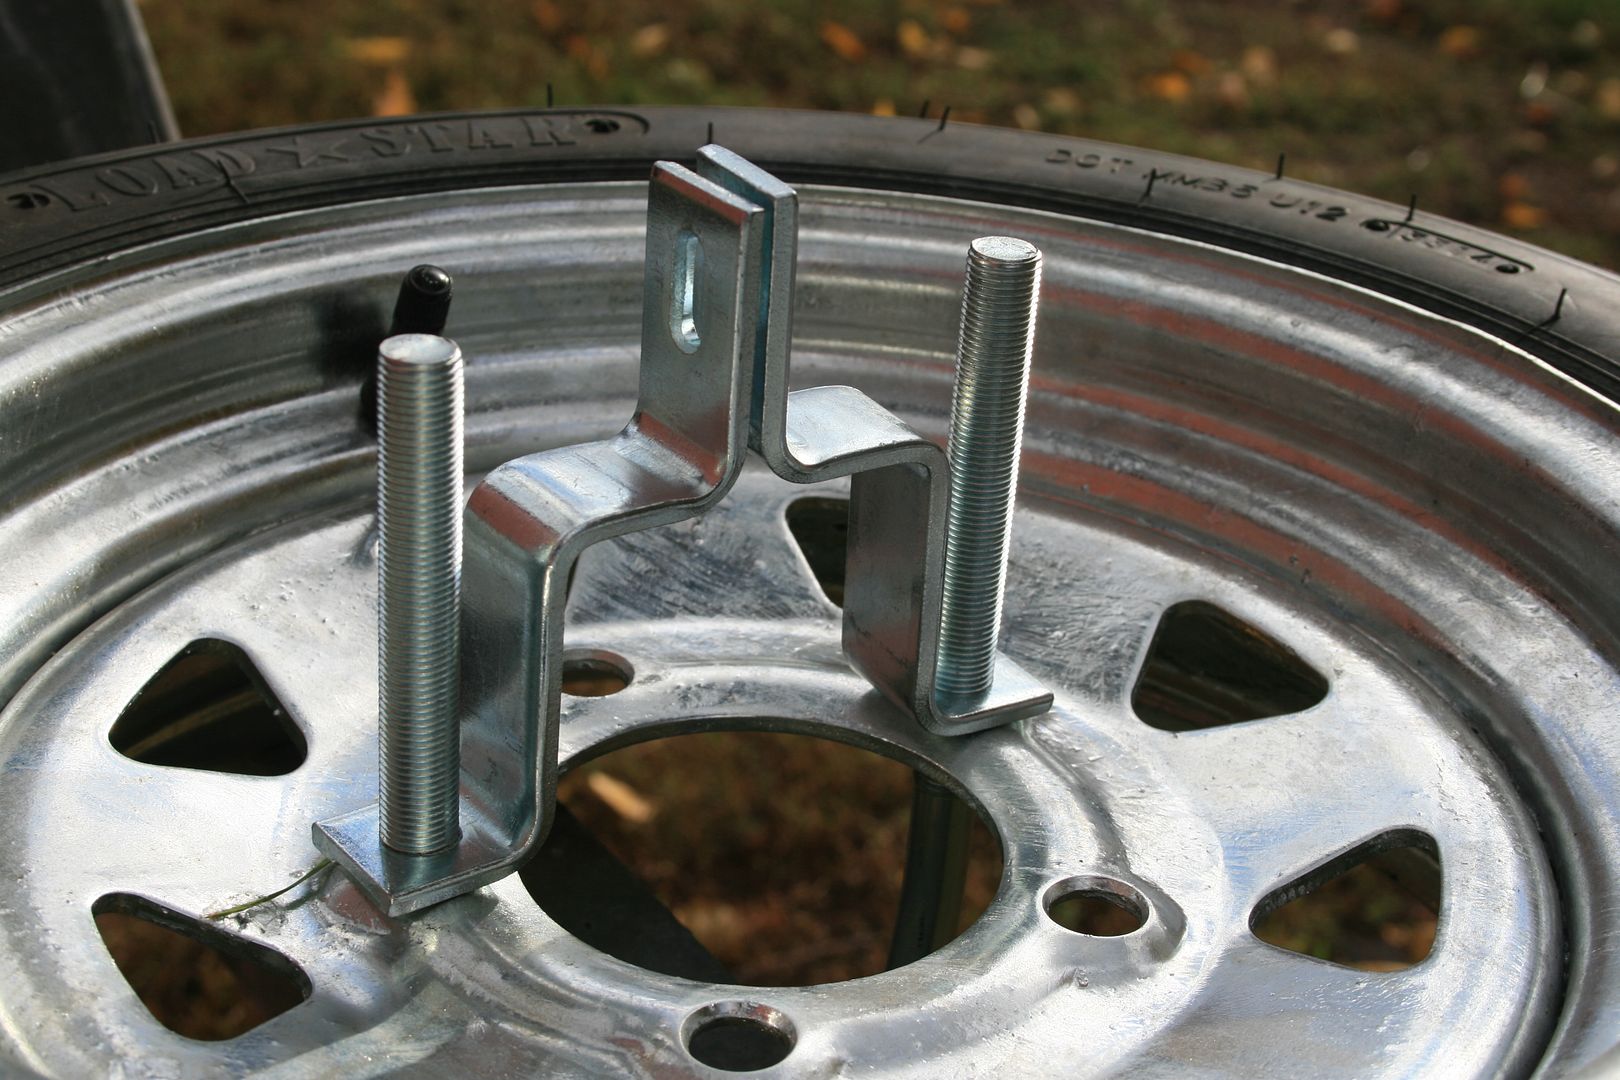
No rest for the weary: You still need to cut that U-bolt down:

BEFORE

T%20-%20Shorten_zpsgoqijzif.jpg


AFTER: Basically, you want them short enough so a socket/lug wrench will be able to grab the nut. And, definitely Anti-Seize here.....


T%20-%20Spare%20with%20lock%20tied_zpsbuvtwd5p.jpg


Now....get back to work!

(Actually, I am enjoying the speed with which you are tackling this project - thanks!)

SJS
 
All good ideas except for Steve's. The spare tire is just finger tight since I am still waiting on a new tire before I cut the u bolt down.......but I will get to it. Your time demands are starting to be a strain on me. Thanfully the weather will give me a few days of rest before I have to attach the side grinder to my hand again.

Dave
 
Ok, so some crappy weather and some schedule conflicts kept me from getting to where I wanted to be by now. Half of today was spent watching the first floor of my house and the stairs get new carpeting. The wife was happy soooooo....that's all that mattered there. I did receive a few things I ordered and also got a second coat of paint on the boat. The decals went on as well.


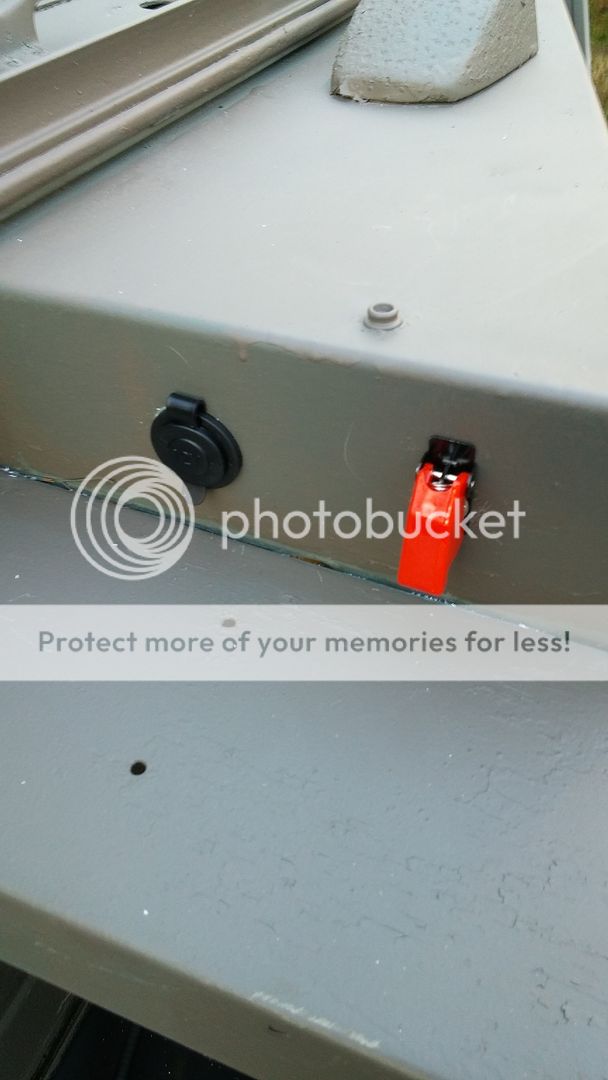
I installed a guarded switch which will control the rear flood lights. Lights should arrive this week.


[URL=http://s1373.photobucket.com/user/dcducks1/media/1966%20Crestliner%20North%20Star/0227161000_zpszrckwwgk.jpg.html]


I did some research on the boat because I was wondering about all of the snaps that are mounted around the top of the deck. It turns out that this boat could be purchased with a "camper" as an option. It looked like a truck topper but made of fabric with a tube frame. That would have been pretty cool to see in action.


I made some alterations to the winch base plate and was able to turn it around so that a) both the winch and jack handles are on the right side (I'm right handed and this will keep me from having to climb over the tongue constantly, and b) give plenty of room for the spare tire.


[URL=http://s1373.photobucket.com/user/dcducks1/media/1966%20Crestliner%20North%20Star/0227161629a_zps8jxhko7u.jpg.html]


New tire installed and bracket bolts cut down...as promised!


[URL=http://s1373.photobucket.com/user/dcducks1/media/1966%20Crestliner%20North%20Star/0227161629_zpsegk9xs7q.jpg.html]


I also picked up a couple of dry boxes (one for each of my boats) to carry flares, registrations, etc). Neatness is a good thing!
[URL=http://s1373.photobucket.com/user/dcducks1/media/1966%20Crestliner%20North%20Star/0227161630_zpsc3ztyyns.jpg.html]

Going to try and paint the bottom tomorrow before we have to take our oldest back to college and go furniture shopping.....dang it! And its supposed to be the nicest day of the weekend tomorrow! More to come..................


Dave
 
Last edited:
Lots of running today and furniture shopping....but I still got home in time to get some stuff done. Bottom of the boat....PAINTED!


I got the 12v outlet installed in the back as well.

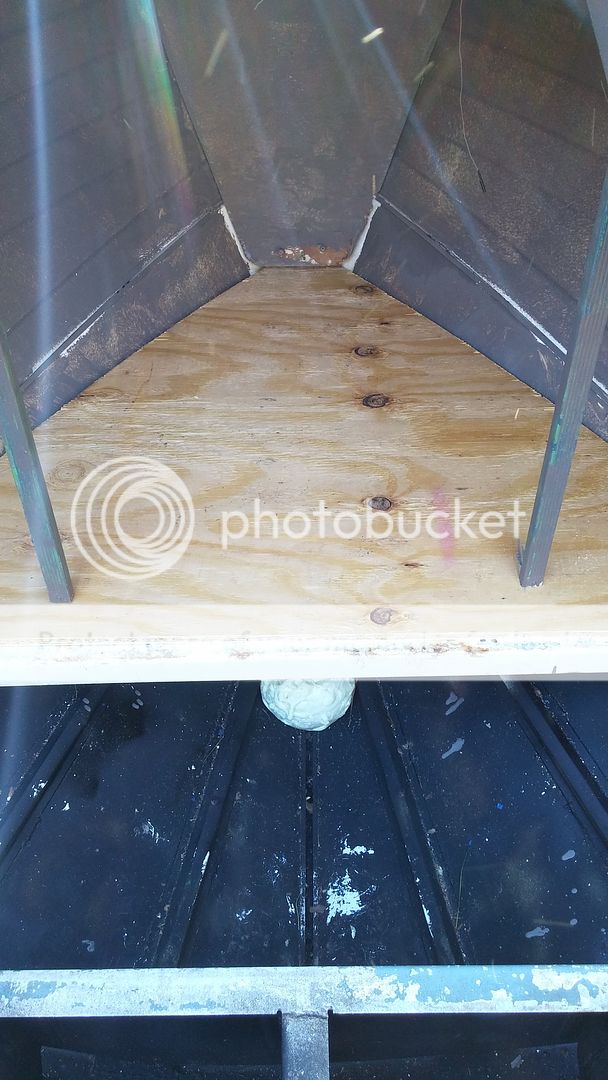
Bow floor cut.

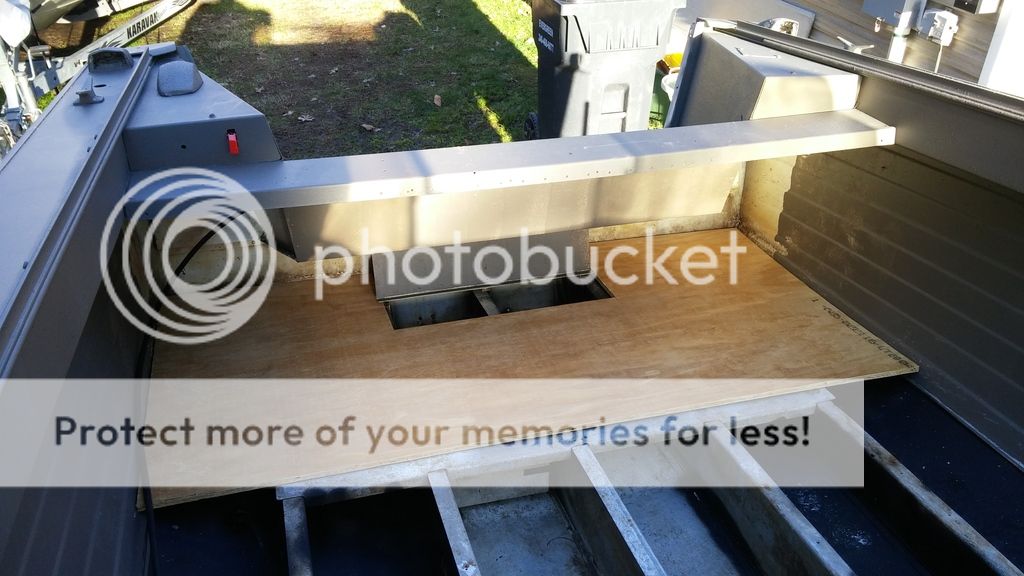
Rear Decking was also cut out.

Time for dinner and a good nights rest.


Dave
 
Good morning, Dave~

Whew!!!! Now that those bolts are cut down, I can finally get some sleep.....

Everything looks great - congratulations!

SJS
 
Some baby steps....backwards....but still baby steps. I decided that I didn't want to take any chances with the trailer so I took the new rims off and put on new galvanized hubs today. It's been at least two months since I packed bearings on something so I might as well get back to it.


I'm hoping to get the boat down to a neighbor in the next couple days to get the left fender crack welded and two areas welded on the boat. Once that is done, I will work on the transom and get it ready for the motor. I am taking my sweet ass time on the flooring since I want to make sure that I have done everything I want to do before closing it up......I don't want to take it apart anytime soon. Plus I'm still waiting on the two part foam I ordered. I did get fabric today for the "pvc panels" but I am a long way away from building those. I might need some sewing done by my next door neighbor on them also......still figuring out the exact design.
Weather has been pretty decent but I guess they are calling for more snow towards the end of the week. Maybe I will work on those PVC panels after all.
Dave
 
No progress today! The damn restorer decided to drink Yuengling in the shop and work on the motorcycle restoration. That guy........................


Dave
 
No progress today! The damn restorer decided to drink Yuengling in the shop and work on the motorcycle restoration. That guy........................


Dave

yeah....good help is hard to find, nowadays. But you get what you pay for.

keep the pics, coming! love this project!
 
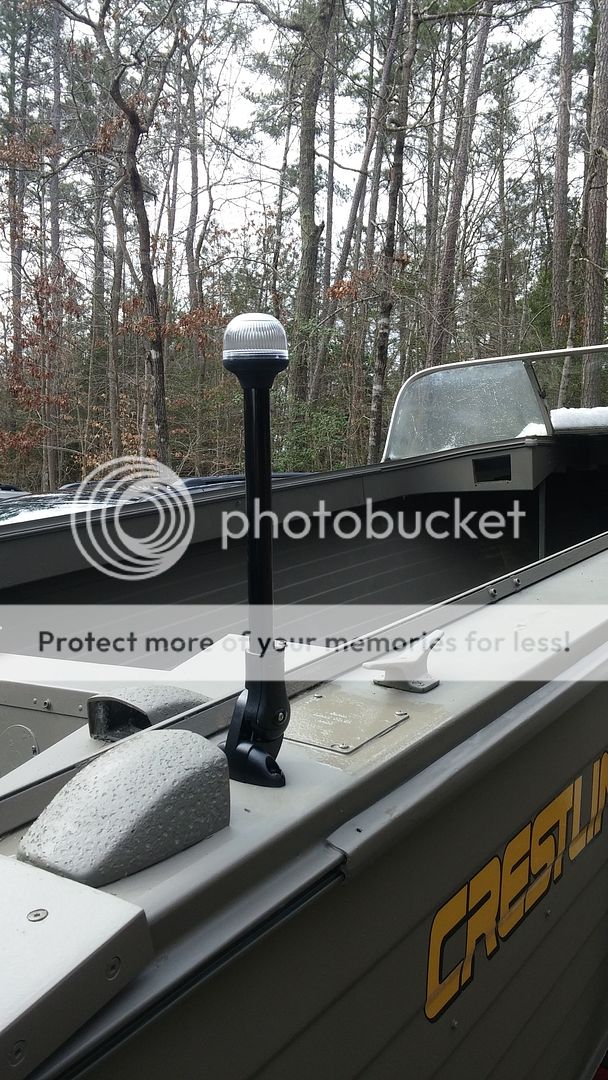
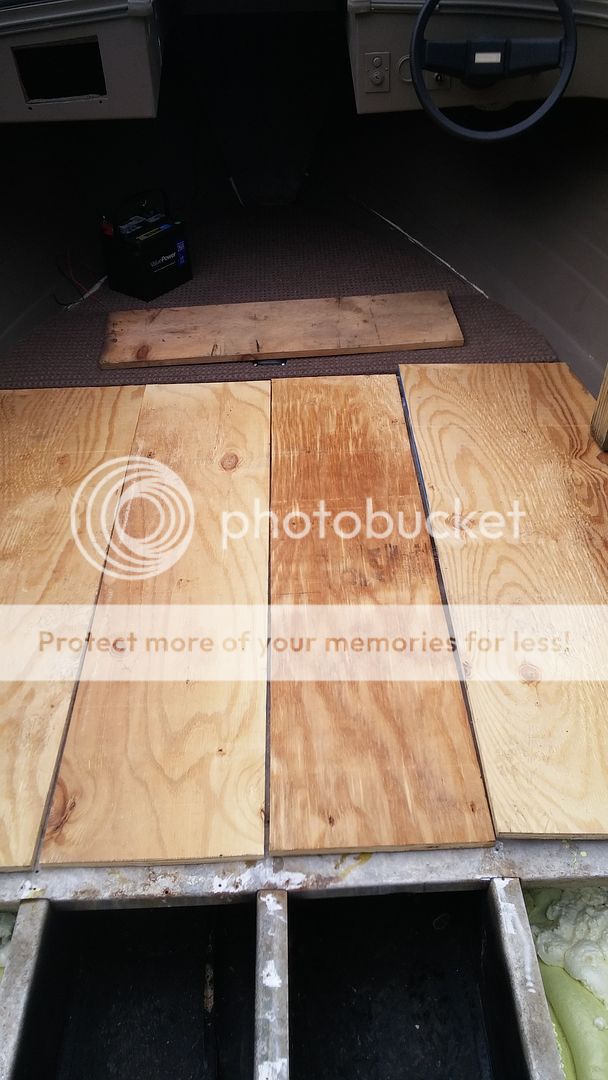
The last few days have shown some progress but nothing "sexy" enough for photos. Most has been indoor work to accommodate for the weather. I mostly have been cutting floor panels and laying them up on the saw horses to get slathered in sealer and left to dry. I picked up outdoor carpet and will begin to cut, glue, and staple these to the panels. I sent an email a few days ago to the company that I bought the two part expanding foam from because I never got a shipping notification. Turns out they missed my order and quickly got it shipped that day AND refunded almost $50 in shipping cost. It's nice when someone owns up for a mistake, but not having the foam has slowed some of my progress. My transom has also brought many things to a screeching halt since I am at a stand still until my neighbor can weld two spots in that area. I did some small things and installed the stern light.

I had this stern light for awhile and figured I would use it, but I think I will have to use a taller one since the camo "panels" I intend to use along the sides might block it out. It will be a "place older" for now.
Touch up paint here and there has been applied and I heard from the mechanic that the motor should be done in the next week or two. The lift cylinder leaked a little so I had that repacked and he is repacking the entire lower unit.
Little by little.
Dave
 
Nice work on the rehab. Consider the short money to replace that rusted axle and bolts. Pity at 75 mph you have an axle fail or the bolts snap. Been there done that.
Tom
 
T. Hanley - Thanks for the suggestion. I've looked the axle over and it is still very solid. The trailer is probably much beefier than the boat requires. I might replace the u-bolts but even this is low on my list. I wont be trailering this boat very far and doubt it goes over 55mph at any time.
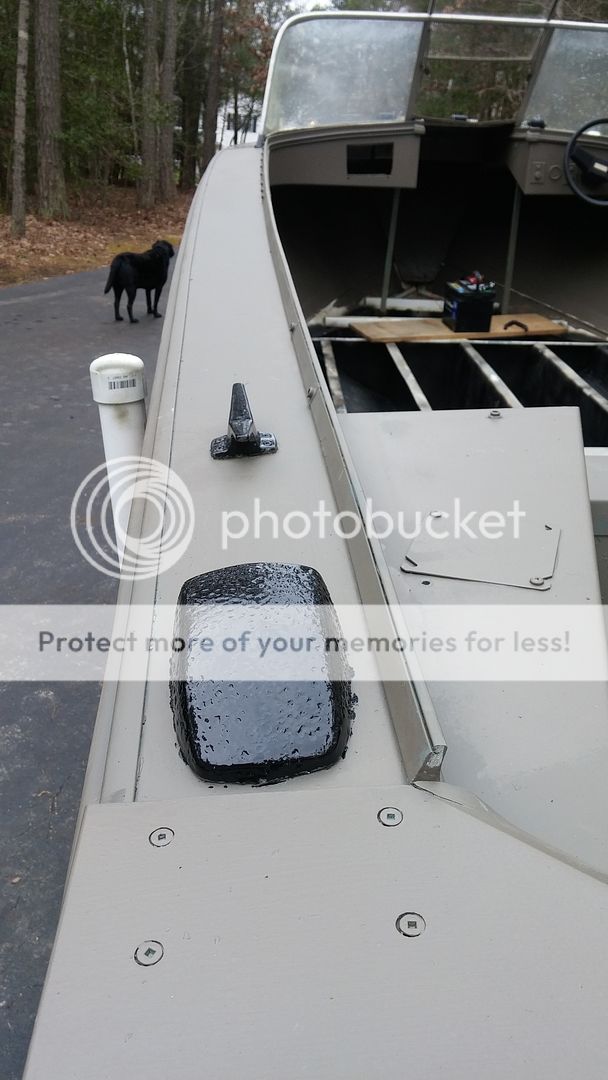
Today the weather gave me some time to complete the bottom paint, finish another coat on the interior, and paint the deck hardware black.


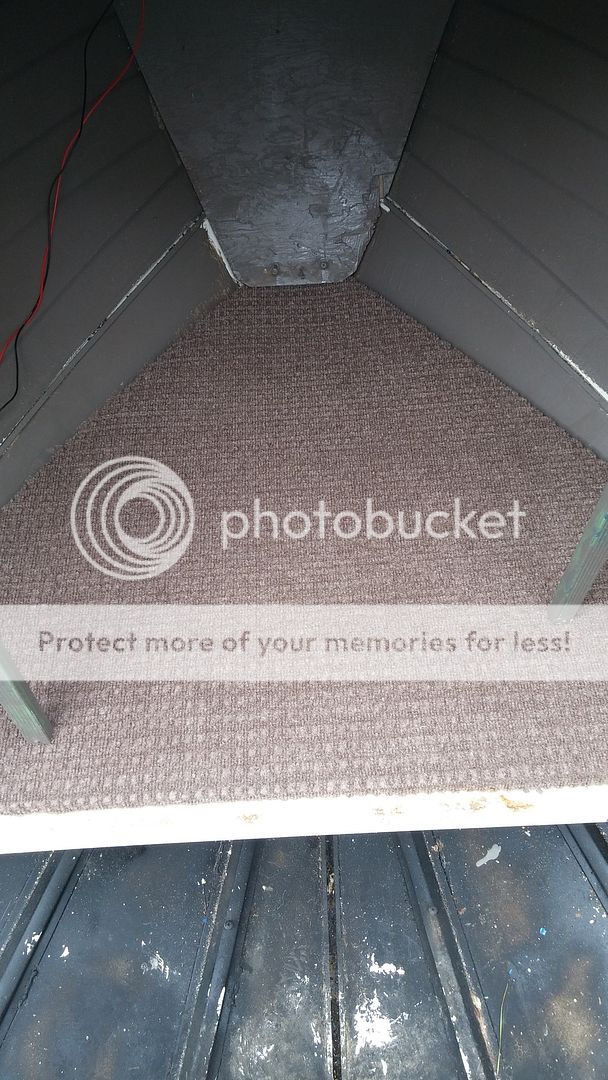
The bow wood was sealed and dried. I applied outdoor carpet glue and added the carpet. I also was able to carpet the stern board today also but didn't put it in the boat since I still have more to do in that area.

I added the bilge pump and connected up the discharge line. I also installed the new LED bow light.


The rest of the day was spent measuring and cutting more wood panels and putting their first coat of sealer on them.


Dave
 
Looks great, I love these big 'ol aluminum boats. They make great big water rigs - I have a 1979 lund mr. pike 18 - I sure like it in rough weather. Your thread inspired me to make a few changes to mine though... So my wife can blame you!!


paul
 
Paul, a 1979? Wow.....that's like brand new compared to this one! I have my own wife that is having thoughts of killing me, one is enough! I have no pics to put up tonight, progress has slowed considerably because of the required time needed to double coat both sides of the plywood panels with spar urethane. I did get a couple of bolts cut off of some support rods and will be painting the rods soon. I really need a couple of welds finished by my neighbor but it has been tough syncing our schedules......maybe by this weekend. Once the welds are done, many, many, many things can move forward. The front "locker" door was carpeted tonight so that was a little bit of progress. More to come.................


Dave
 
Alright...beautiful weather and a couple of hours after work to play with the boat. Today I finished the first cargo door for the bow. Hinges aren't on yet (that will be last since I need to get spacing just right after adding carpet).

The battery is just up there to make sure my connections are solid for the bow light, spot lights, horn, etc.


Today also saw the 2 part foam finally going in. Neat stuff, a little messy, but I just had a stack of Solo cups standing by, poured each part the exact amount in two cups, mixed them together and poured. I could reuse the resin cup and only had to throw away the "mixing cup. I stacked the used cups up and once they were mostly dried, I just chucked them into the yard to get them out of the way.

This helped a bunch towards the march to get the floor done. Time to cut some more panels.....start the sealing process.....and the carpet.....
More to come..................


Dave
 
Paul, the boat has A TON of room, it's like a dance floor. Today I got up early and cut out the next section of flooring which consisted of two sides and two center doors. They were all put on saw horses and covered in sealer and left to dry.

I then made a road trip to the MVA with my youngest who passed his test and got his learners permit. Next I drove down to the local state park and dropped off 11 fishing poles, tackle boxes, nets, lures, bobbers, stingers, etc. which will be donated for the local Youth Fishing Rodeo. I got involved with it a couple years ago and it's just a good deal. Next I was off to the University of Maryland to pick him up to start Spring Break. We also had to stop and pick up a new dining room set so that took up the rest of my day. I got home in time to do a couple of small things to the boat and put all of my gear away for the night. Board got two coats of sealer and will be ready for carpet tomorrow. I ordered hinges and should be just about finished with the floor by the end of the weekend. I have a "Hunter's Bash" for Ducks Unlimited to attend on Sunday so I don't see much getting done past tomorrow.


Dave
 
Back
Top