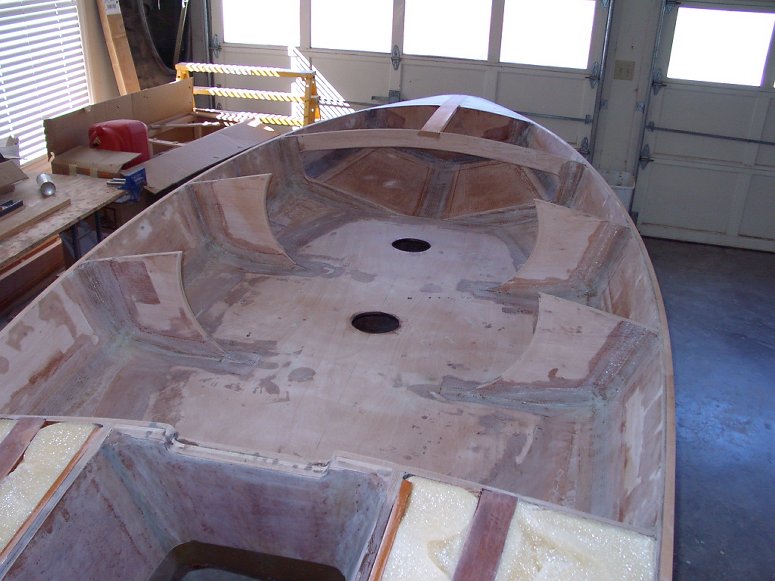
Devlin bluebill build thread.

I usually screw chocks to my sawhorses that match the deadrise (V) of the hull. That way, I can be sure the hull is level left-to-right (fore-and-aft shouldn't matter at this point) AND the boat is at a comfortable height.

All the best,

SJS


Important point, you can still put a twist in the hull if you aren't careful.

No matter how hard I try to screw it up I just can't seem to cob it too bad.

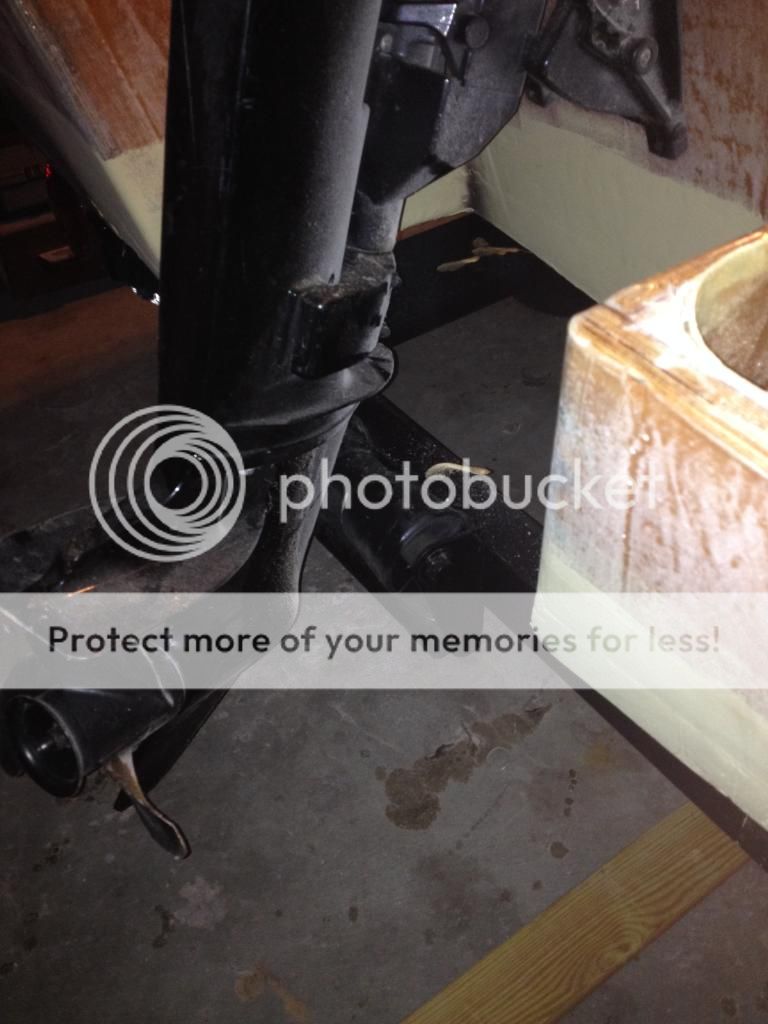
Straightened he trailer out today, and was too tempted to put the motor on to resist.
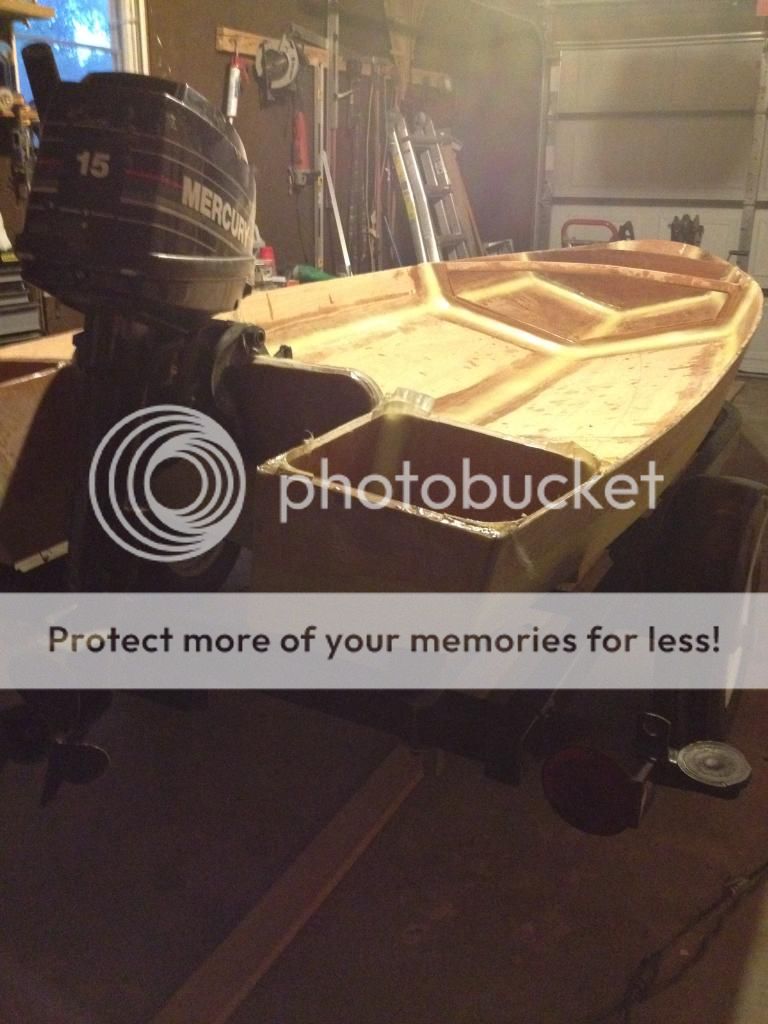
A611AAFA-AD92-4B2F-9BF5-2CFC4E5A74AA_zpsnfdt9hm1.jpg


Built in transom saver!
9EA8E7CC-DAB0-44C7-A990-C9206336B766_zpslwyvmics.jpg

 
This could be an idea, instead of painting. A long time ago I was building a Kara Layout Boat and I happen to have some camo mosquito netting. I laid it on the top and epoxied over it. So it was now embedded into the epoxy. Looked great and held up well.
 
Great idea but there is an issue with this approach. Epoxy is not UV stable and will degrade and cloud over with direct exposure to the sun. I built a Kara almost 15 years ago and, like the original instructions, painted a picture on the bottom and just covered it with epoxy. Over the years it has become so cloudy that I can't even recognize what I painted.

Epoxy needs either an opaque paint or marine spar varnish to protect it. Without that protection you are shortening it's life significantly.
 

No matter how hard I try to screw it up I just can't seem to cob it too bad.

Straightened he trailer out today, and was too tempted to put the motor on to resist.

[/QUOTE]


That is a fun step, good for you to get there. Just do the criss cross measurements from outside edge of transom to bow before decking - if only to make me feel better :). I was surprised how much you could torque my hull before sole and decking - not a lot, but you could if you tried.
 
I never would have guessed that trailer was that much longer than your boat. It is fun to see the motor hanging there, kind of a milestone. I'll try to swing by Thurs to get some ideas on fitting the trailer. She looks GOOOD sitting there though.
 
Sheer clamp

First I tested things out with clamps
51F482B9-F42F-4928-B98D-7E4184486139_zpswamseqsx.jpg


Then this morning before work I got busy and slapped one on

554CC288-5C9A-4A4A-8D5F-46752D78531F_zps0dmfesco.jpg

0681F2D3-276D-4027-8747-AE16C33863D5_zpsqekbovyd.jpg


The ends required a loooot of force to pin down. African mahogany is ridiculous.
E8C2B1DC-881D-4128-A471-7DBA21FBBE39_zpsxxymmrwe.jpg


But it sure does look nice

8462AB6C-9B56-4173-A8F8-B38FD85FBE6E_zpscgbxfaw3.jpg

 
Nice job Paul. I was just thinking, for the n-th time, a boat build has to be the best "man-project" around. Just when you get sick of doing one thing it's time to do something totally different AND because epoxy takes time to set - there is even built in beer time.
 
Nice job Paul. I was just thinking, for the n-th time, a boat build has to be the best "man-project" around. Just when you get sick of doing one thing it's time to do something totally different AND because epoxy takes time to set - there is even built in beer time.


It's a good project, and has been lot of fun so far. I am getting excited to finish up.
 
That looks like a nice chunk of wood, you will be glad that you went with something harder like that - the sheer takes a lot of abuse (unless you use bumpers at the ramp :). Too late to help you, but if the sheer clamp is a couple three feet longer than the boat, it makes a nice handle to finesse it into place (and then cut it off once glued into place and have a nice piece of wood for a project for later).

T

The mahogany has been nice, very hard to bend. I utilized 14 ft pieces on this project, and they are approx 1x3" - overkill for sure, but they look nice and will give the decking plenty to grab on to. I make sure most of the runoff is on the front, bun with it being a twelve foot boat the curve of the hull eats up most of that sheer clamp.

Man I can't wait to see how this thing runs out!
 
I usually end up making some scarf cuts up near the bow on sheer clamps-it really helps it make the curve and the scarfs fill with epoxy when you clamp/screw it down. It's amazing how much stiffness those clamps add to the hull. Looking great-you're getting close to having a finished hull!
 
Paul~

Great job - as always.

Two thoughts:

1 - (to be filed in the "Next Boat" category...) It's usually easier to fasten rubrails (and thatch rails and toe rails, etc) starting at the bow. I just installed a pair of rubrails on an old Scooter today. The forward ends can be finish-shaped and then screwed in place. Then, as you work fastening toward the stern, you have enormous mechanical advantage to help make the bends - which are typically more severe up forward. And, using Tod's idea of extra-long rails, you keep that advantage throughout the job.

This job is MUCH quicker with a helper - but I usually just support the aft end of the rail on a horse or the like until enough of the rail is fastened (say the first few feet) to support the rail by itself.

2 - I was glad to see that your boat shop has the requisite "worrying chair" - as per Howard Chappelle in his Boat-building.

All the best,

SJS
 
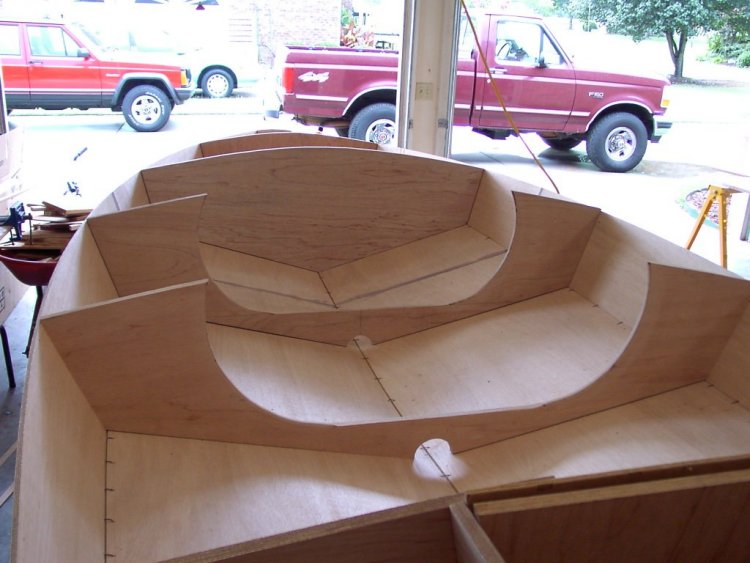
We'll, got the knees and sheer clamps hammered out. I simply made the knees extra tall and will belt sand to fit. Like tom, this is my favorite boat building tool.

8CF4E2BE-8C1E-4697-8CEB-A80E1DA38883_zpskfsnxxqx.jpg


124337AB-8B54-41C8-B5A7-D2B4A09D6D24_zpsvggjqito.jpg


Sheer clamps both done.

32DA14FA-5733-4EBD-B800-FE03F87C9FBA_zpsseq69u1c.jpg

9C2542E6-168C-460E-80F9-A2CE36BBE54D_zpssjuqgboe.jpg


Have to fair the next sheer clamp in, make floor timbers (tips welcome) and then coat and paint the inside - fitting interior hardware
 
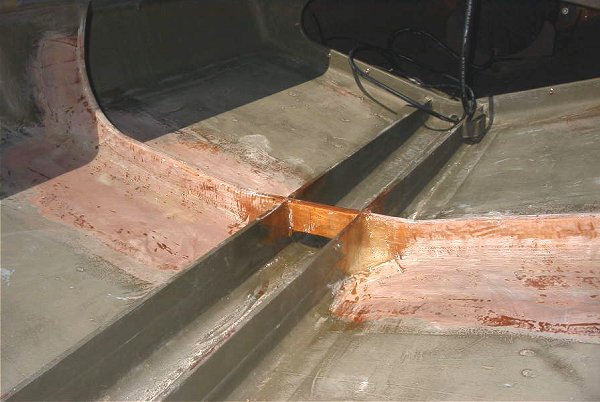
Got started on the stringer. I weigh 300ish so I will also be adding those little side pieces to distribute load better. This is in my opinion the biggest step left in the project, because it requires so much fitting. As many compliments as I've gotten for neat work, I utilize a lot of eyeball and educated guessing, so I anticipate I will have a bonded in floor by Sunday.
 
3BDC4F13-1C9F-44DB-A875-0C12C6F1A3E0_zpsdj9kzk0m.jpg


Sanding sanding sanding. I have not been working on the boat as much as I want to. That, and Sanding takes forever.
 
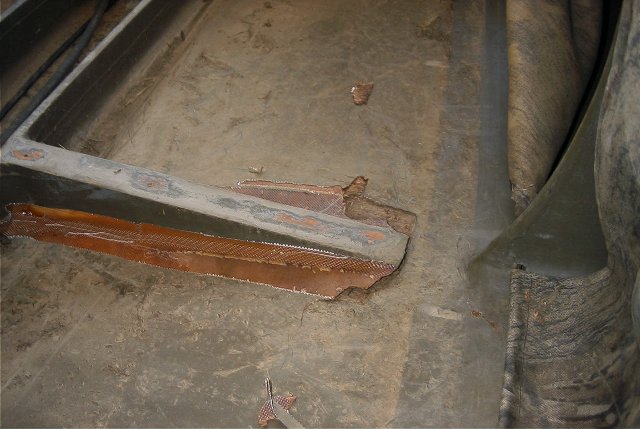
I hate to say this, but the sole supports are a problem in my eye. The hull flexes some in that area and will want to pop them loose - they are not in Devlin's design. Over the years people have had problems with the bottom of the knees coming loose and sole supports like that just act to concentrate the forces to the ends at the knees. Knees coming loose and the problems with supports like you have are well documented in the history of the page.

I would not put the underfloor supports in, myself (I would take them out). The sole doesn't need them for support. The concern with knees coming loose was such a concern that when I built my snowgoose and Eric built his BB3 that we didn't use knees, but built full bulkheads with cutouts in the positions that called for knees. the knees are fine for the most part and most people have not had problems with them, but adding the underfloor support may cause more problems down the road.

On a small boat like yours, maybe it won't be a problem, but sole supports just as you have added caused a serious problem on a scaup. I know of 2 people that have used them and not announced a problem, though. Sorry, but I didn't want you to get to far and me not say something. PM Eric, he has done more thinking about this then I.
 
I did something similar on my first boat and had issues where the floor supports taper into the hull. Two strong parts with little between them causes stress to accumulate in a small area. You want to spread forces out over big areas.


What I learned was the hull doesn't really flex front to rear, rather it flexes side-to-side. To circumvent this in future builds I made the bulkheads single pices with a cutout for the floorboard. I also bond the floor in. I think I have 12 seasons on my Brant II now and have had zero problems with the hull other than running over a metal object and scarring the hull but that is unrelated to flexing of the hull. My hull feels very rigid even in chop under power where you would feel flexing.


Paul

Looking at your pictures I think if you bond your floor in and notch it so that it ties into the knees you will never have an issue with hull flex. You are doing a great job.
Eric
 
Last edited:
Back
Top